Digital Photography I:
|
|
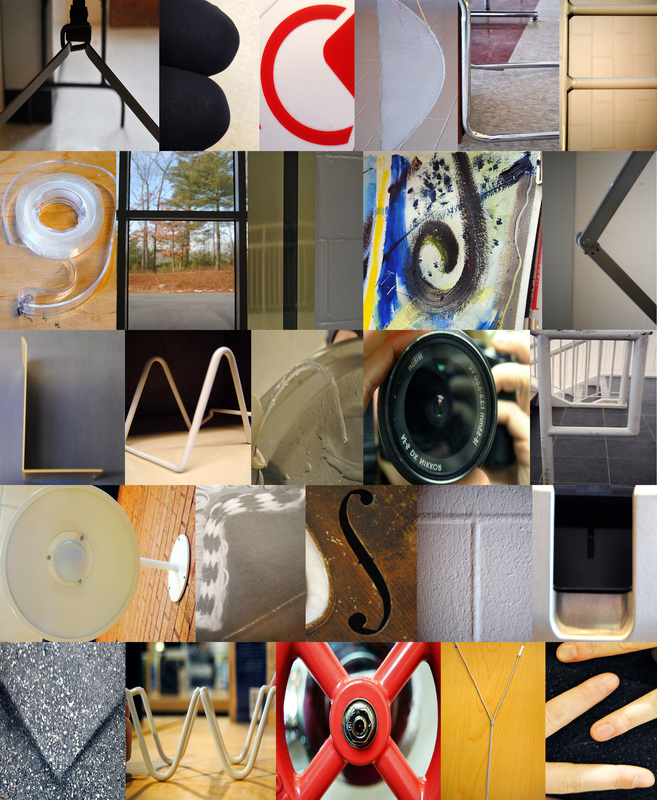
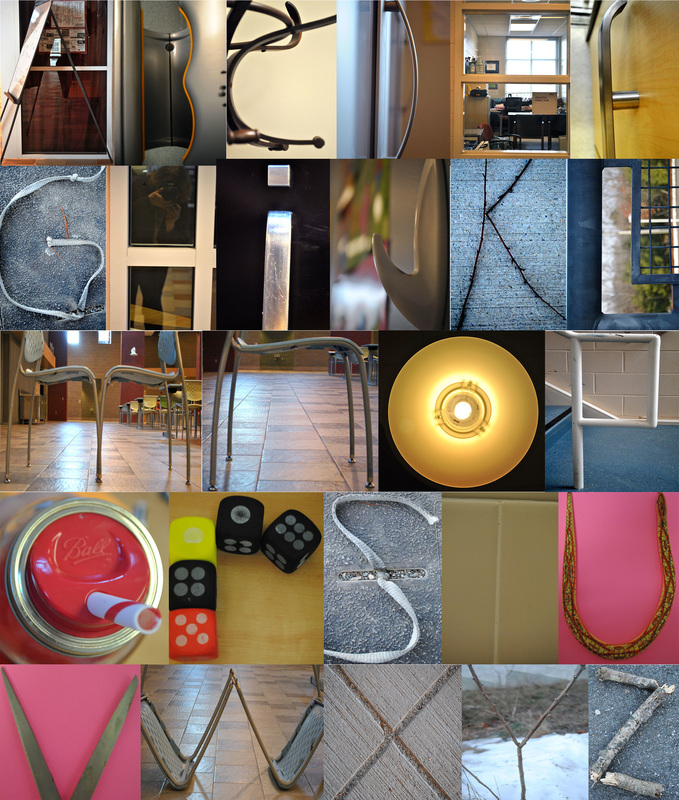
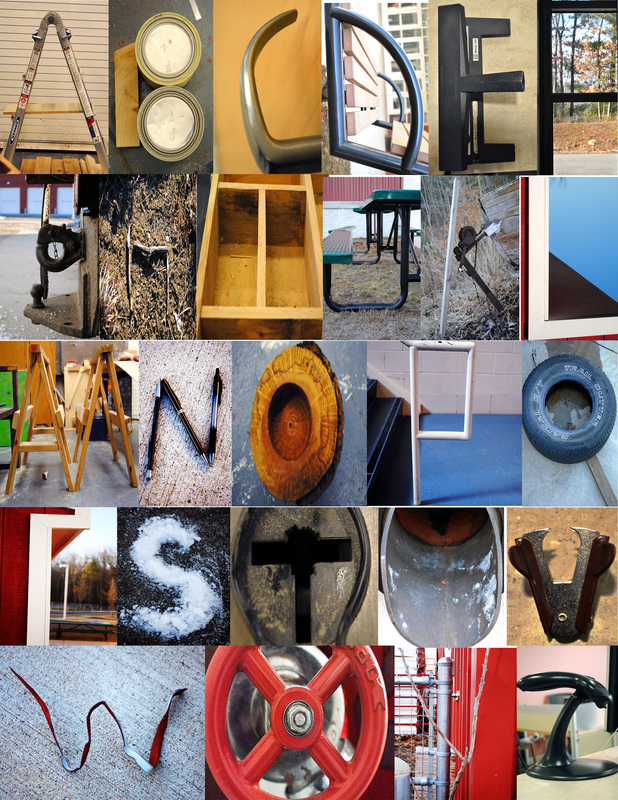
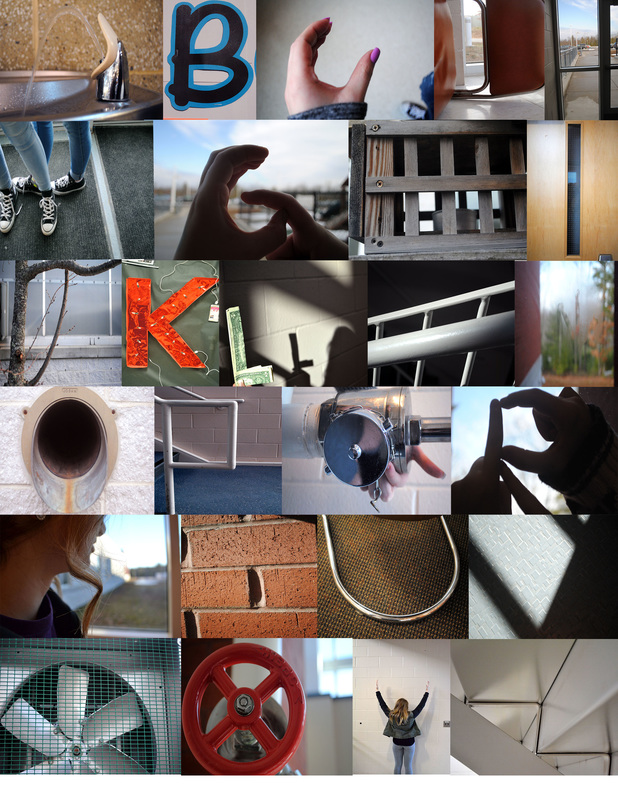
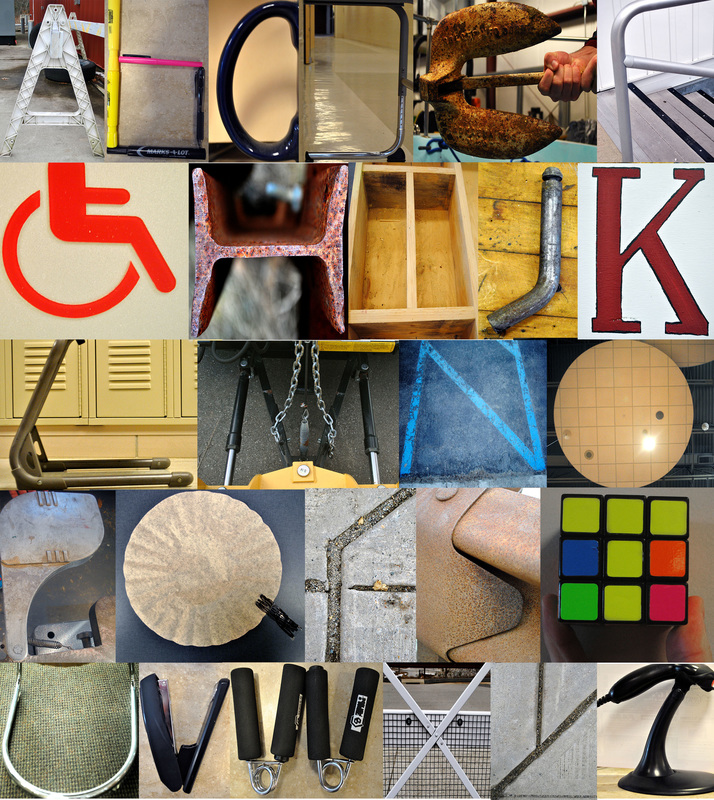
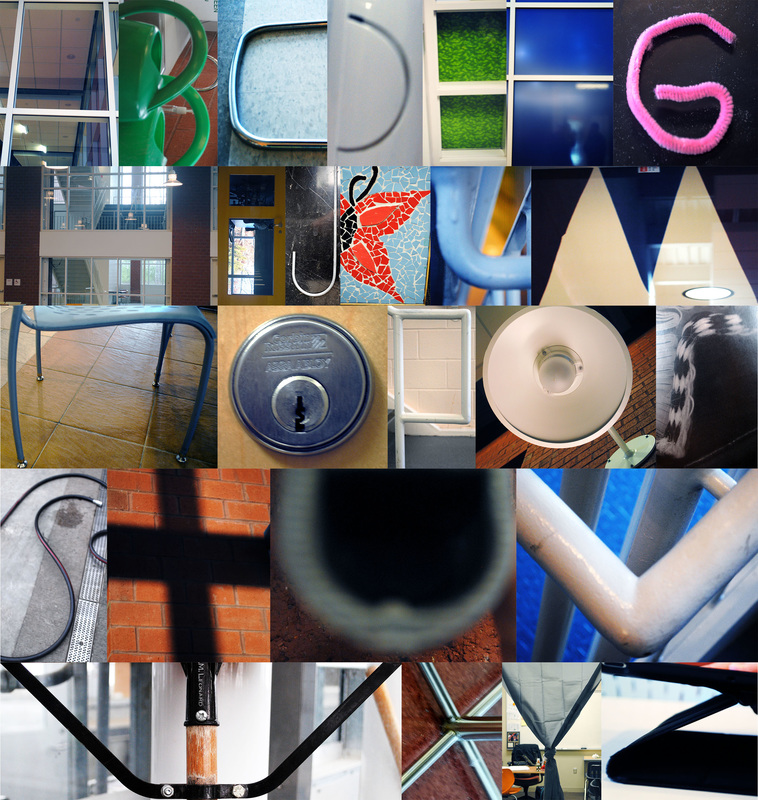
ABC Photography
This first project is shot in an automatic mode to help ease students into handling the cameras. The goal is to create a full alphabet (A-Z) by taking photographs in such a precise manner that everyday objects become letters. The lesson promotes a few different key concepts. The first being that photography requires taking a closer and sometimes different look at the world. It takes a little while for students to begin recognizing potential letters in all of the nooks and crannies that they have come to overlook on a day to day basis. Second, the photographer controls what he or she wants the viewer to see. It is the photographer's job to not only see the letter, but to frame it up and crop out the extraneous information so that a viewer may easily recognize it as well. Lastly, it serves as a great introduction to uploading, editing, and manipulating images in Adobe Photoshop.


History of Photography: Camera Obscura
After completing the ABC project, students spend a day or two going over the invention and evolution of photography. We begin with an activity that has them acting as artists and scientists in the early 1800s before photography was invented. They are tasked with explaining/showing some finding to someone far away without being able to take a photograph of it. This leads us to a conversation about communication, representation, and the difficulties of early artists and scientists. From there we are able to jump into the need for photography, the basic components that led to its invention, and the people involved. Students use shoeboxes to make camera obscuras to take a closer look at one of the basic principles still used in cameras today.
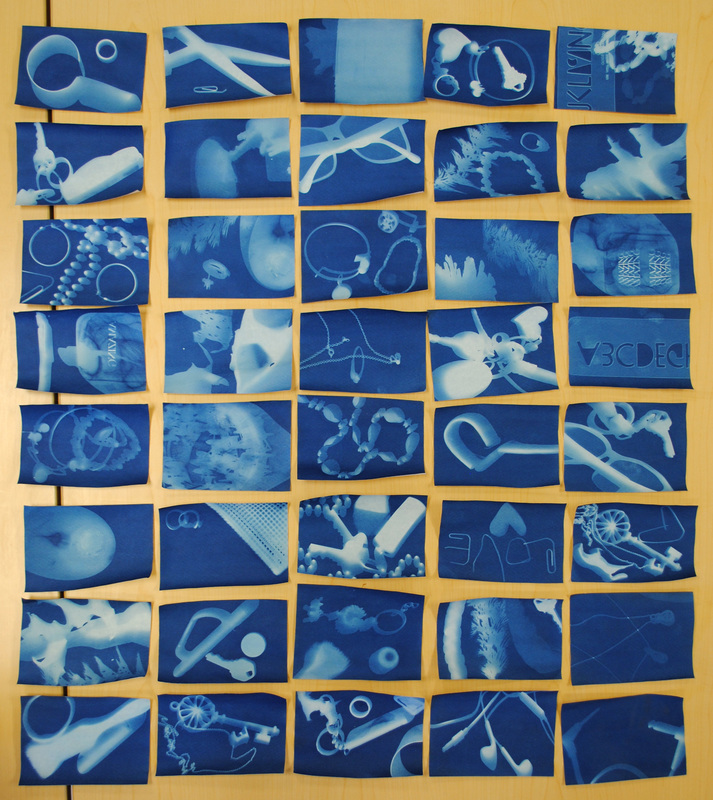
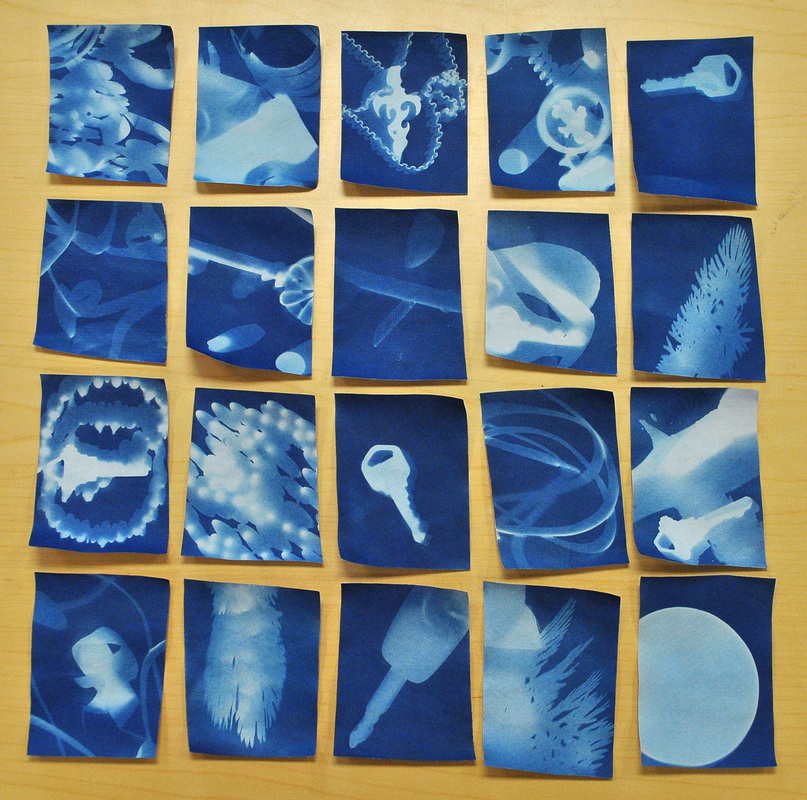
History of Photography: Photograms and Cyanotypes
After looking at how an image is captured or rather projected inside a camera, we discuss the fact that we still need something that is able to record that image. Together we investigate the different methods scientists and artists were using to try to record the image and how they all involved the use of light sensitive materials. We then use nature print paper to create photograms in order to better understand the role of light sensitive materials, exposure times, and the development process.
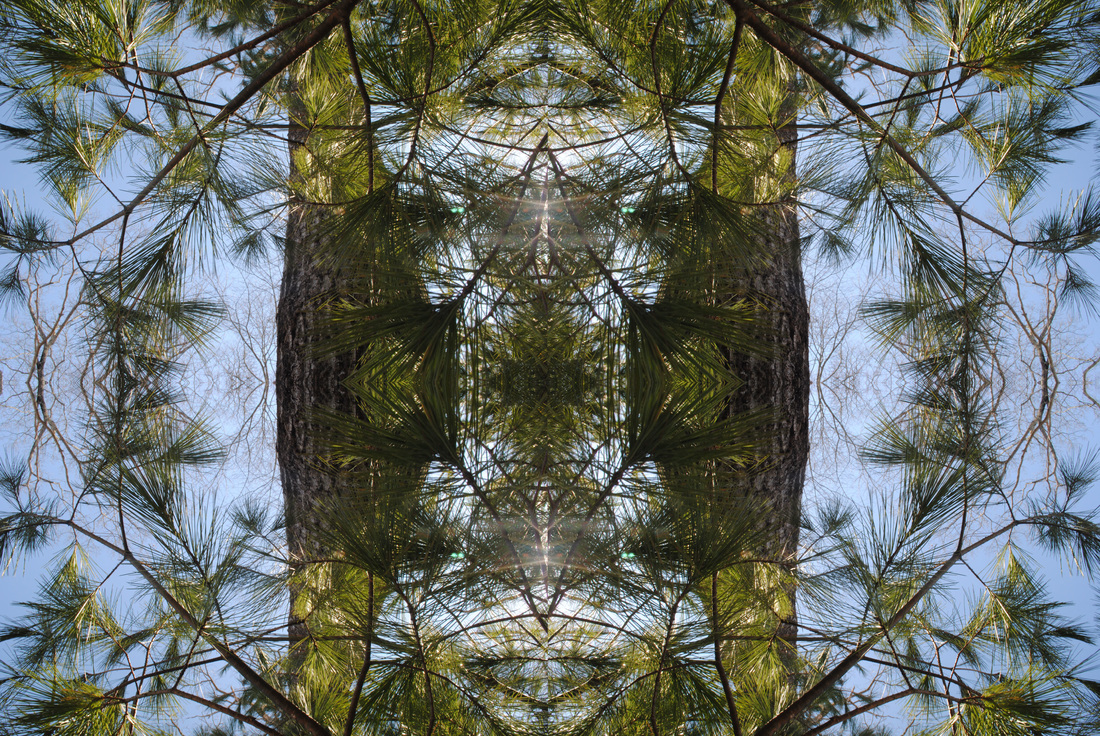
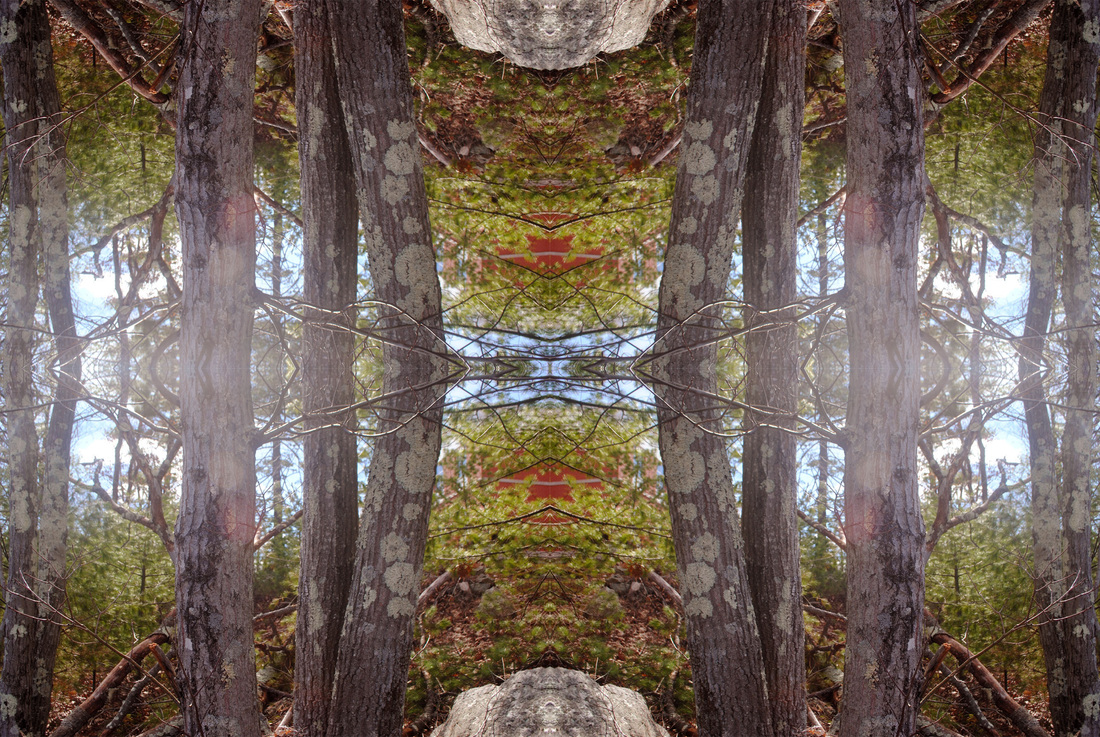
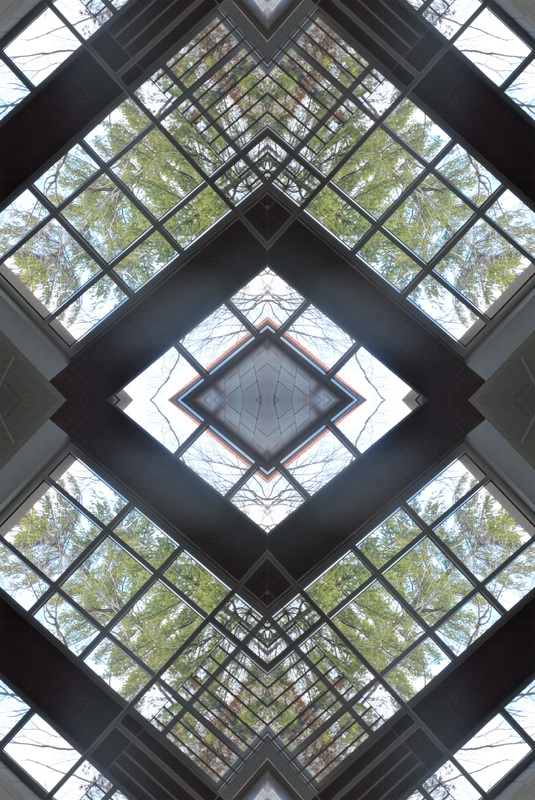
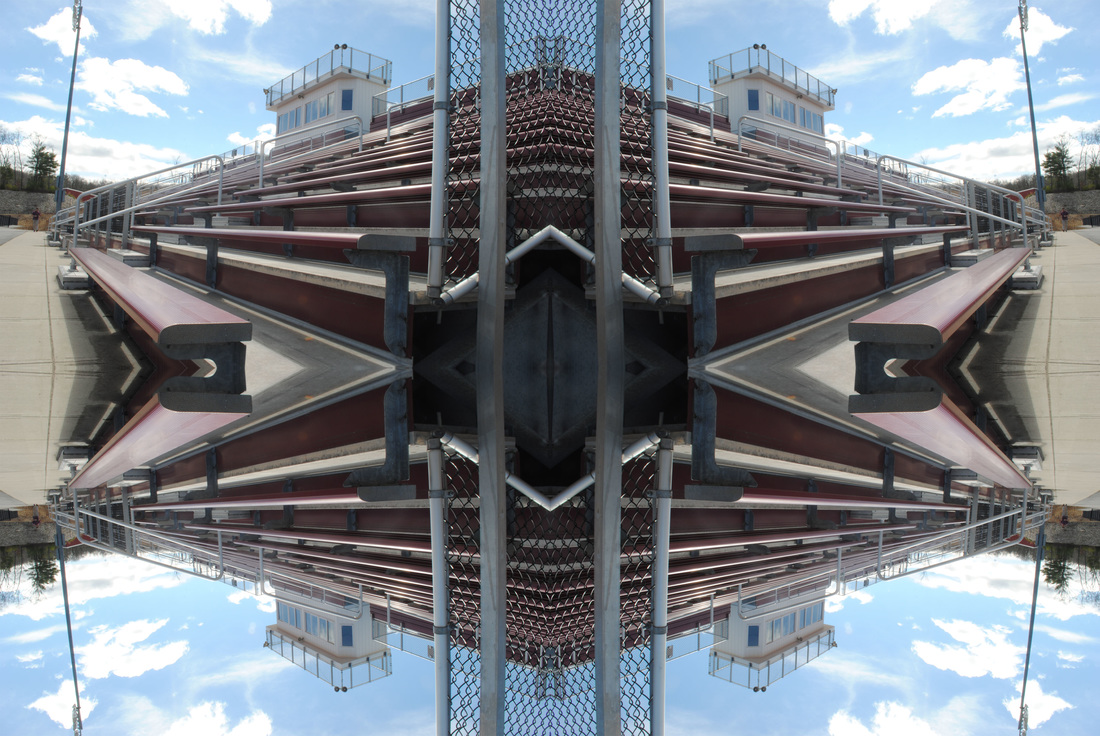
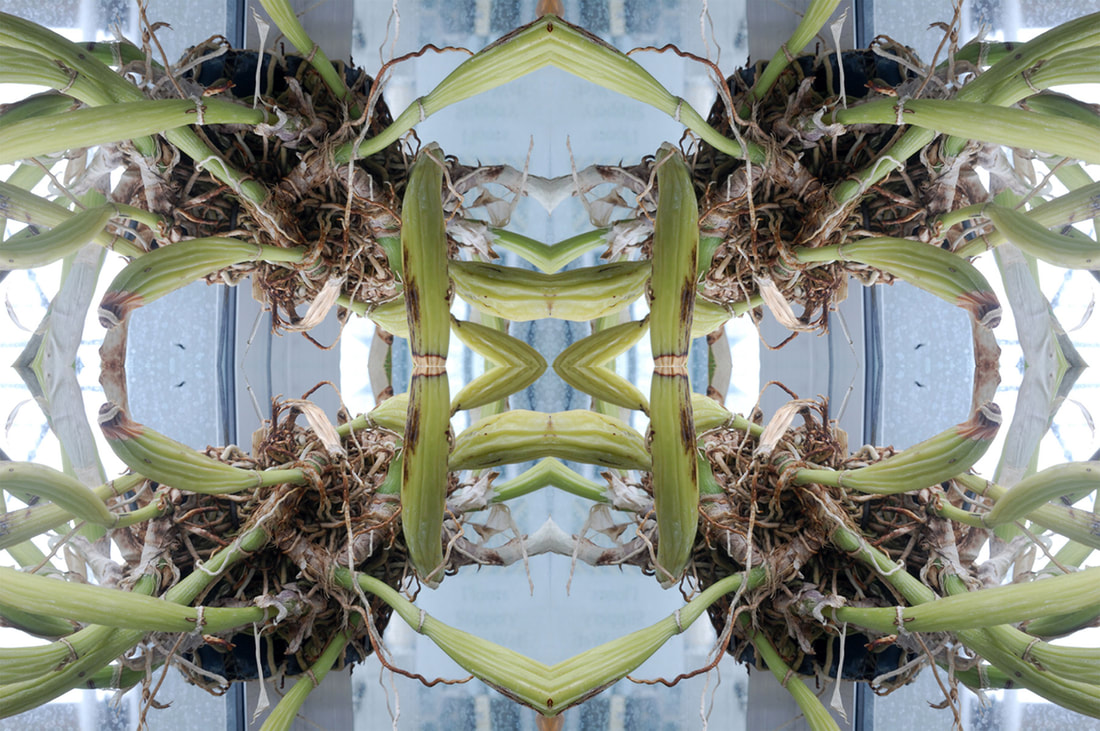
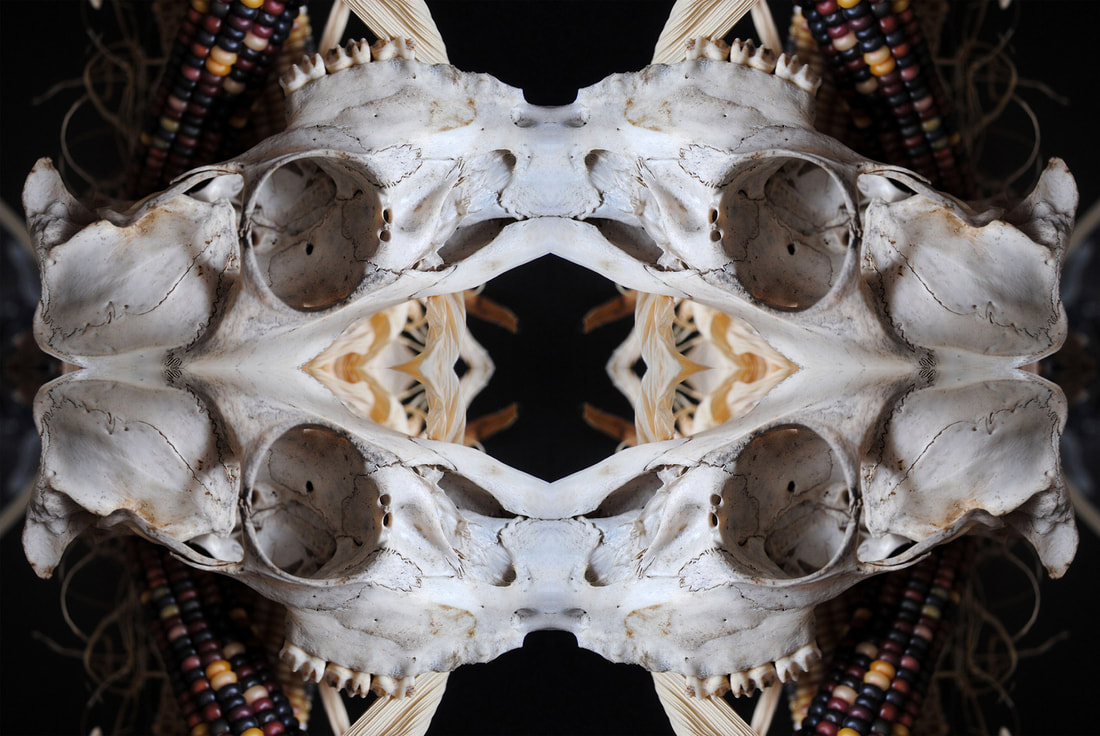
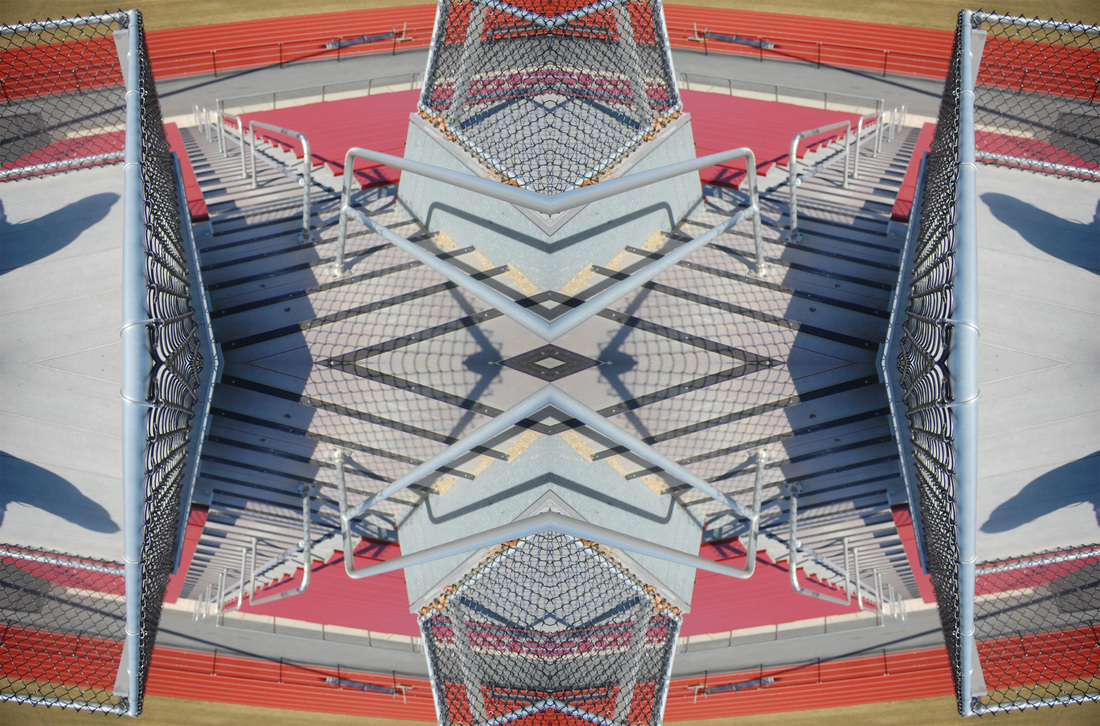
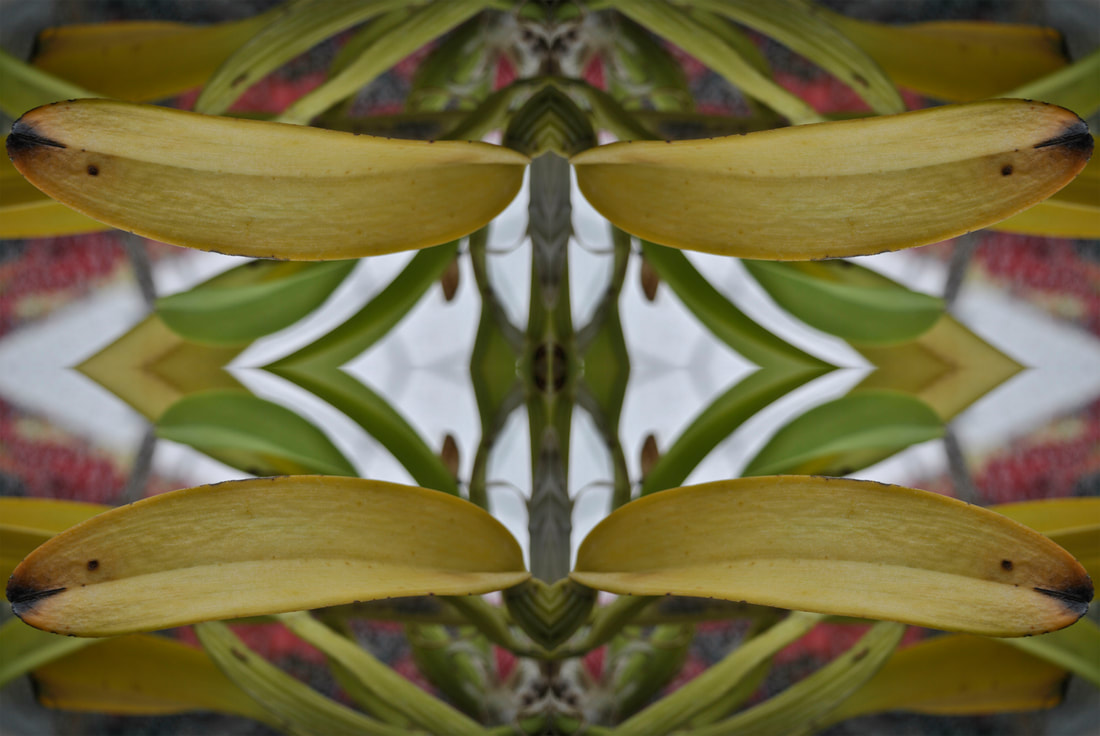
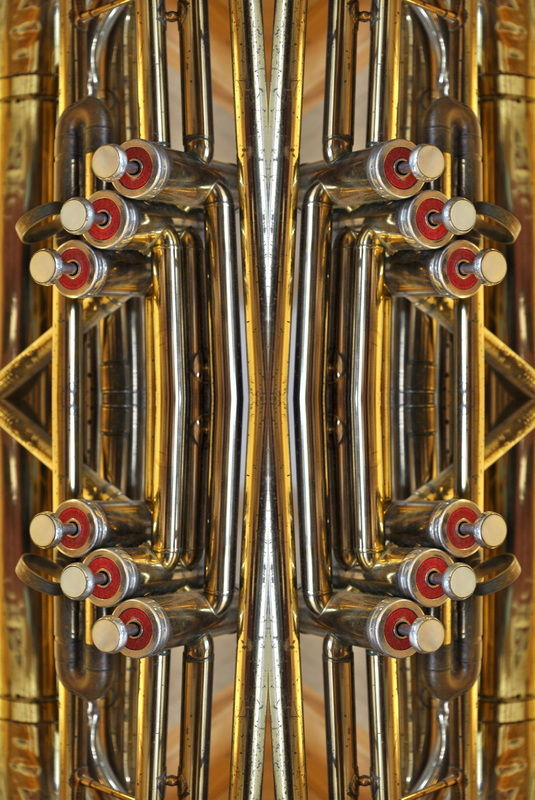
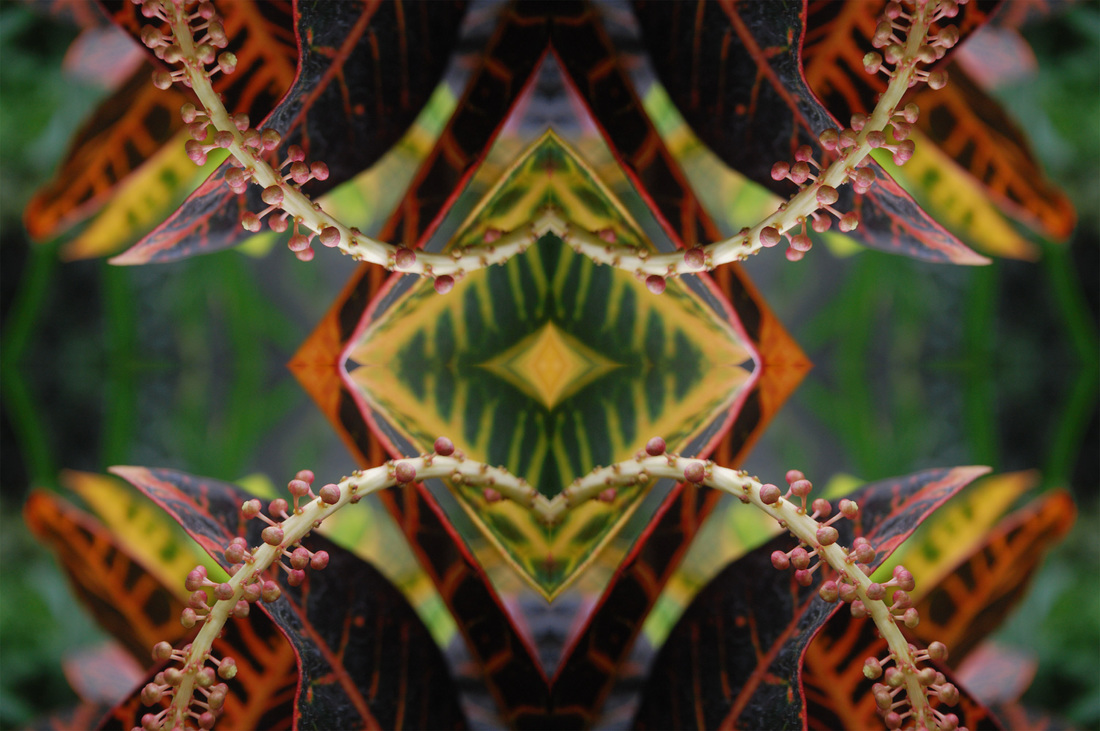
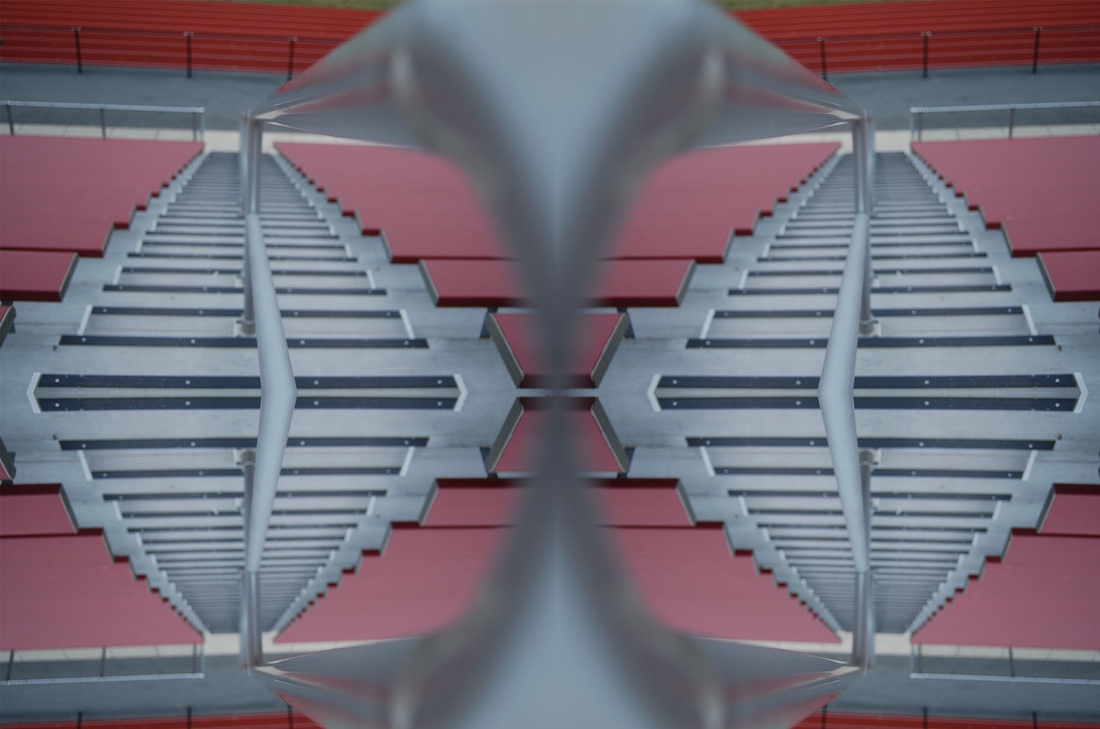
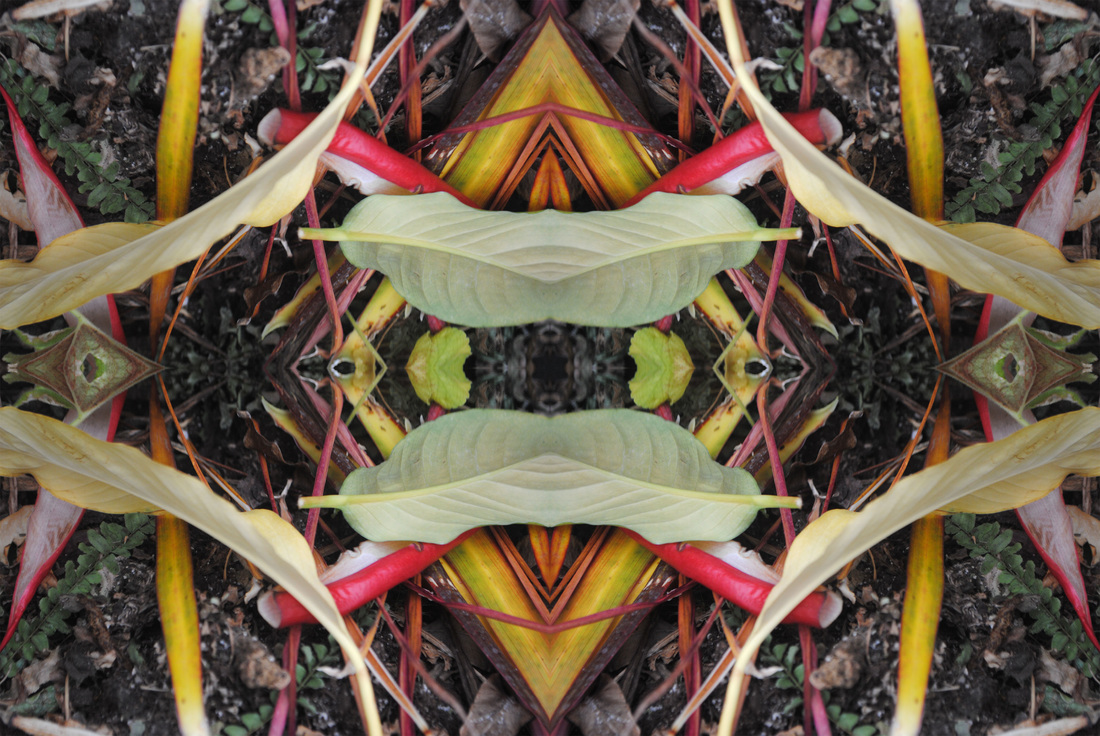
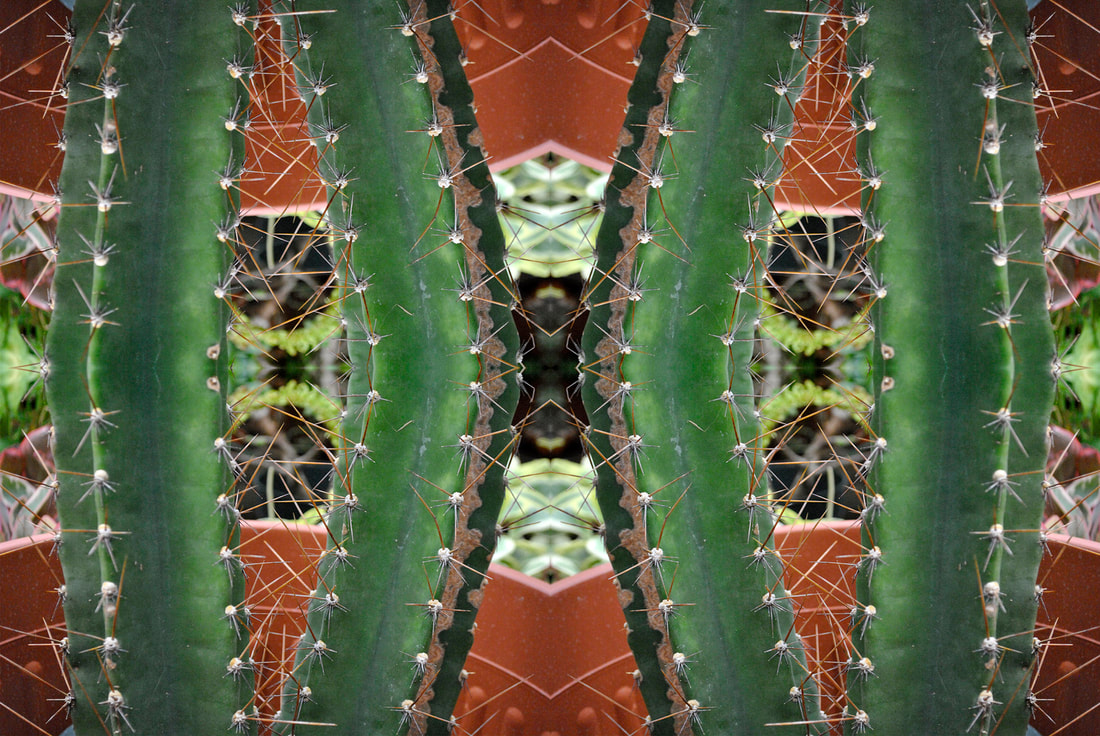
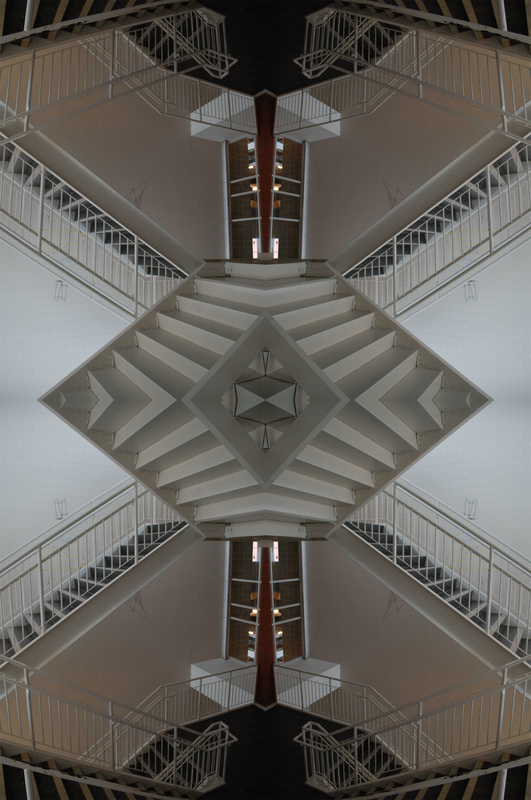
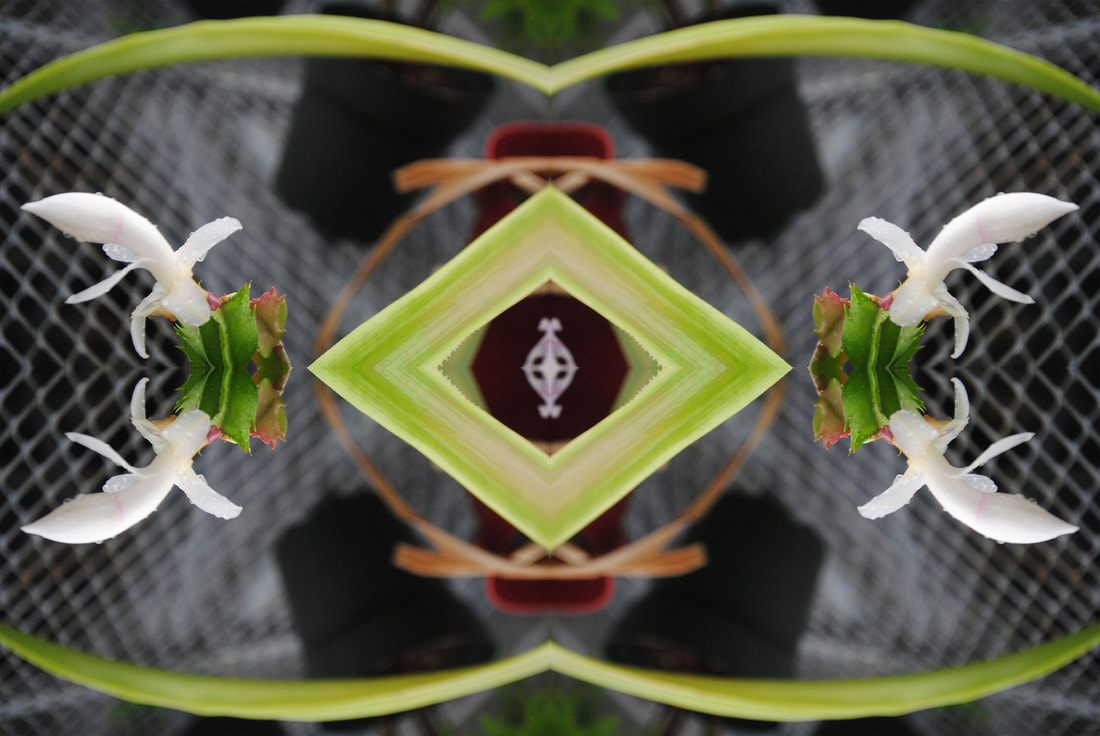
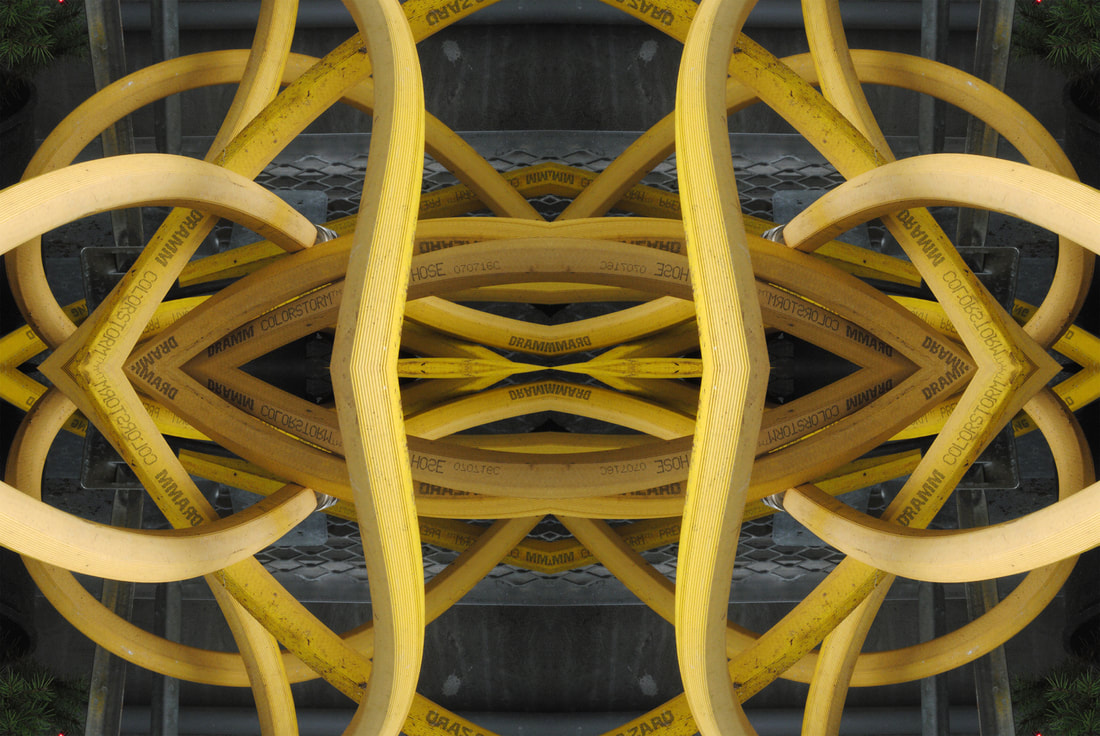
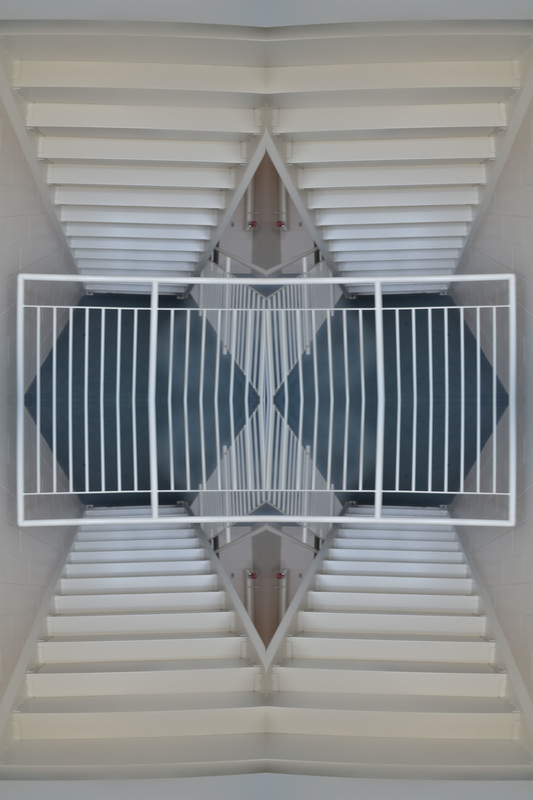
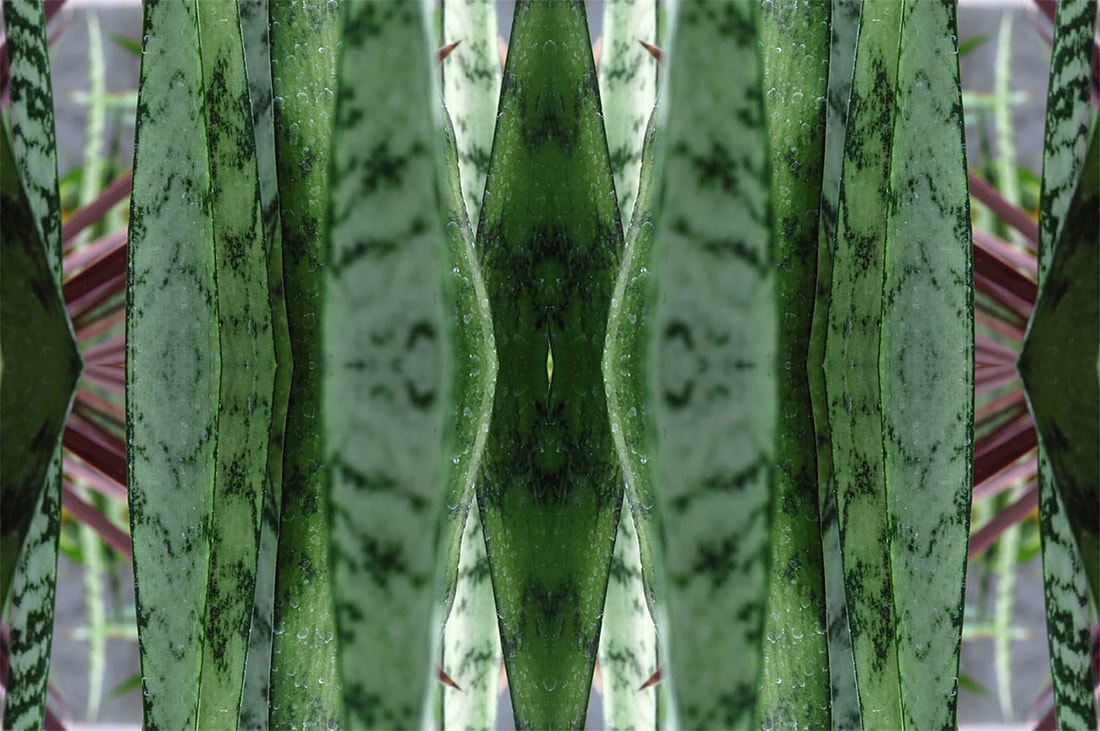
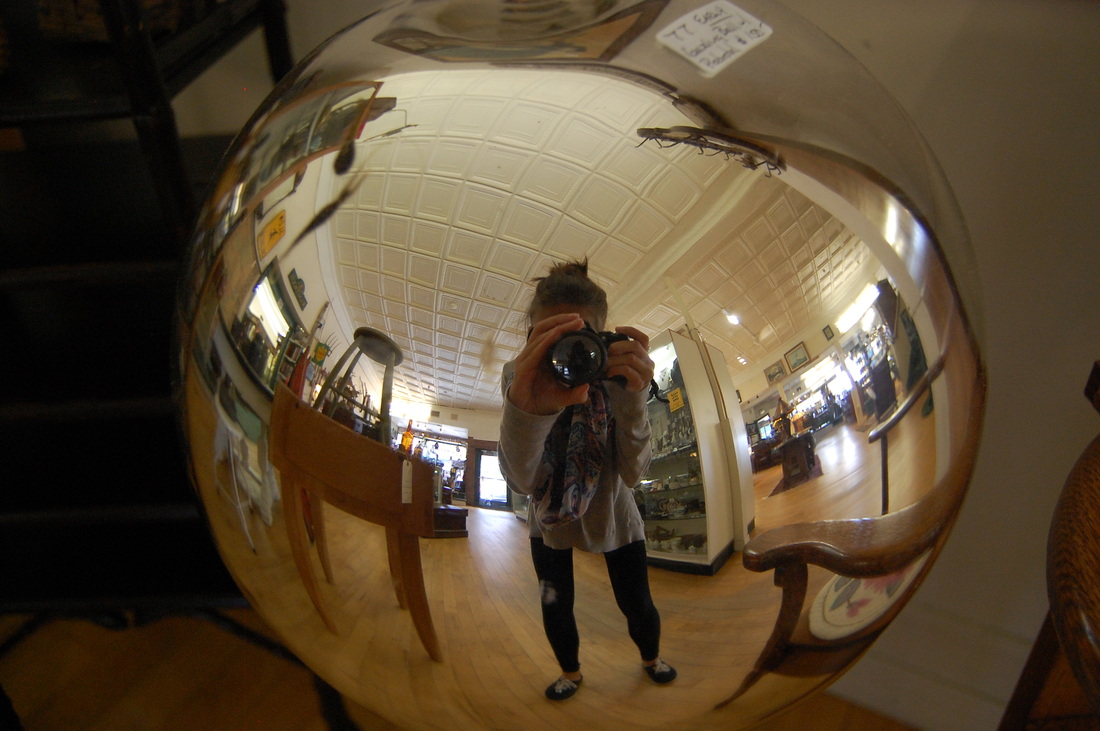
Kaleidoscope Photography
The kaleidoscopes are always a class favorite! This shorter lesson allows students to practice using manual mode and reinforces Photoshop skills. It also introduces some basic elements and principles of design. The students quickly realize that the kaleidoscopes that turn out the "best" are those made from images that include depth, repetition, contrast, and line. It also reinforces concepts of the ABC project with a need to crop and control how much of the environment is being shown to have a successful result.


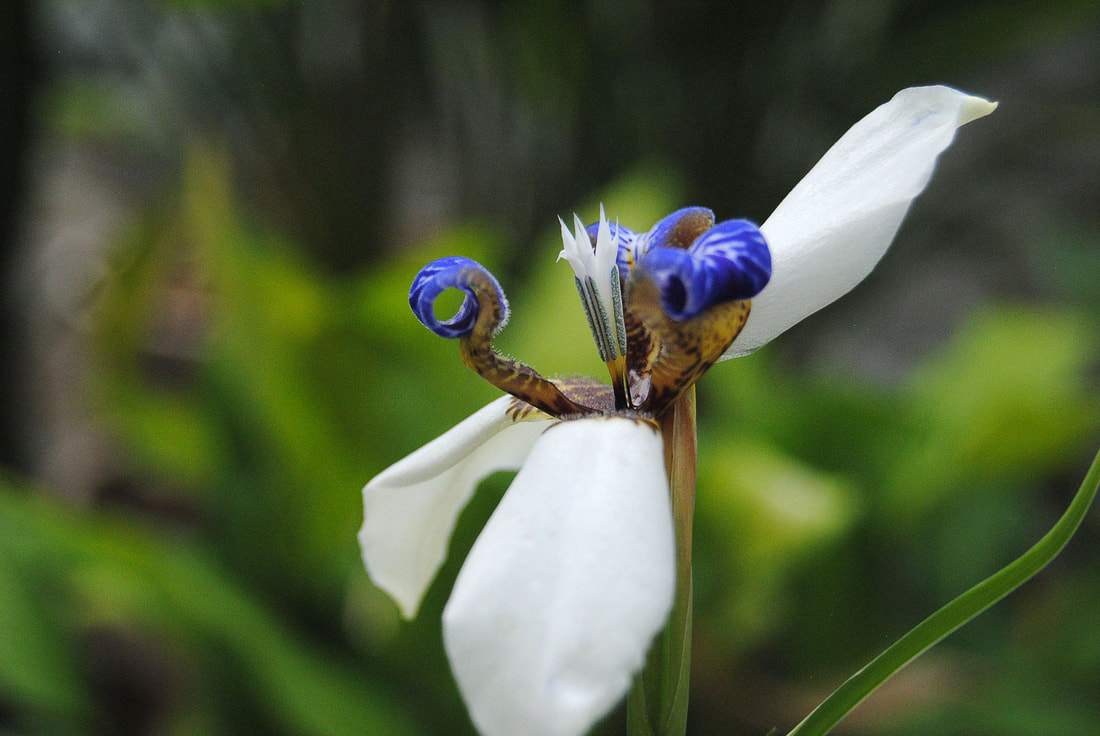
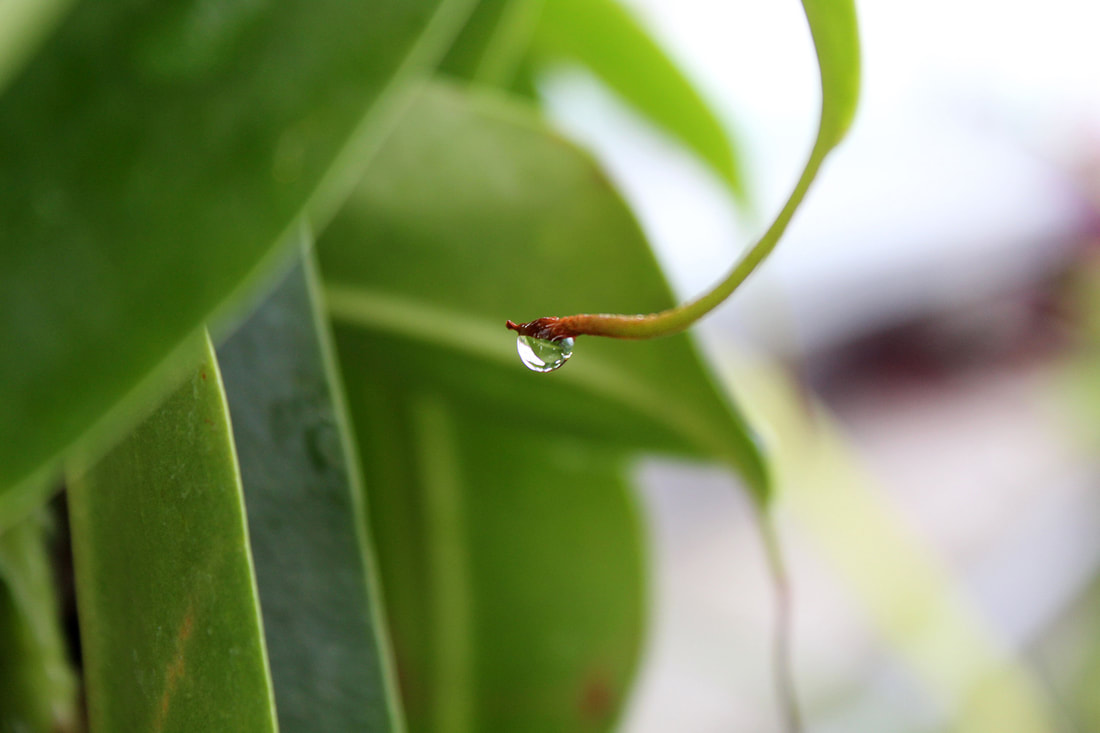
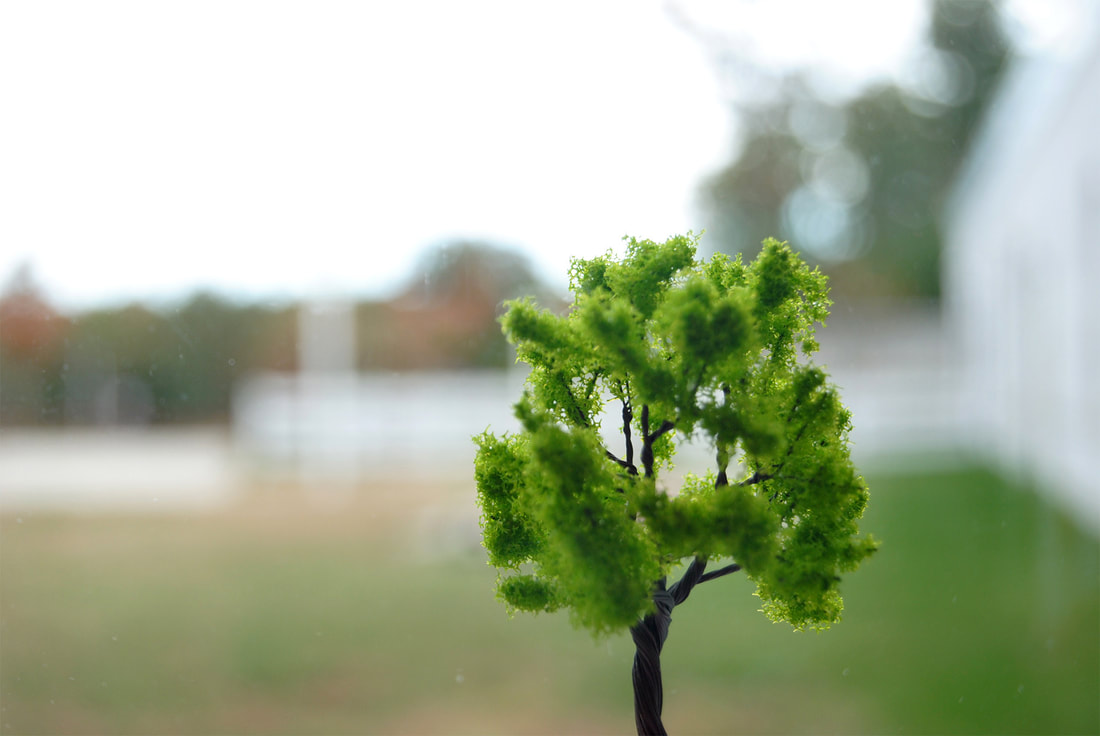
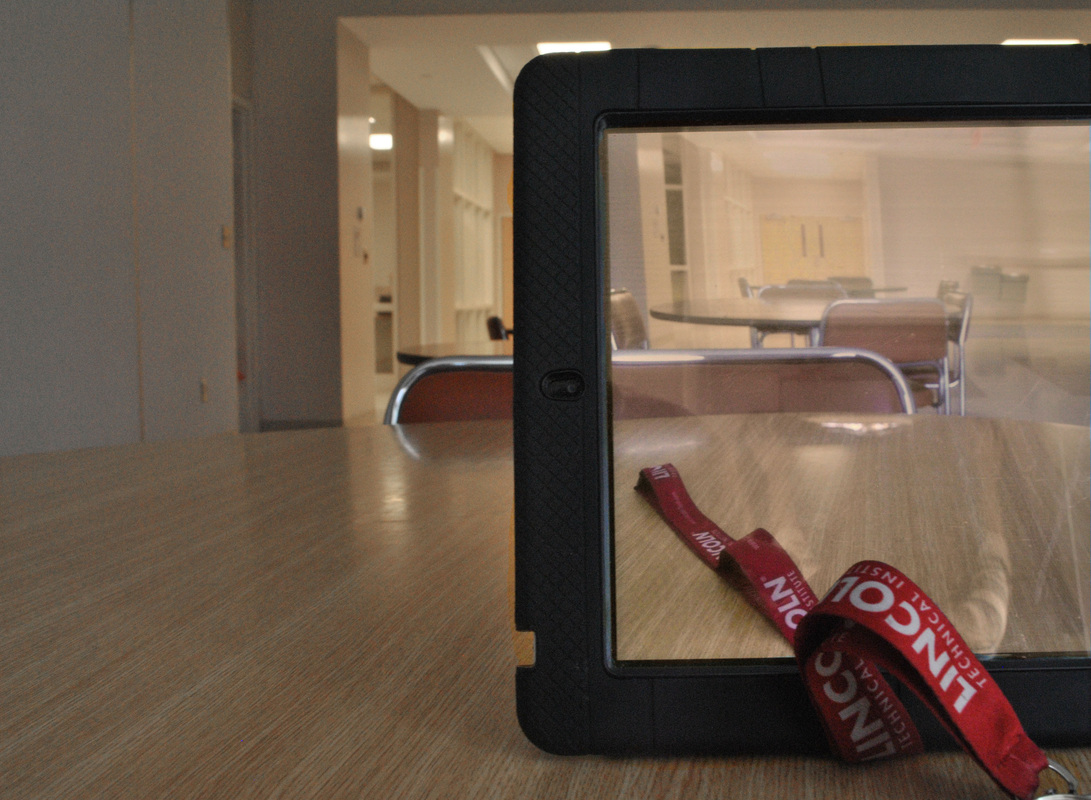
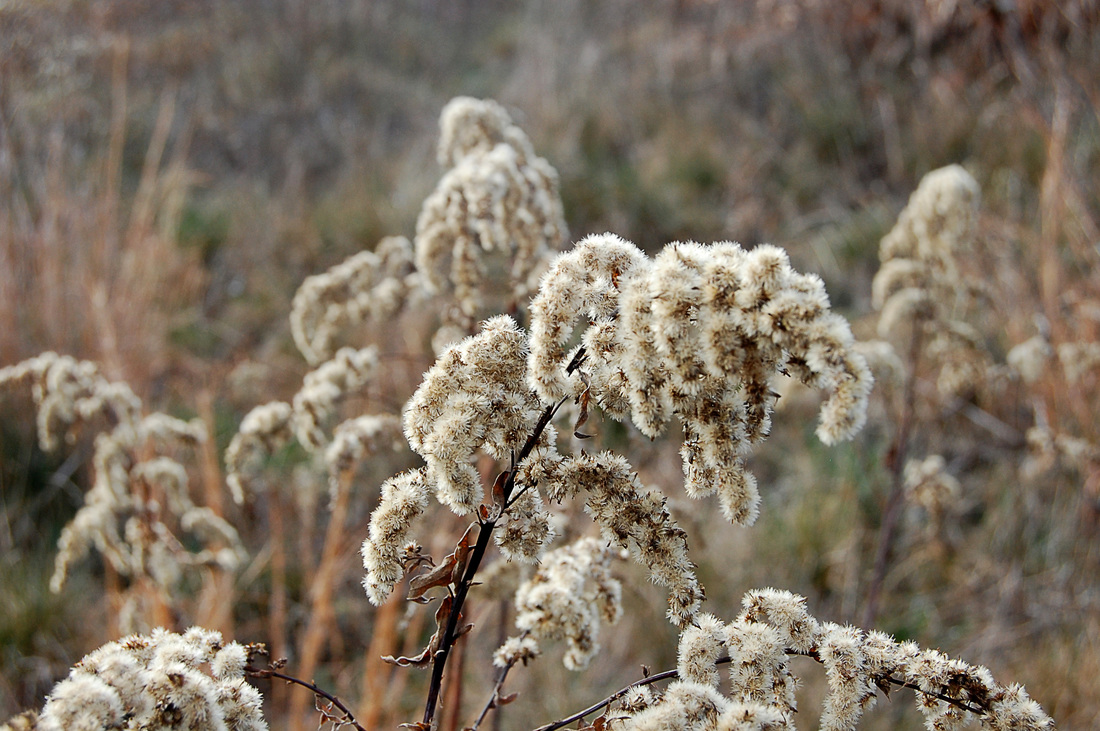
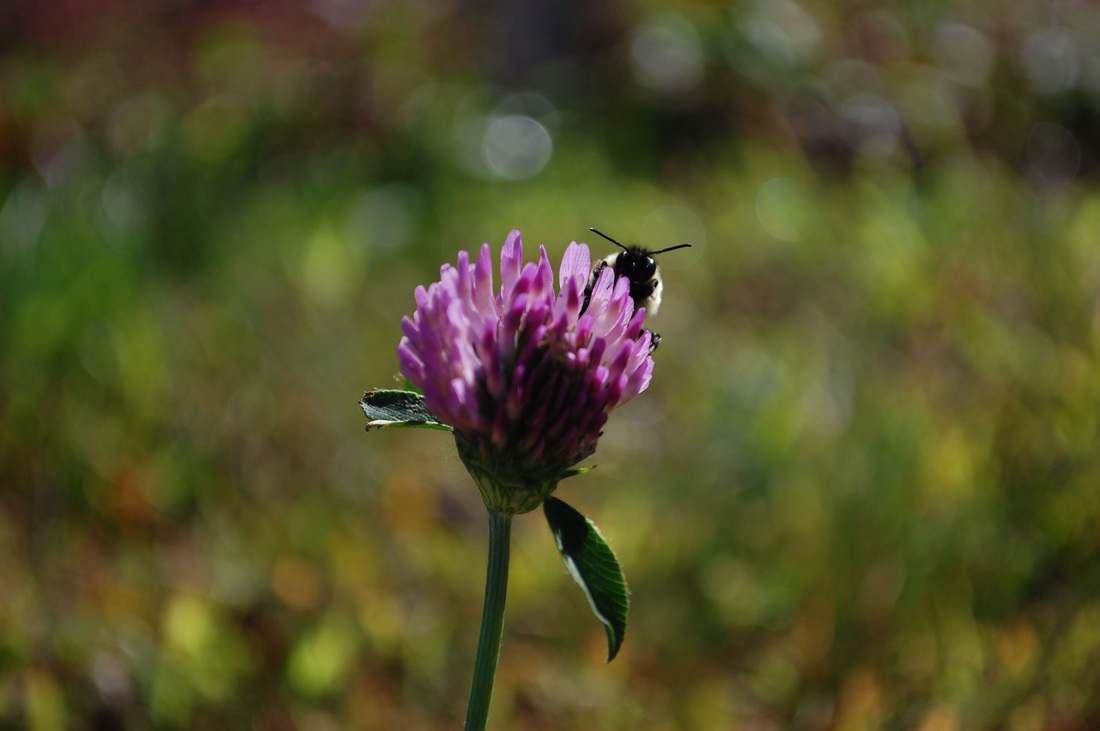
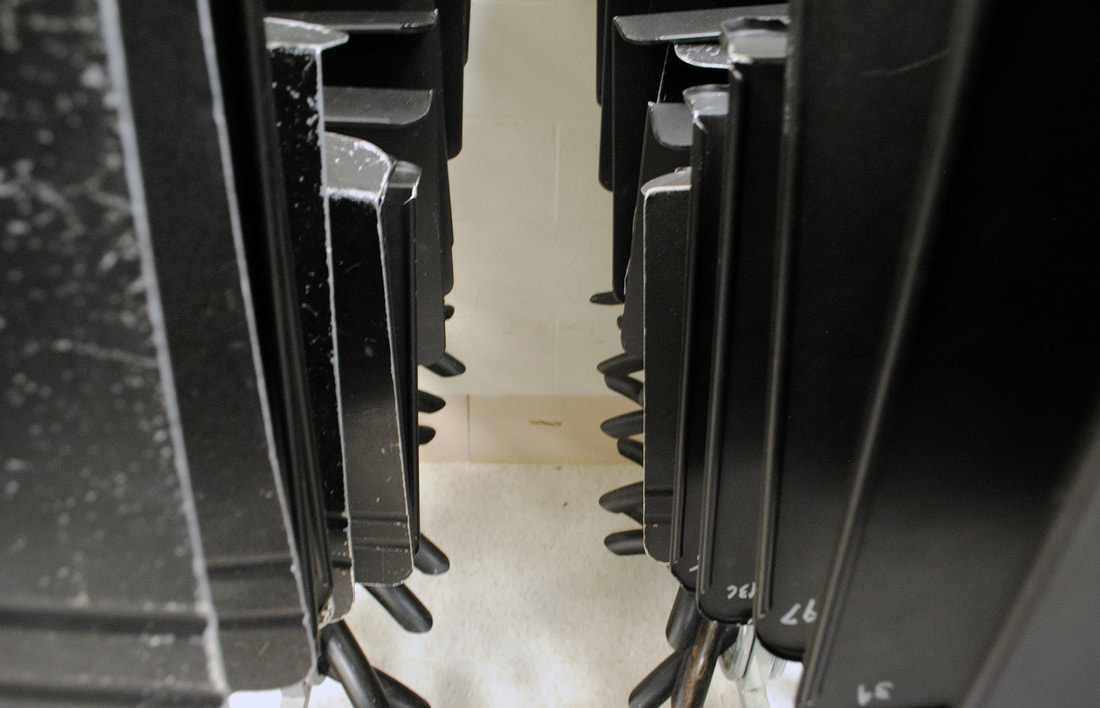
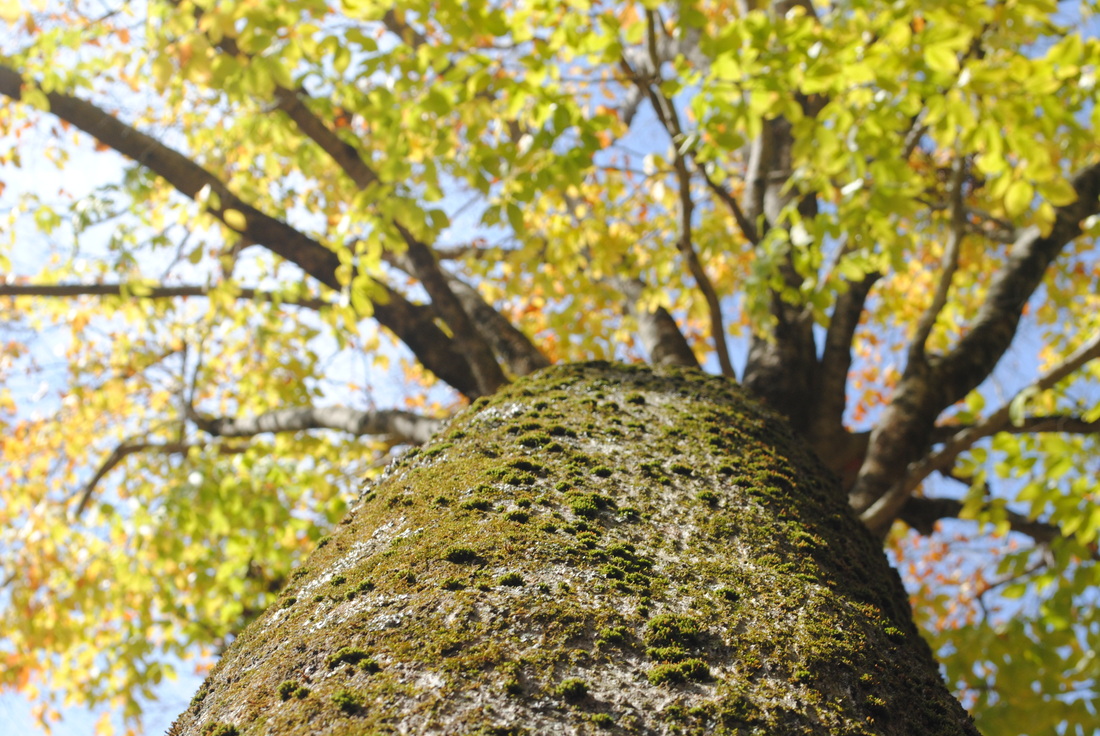
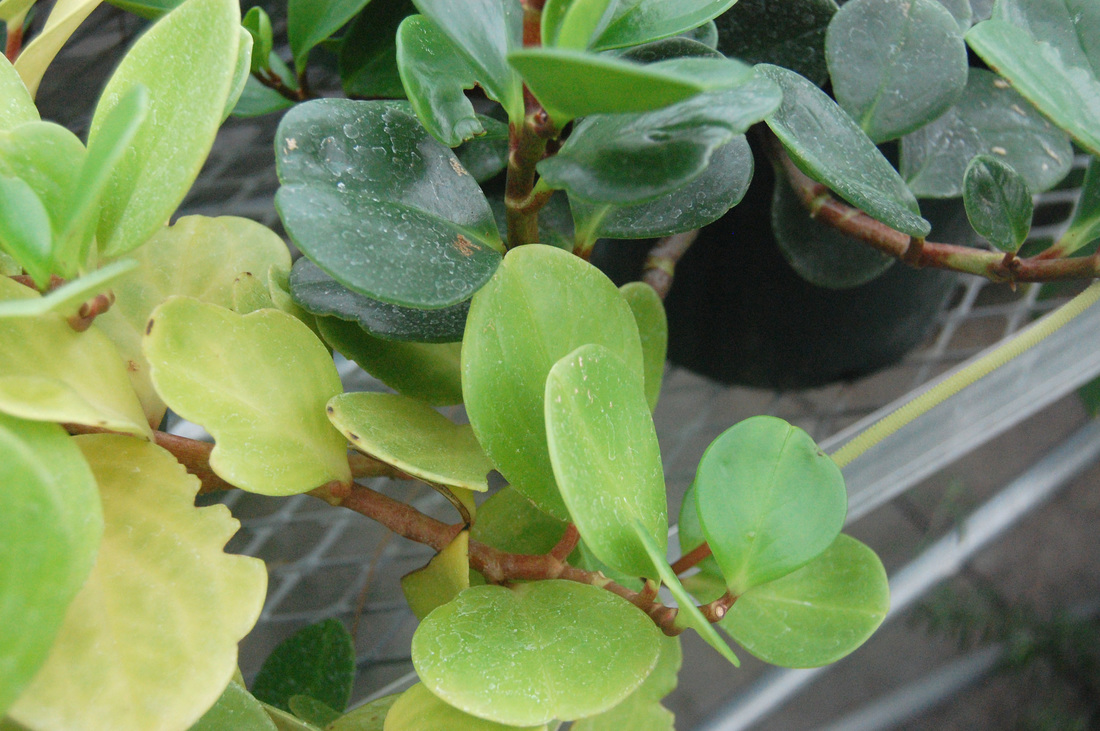
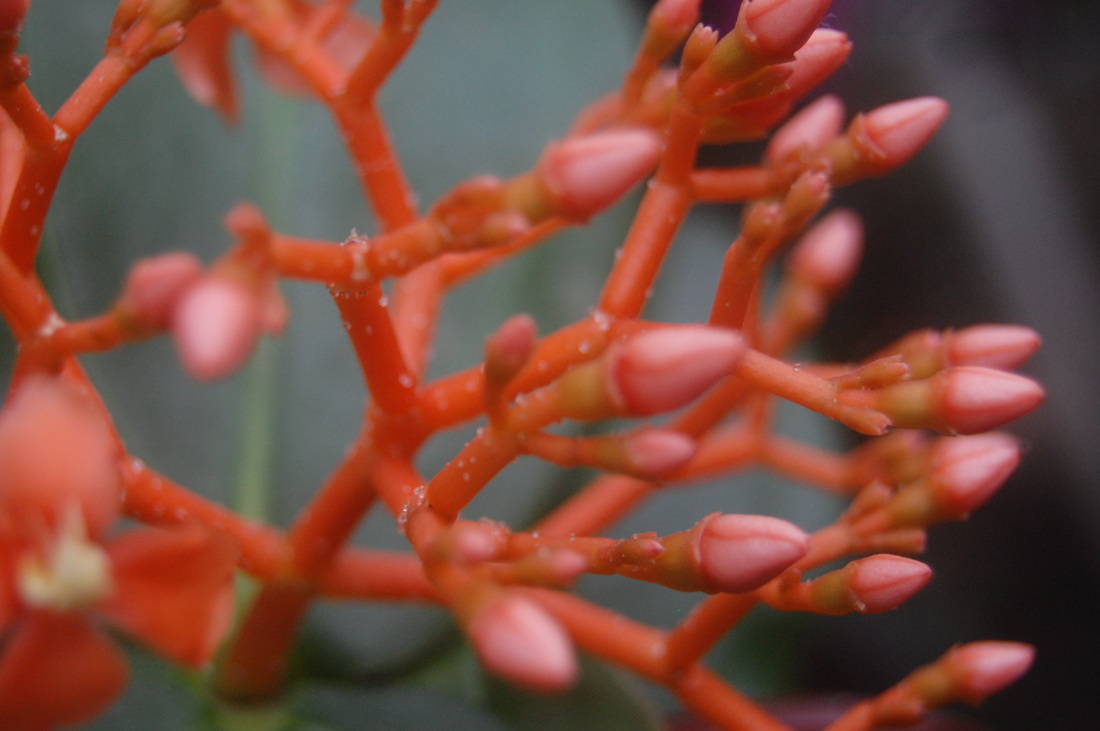
POP - Shallow Depth of Field
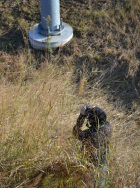
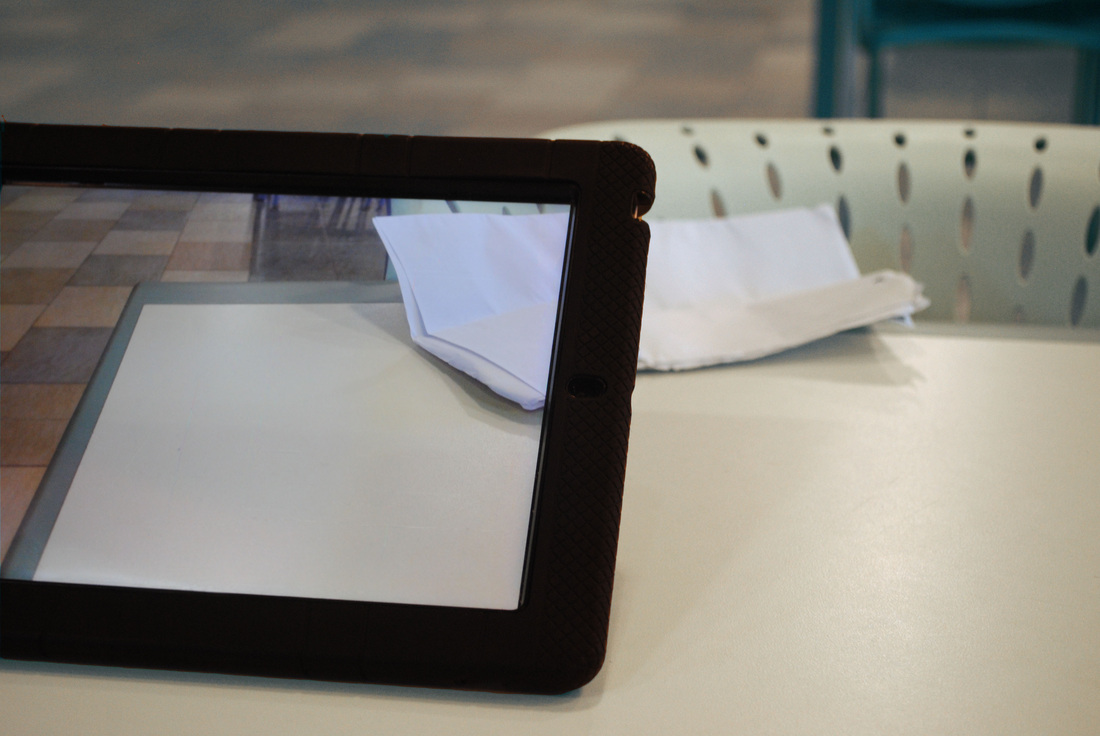
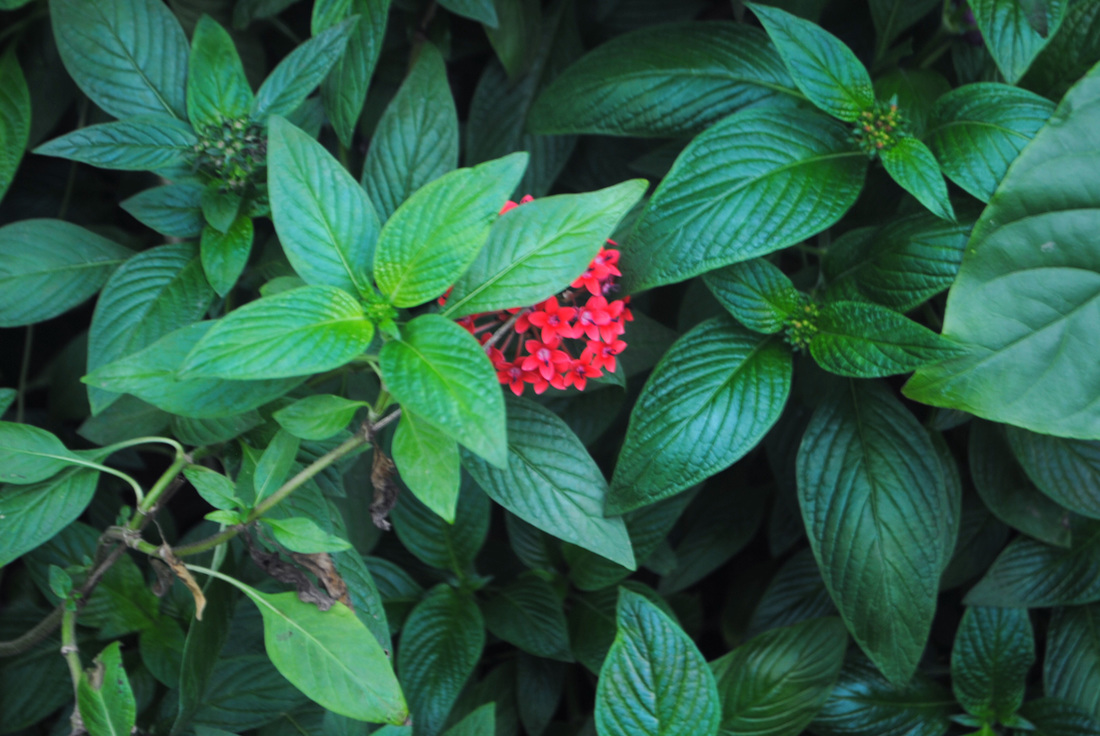
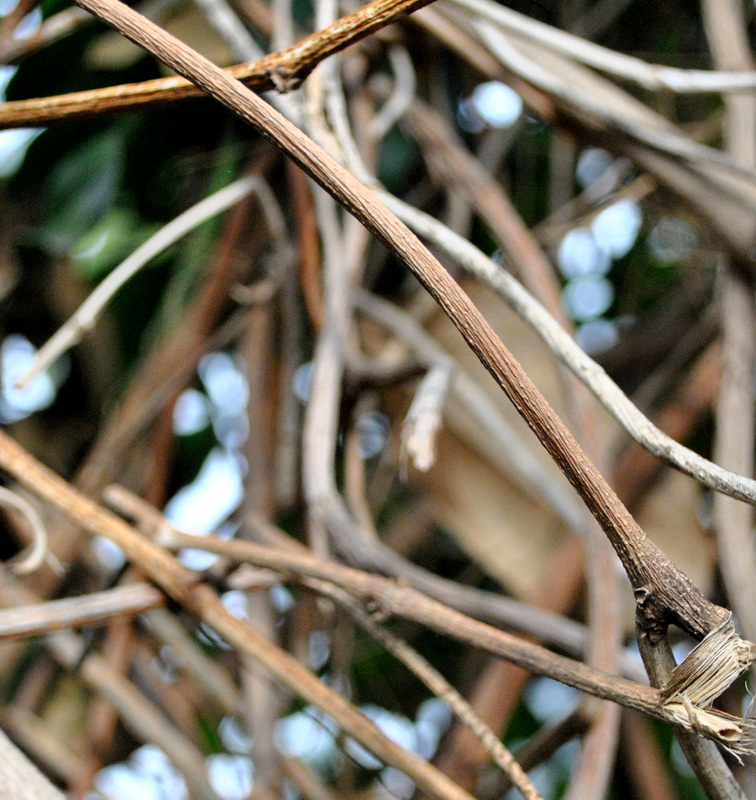
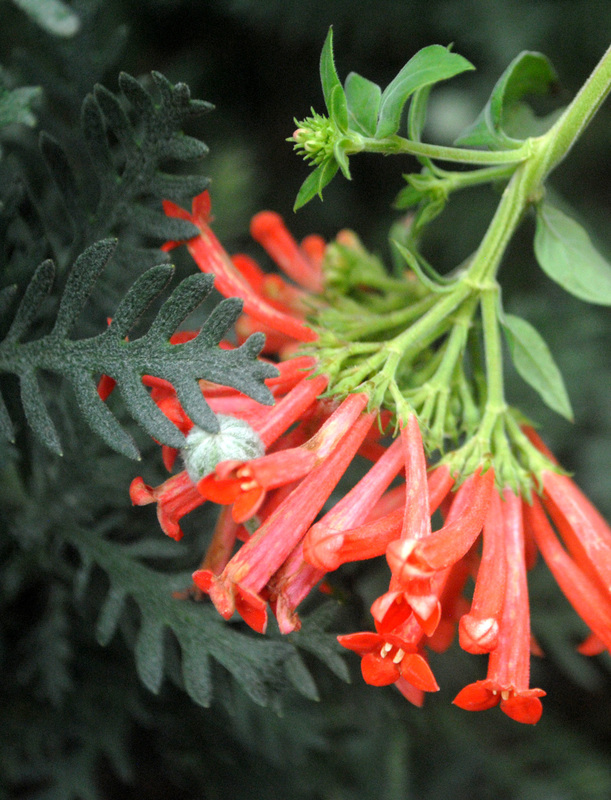
Students work to understand how aperture settings effect the depth of field in a photograph. They switch between low aperture numbers and high aperture numbers to produce multiple shallow and deep depth of field photographs. Shallow depth of field photographs have only a small part of the photograph in focus (usually the subject or part of the subject) while deep depth of field images should be completely in focus from foreground to background.


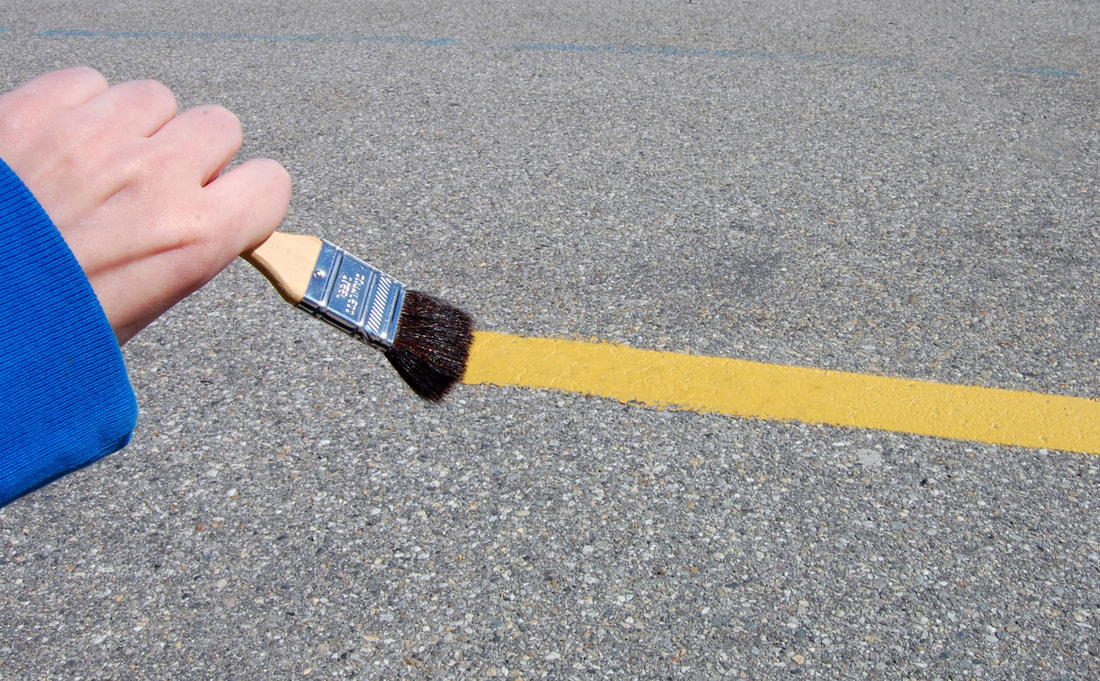
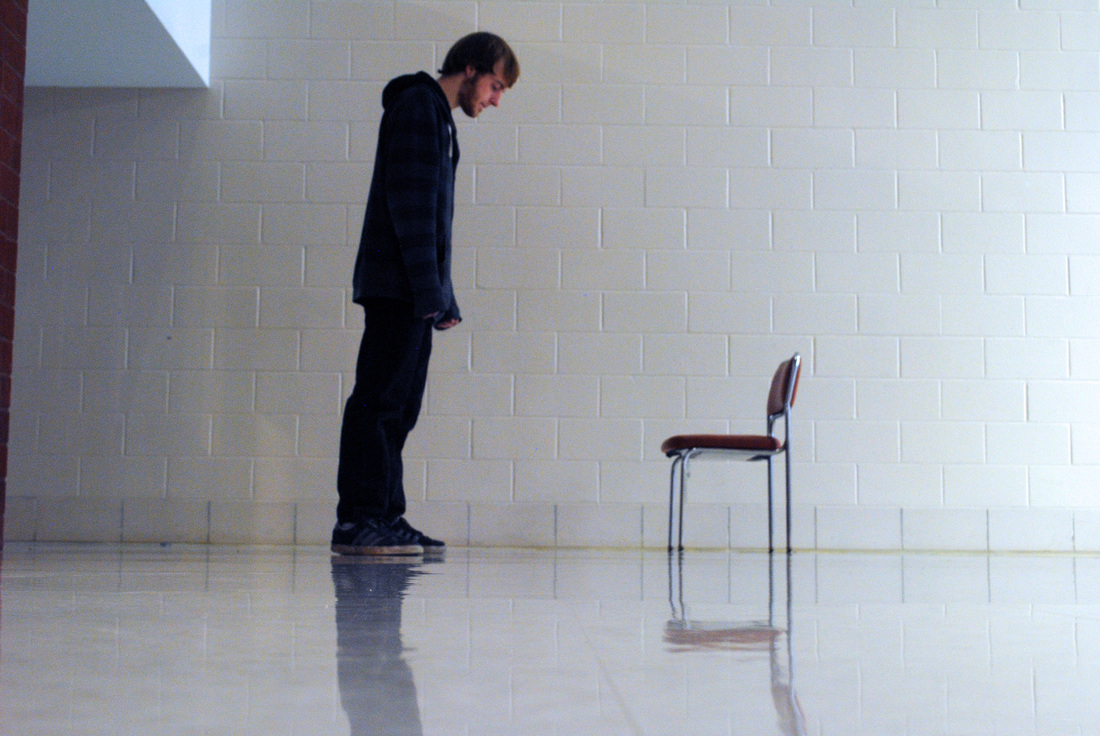
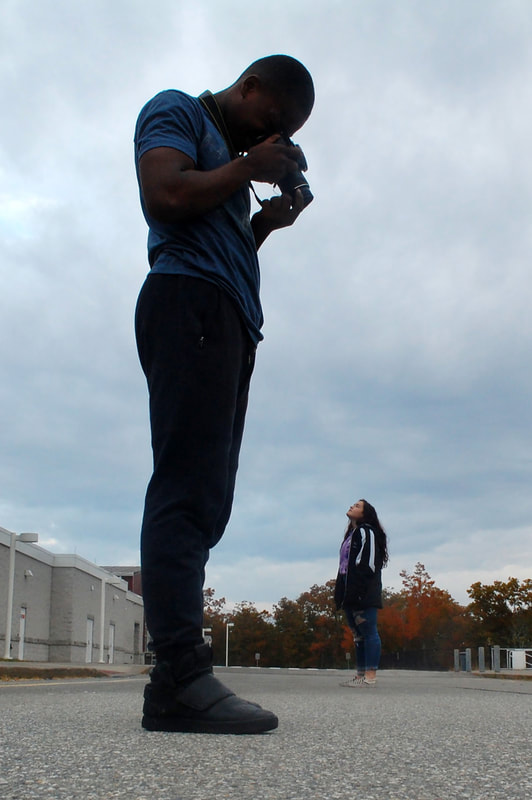
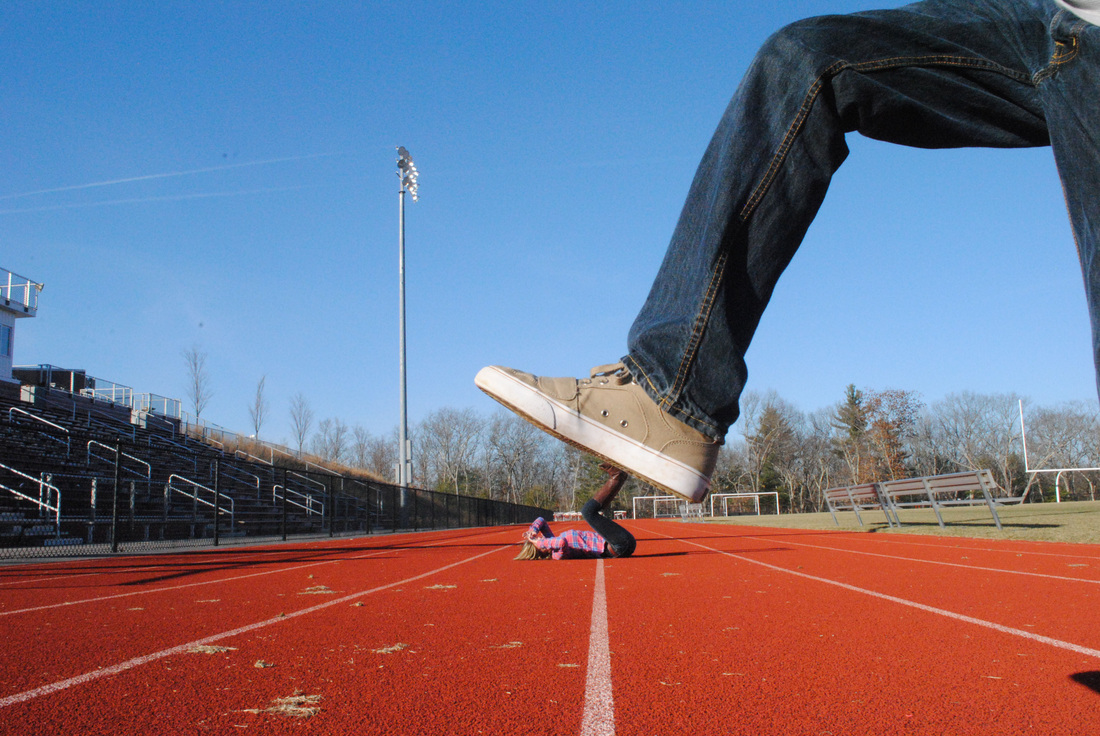
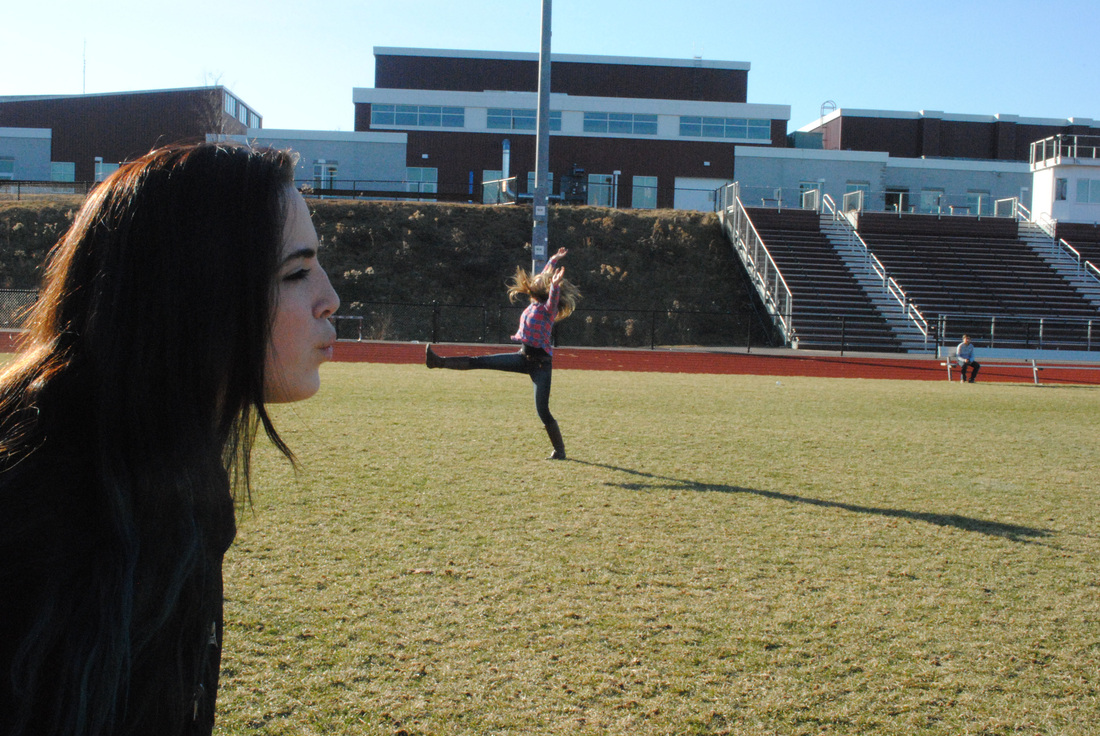
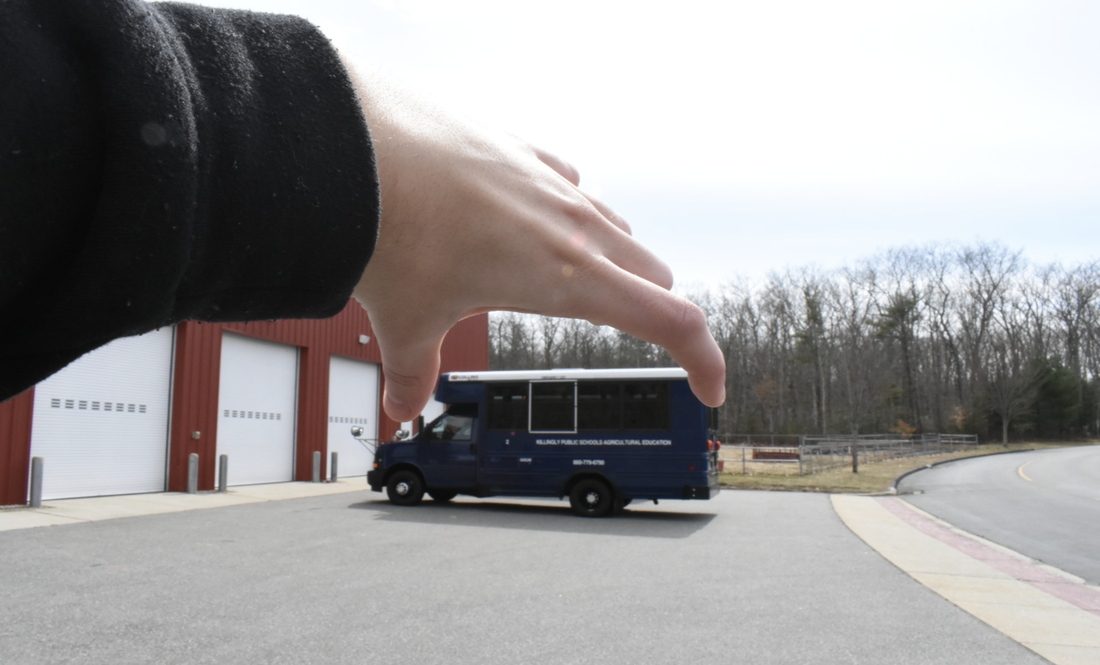
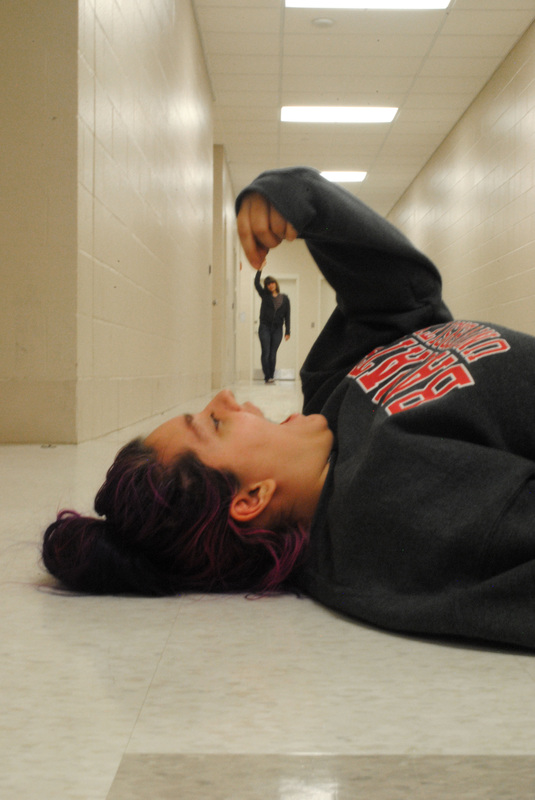
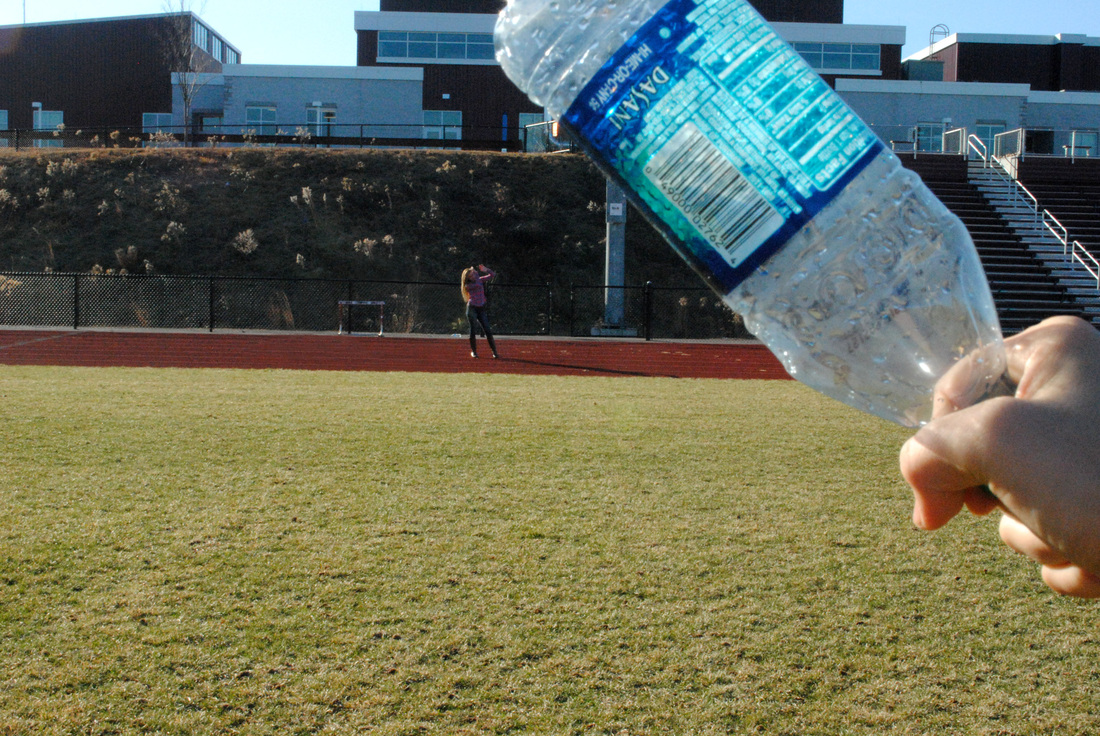
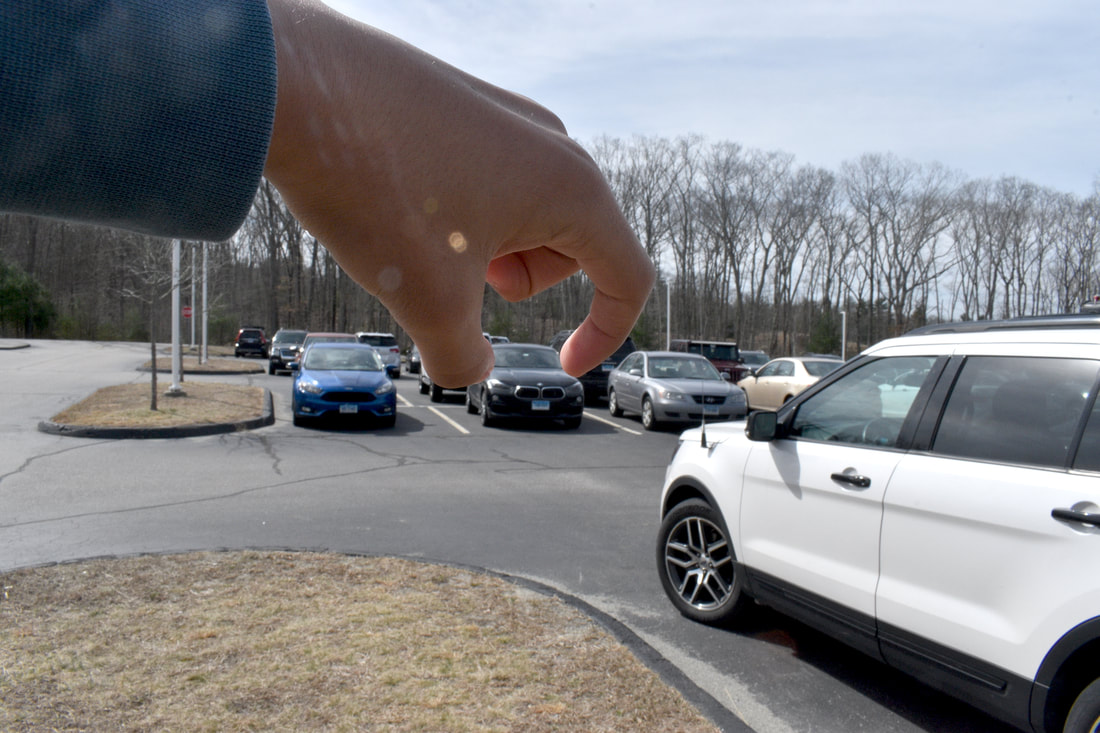
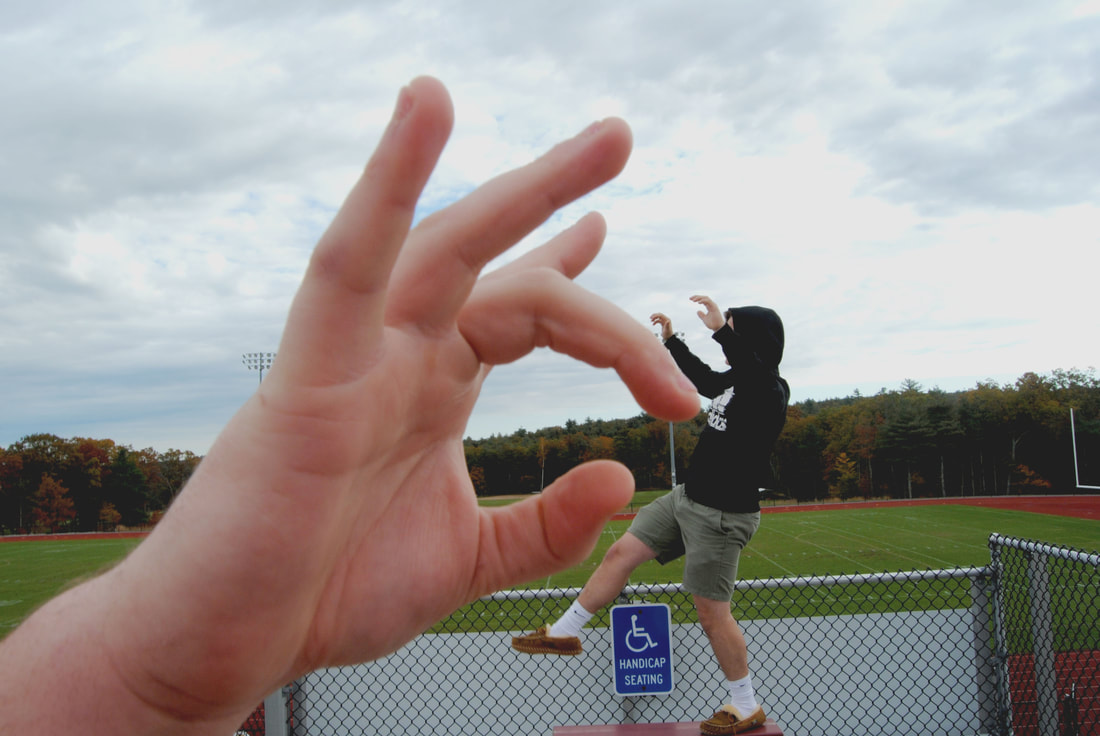
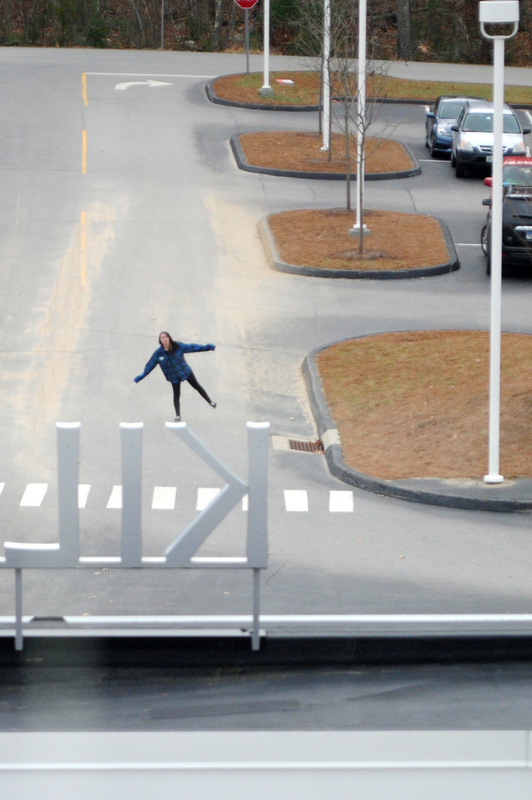
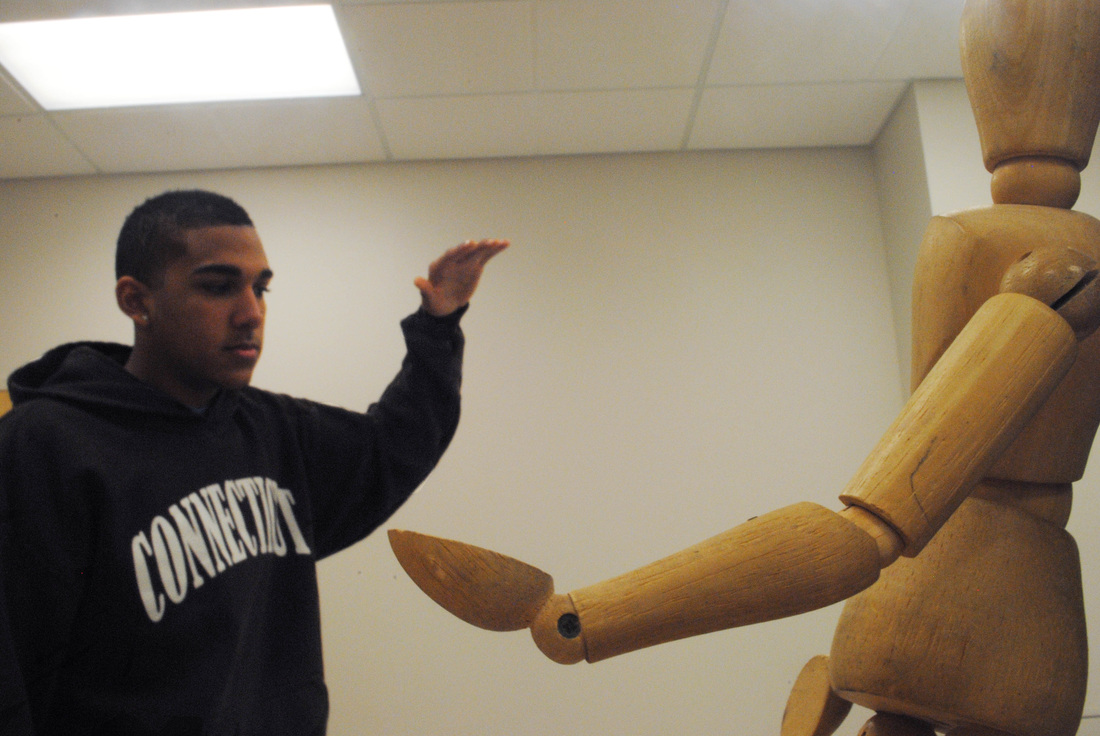
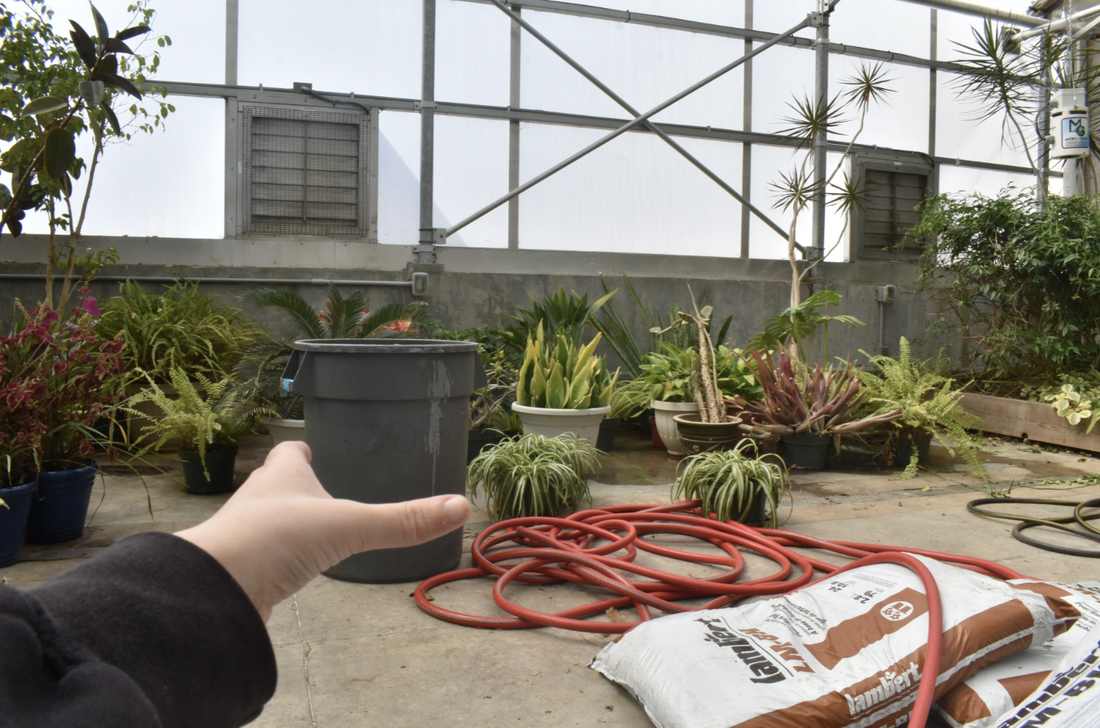
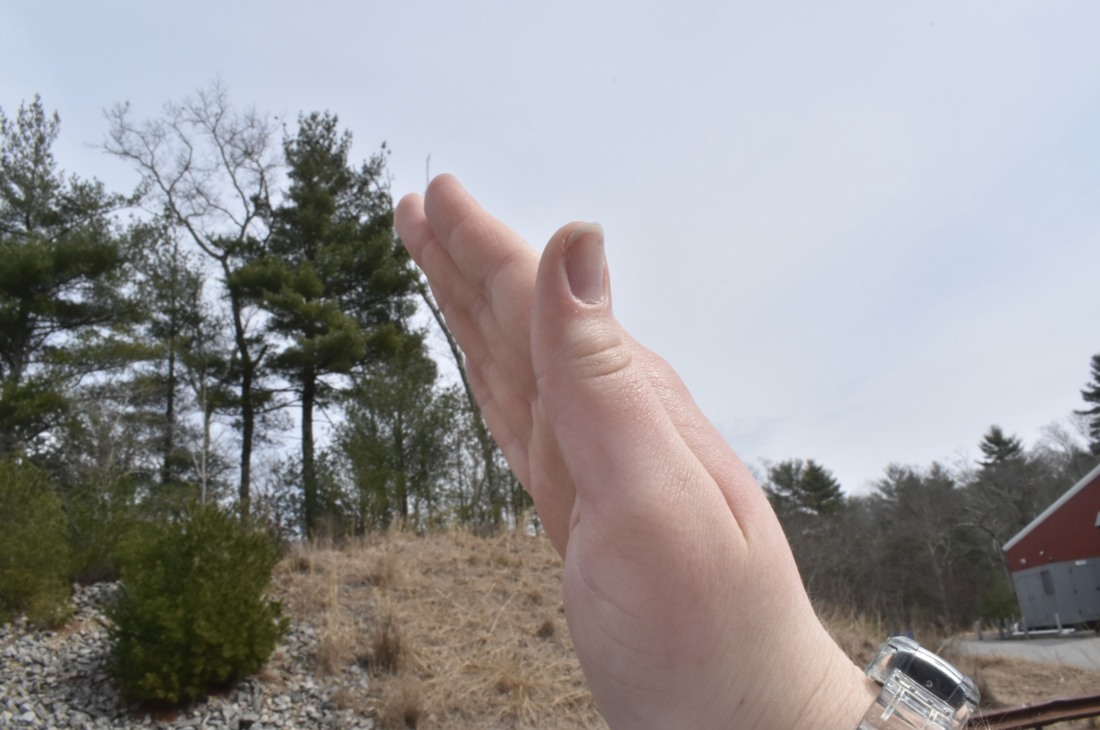
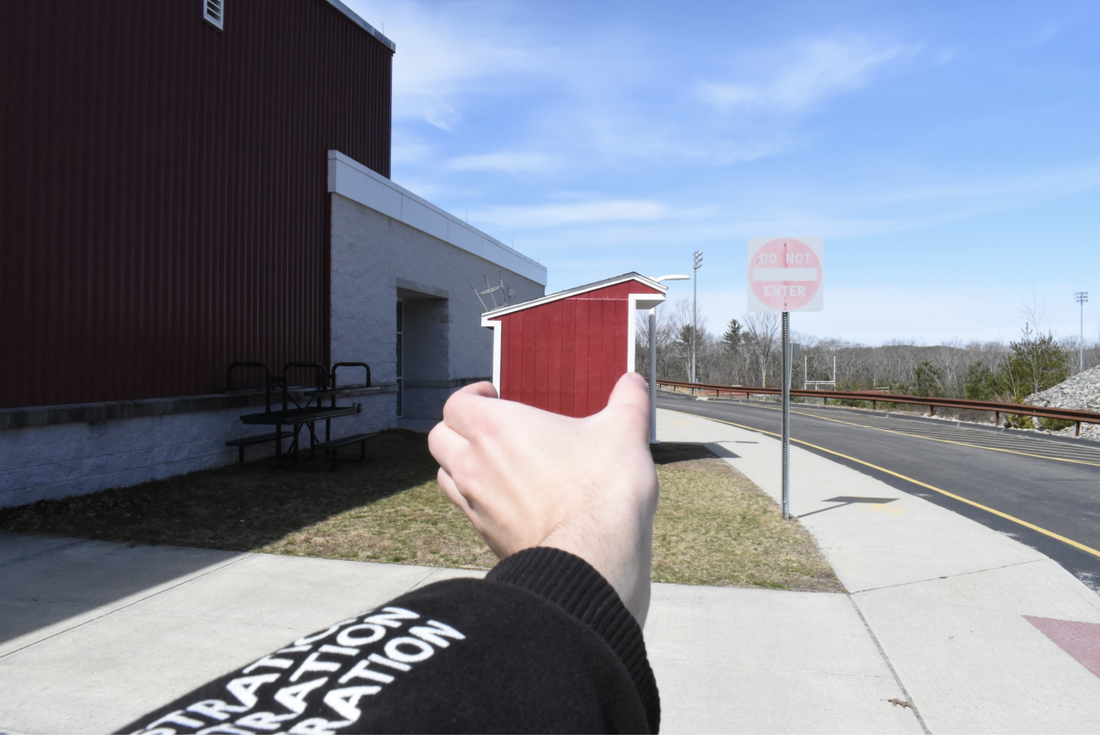
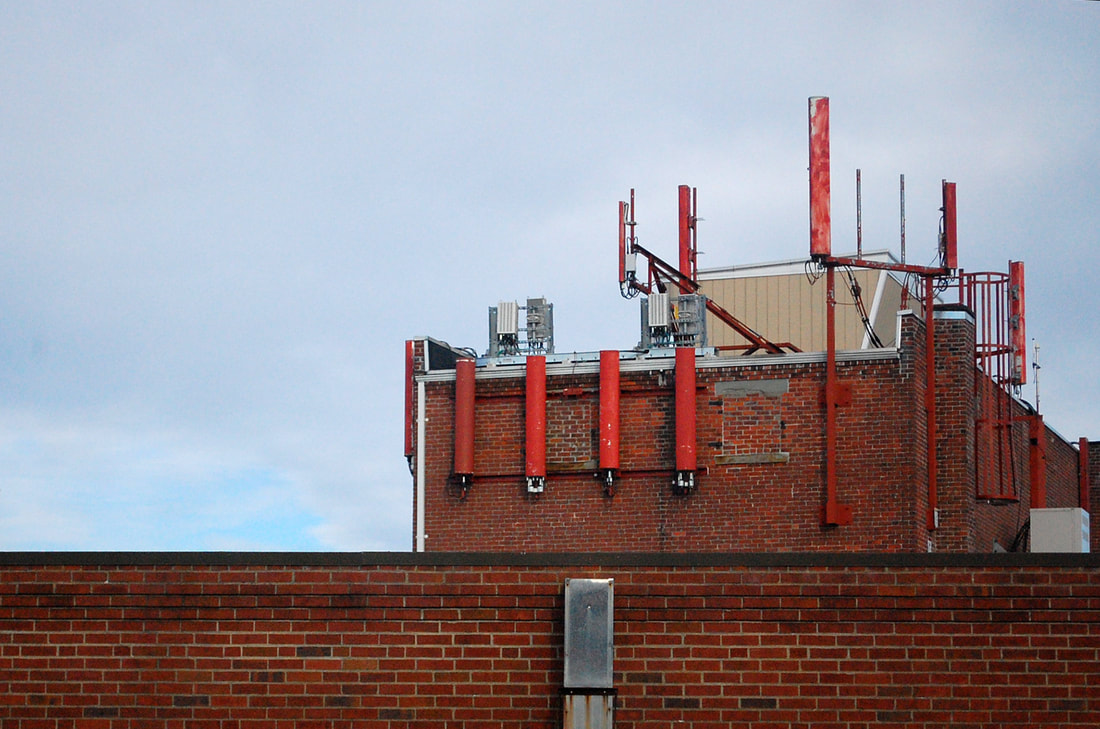
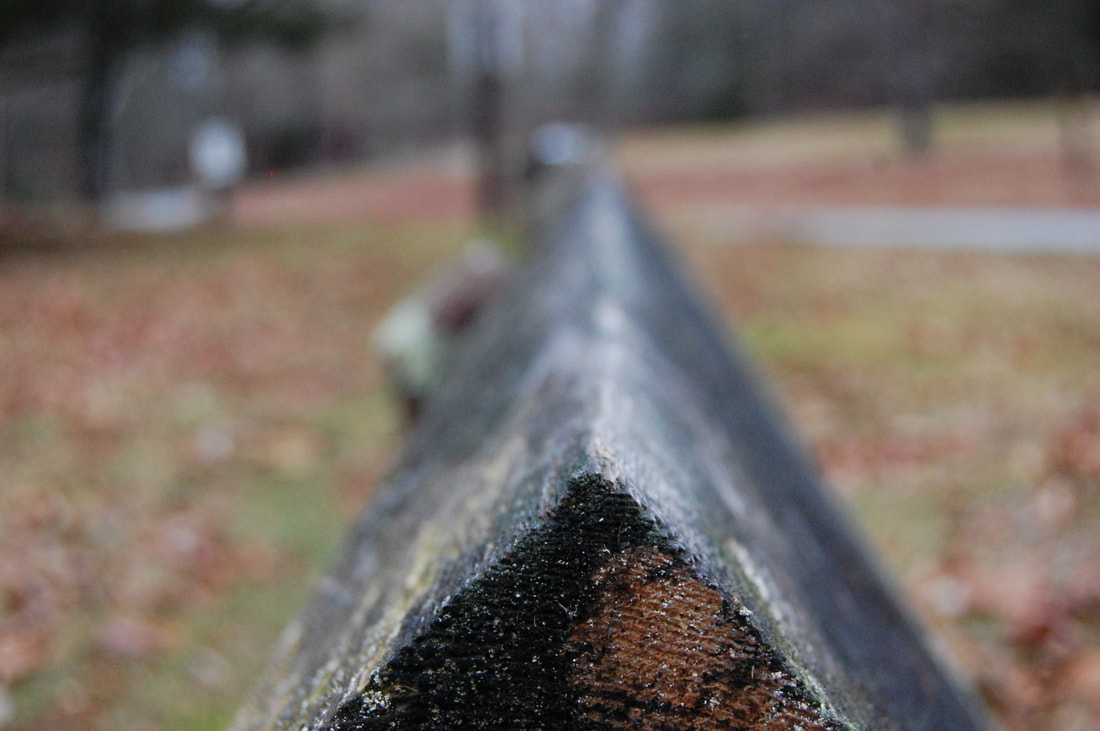
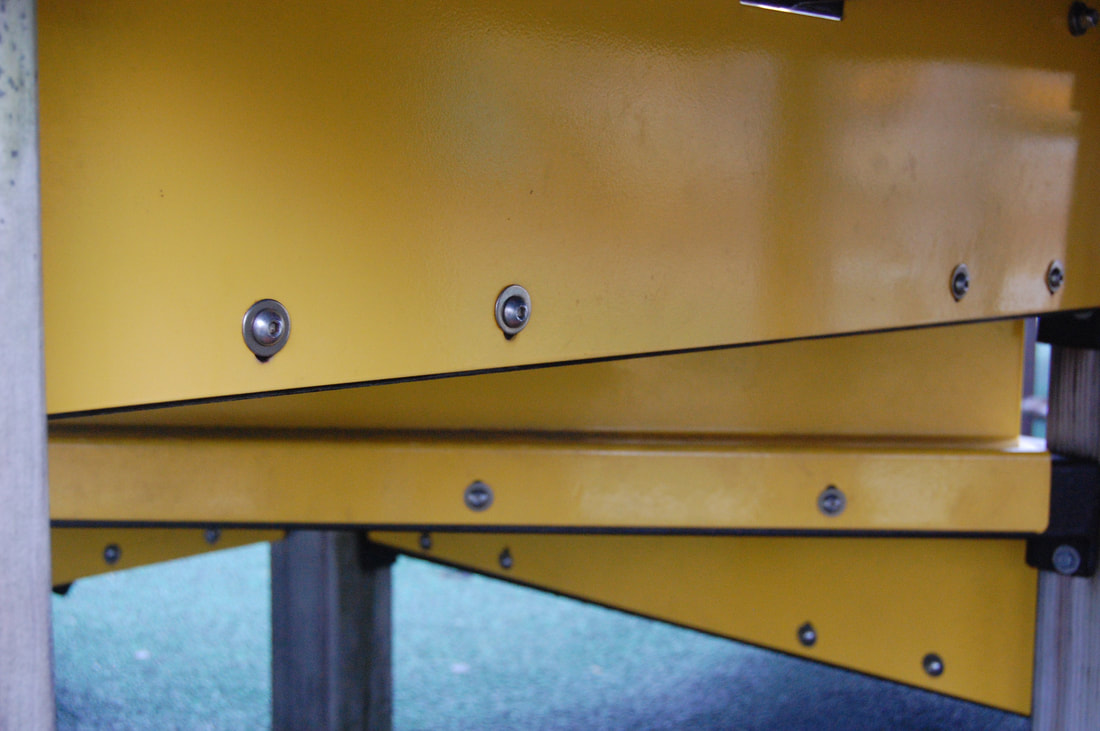
Forced Perspective - Deep Depth of Field
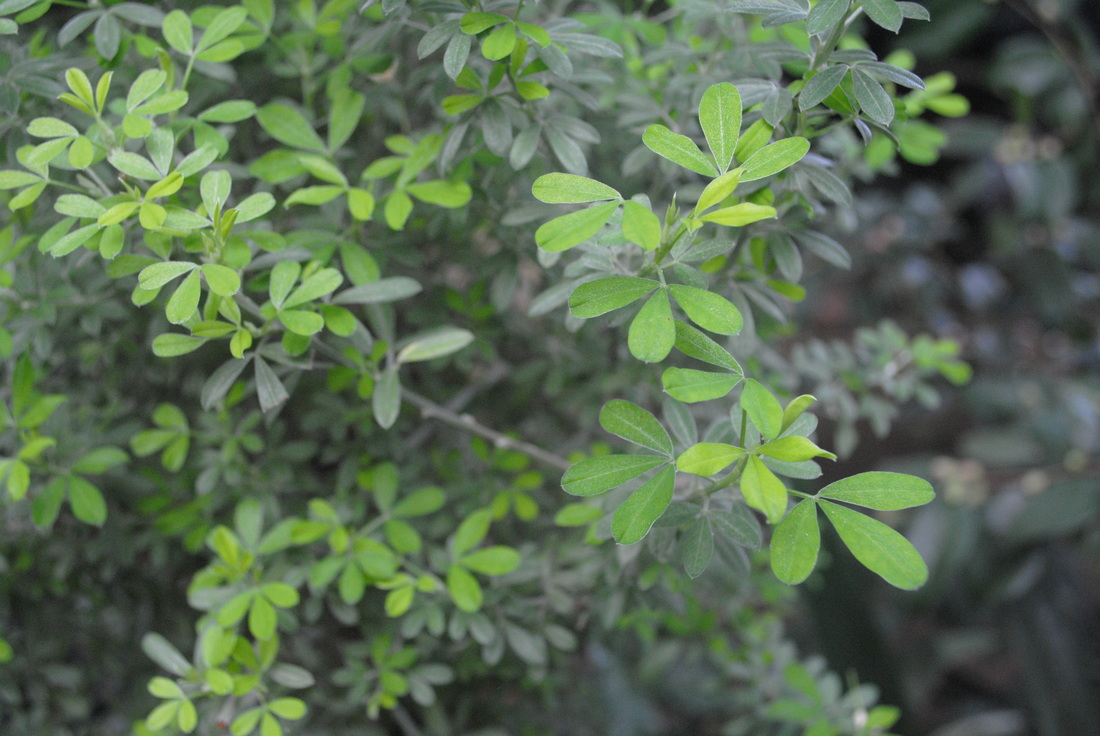
Following our POP - Shallow depth of field assignment, students raise their aperture settings to create deep depth of field images. Forced perspective is a technique that employs optical illusions to make an object appear farther away, closer, larger or smaller than it actually is. The illusion relies on the use of a deep depth of field to make the distant objects appear to be on the same plane. The forced perspective project offers students an opportunity to build on their technical skills in a multitude of environments, while engaging them in critical thinking and problem solving in order to create a successful illusion.

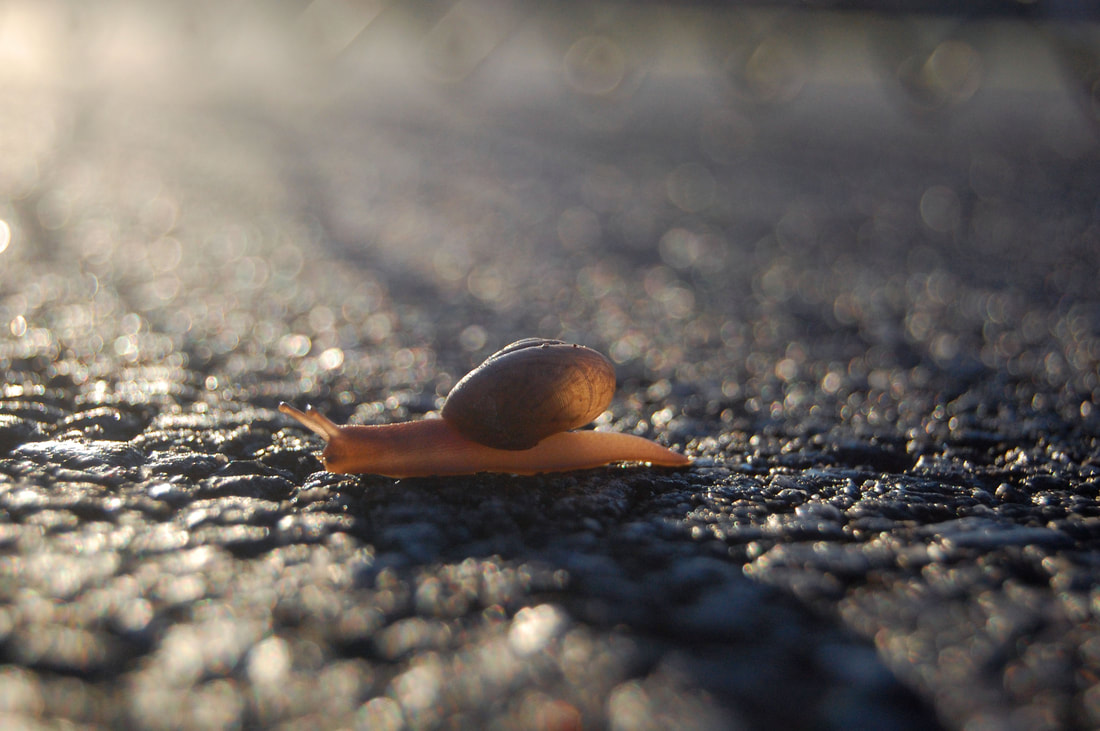
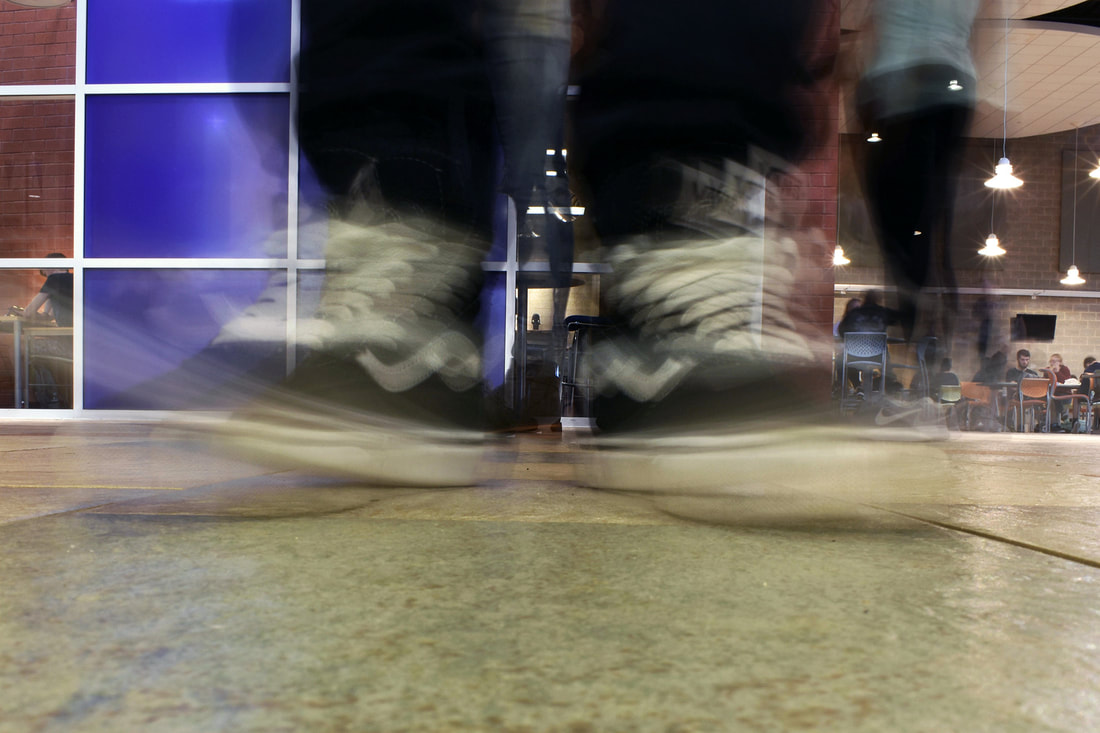
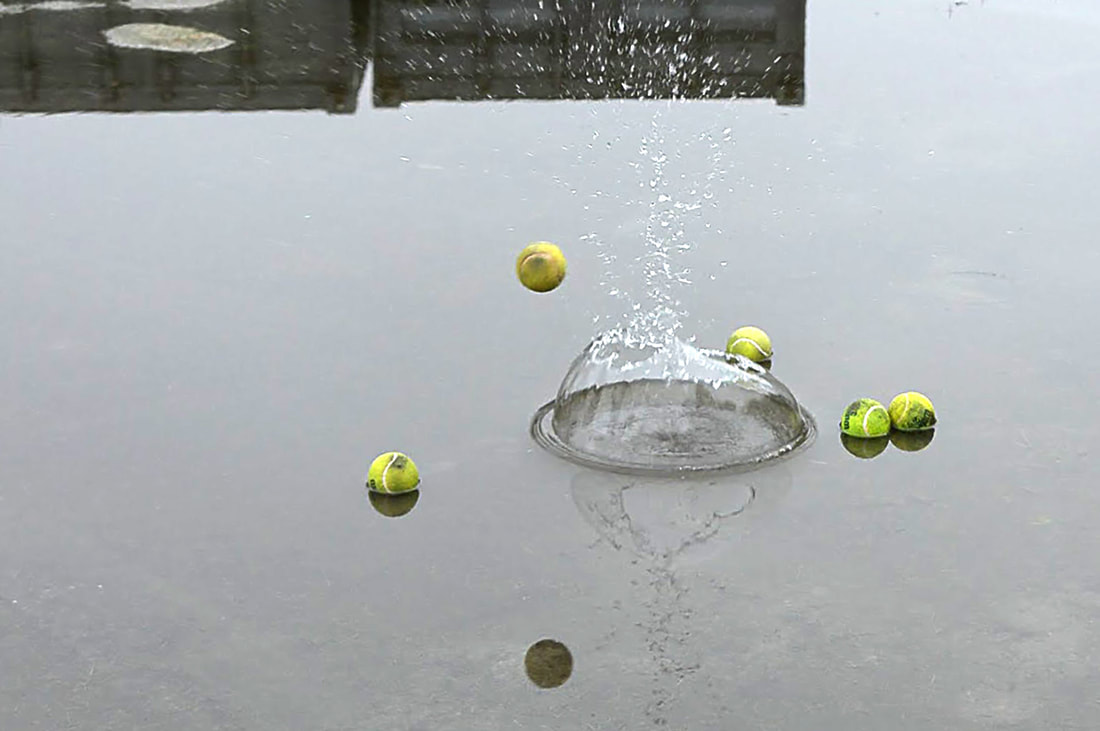
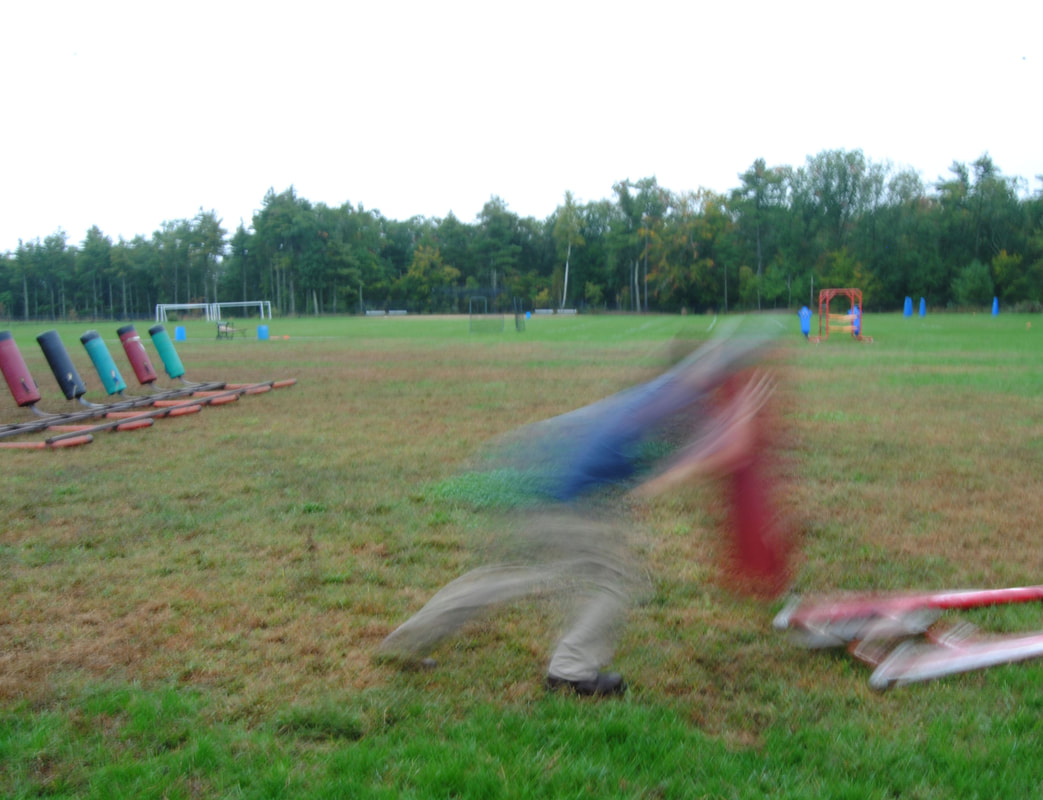
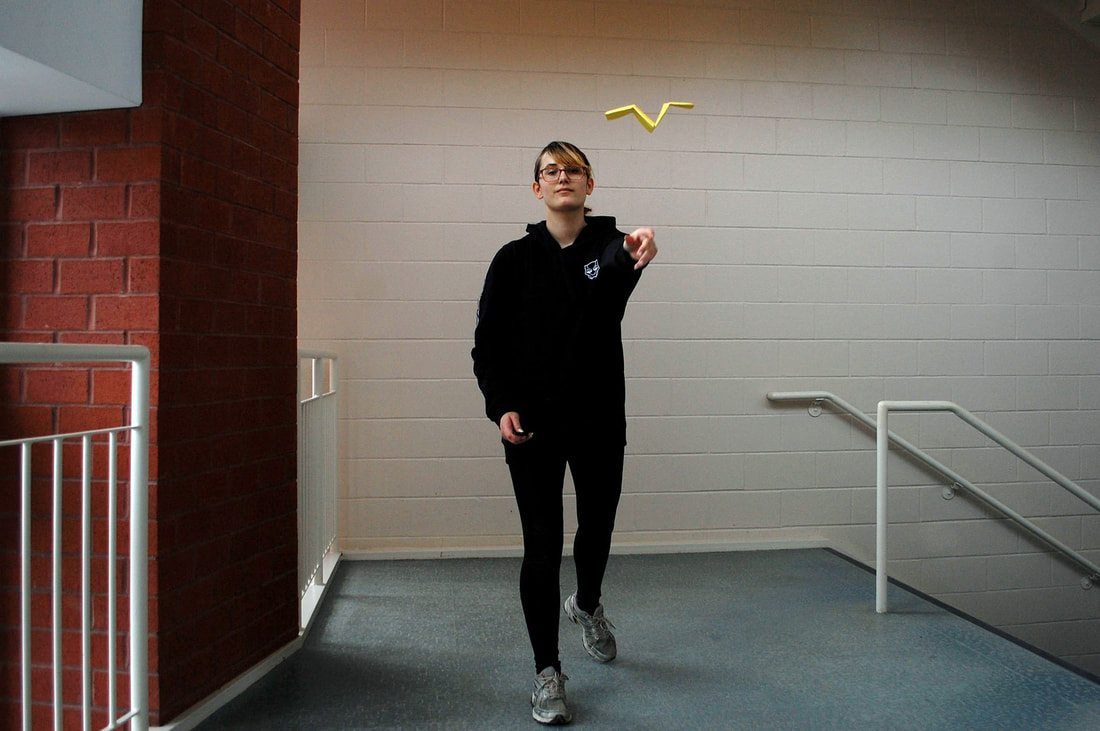
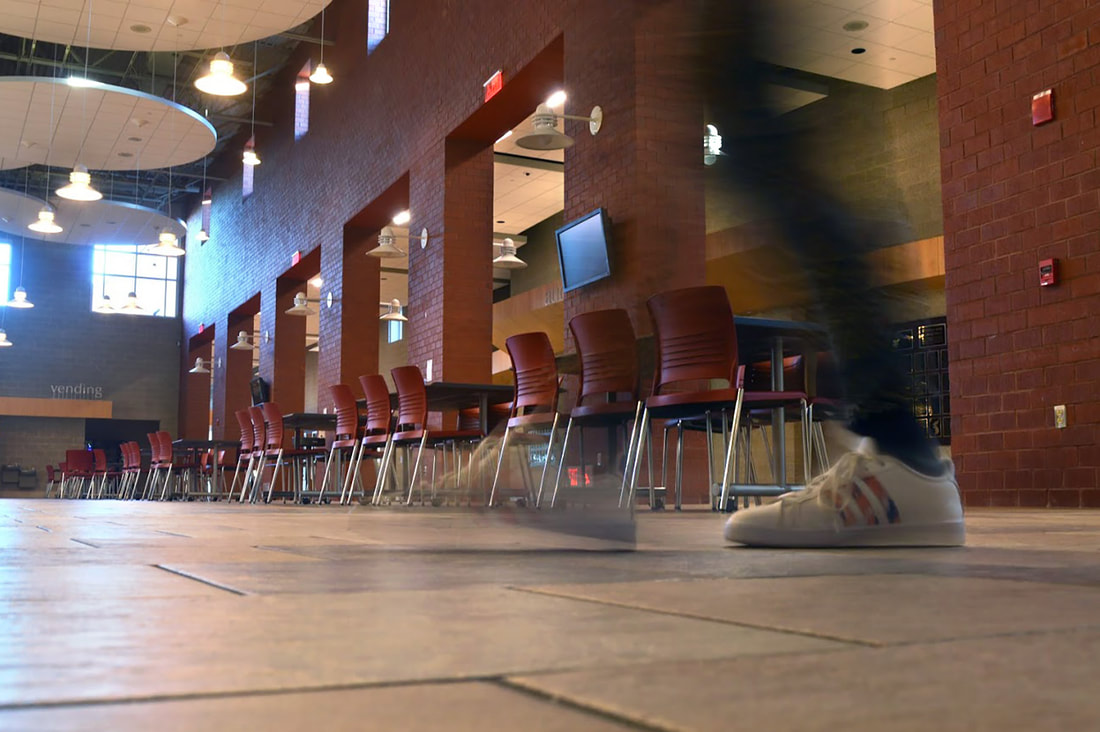
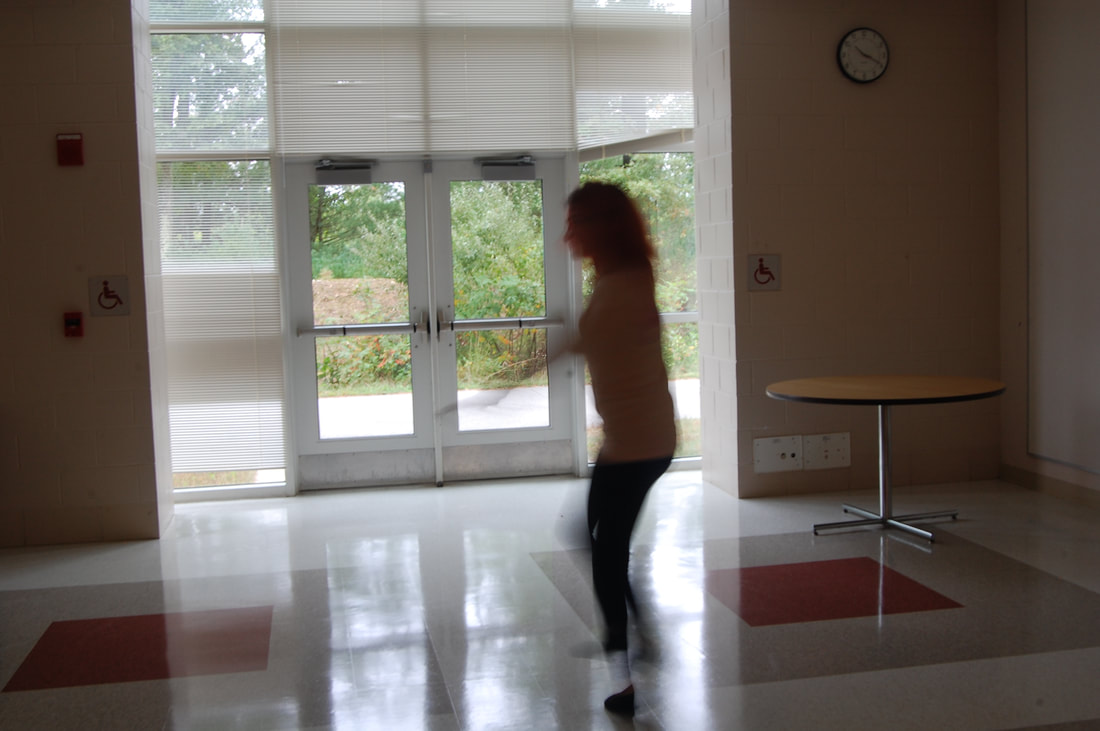
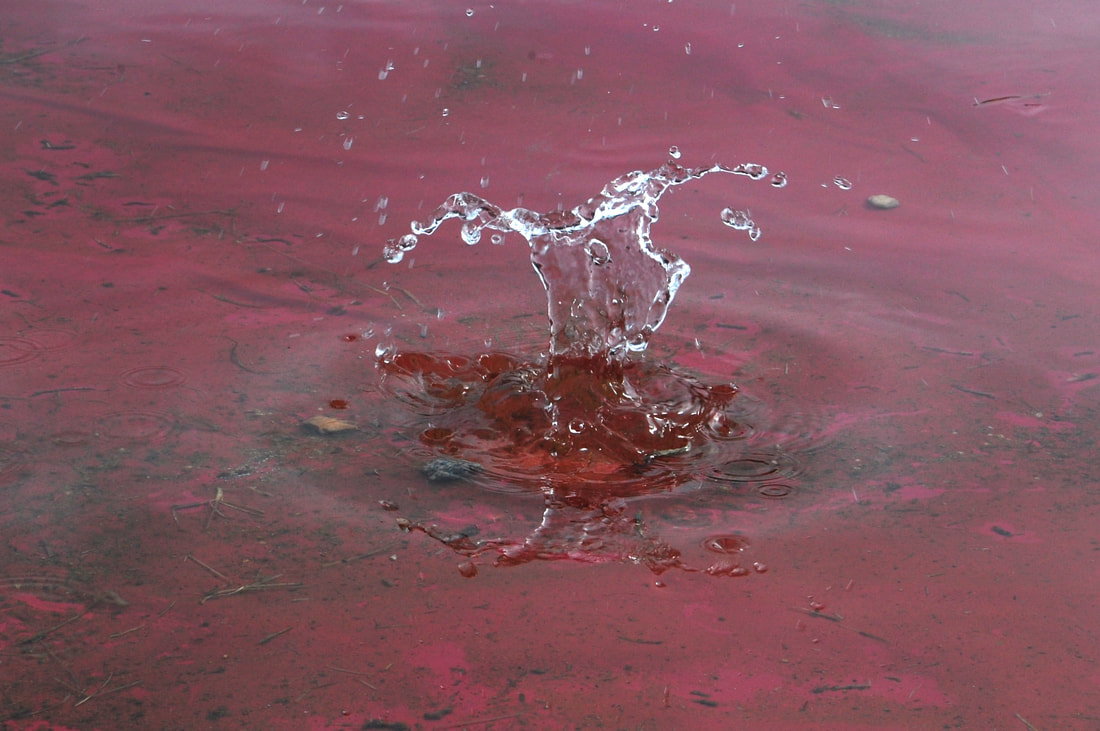
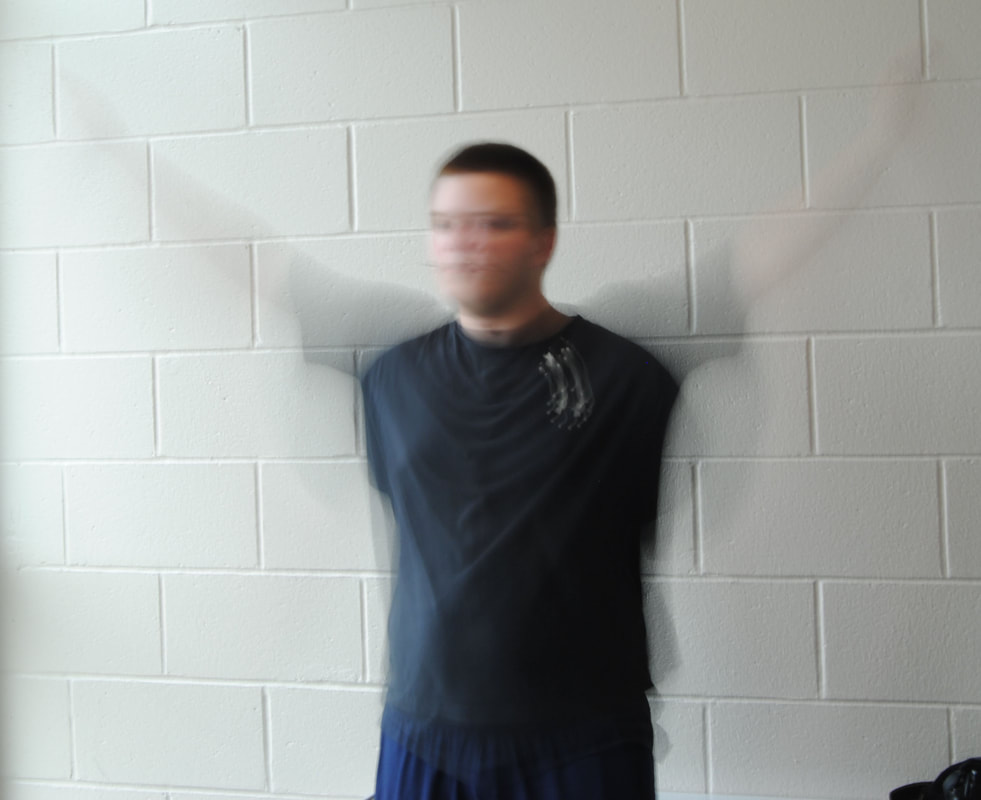
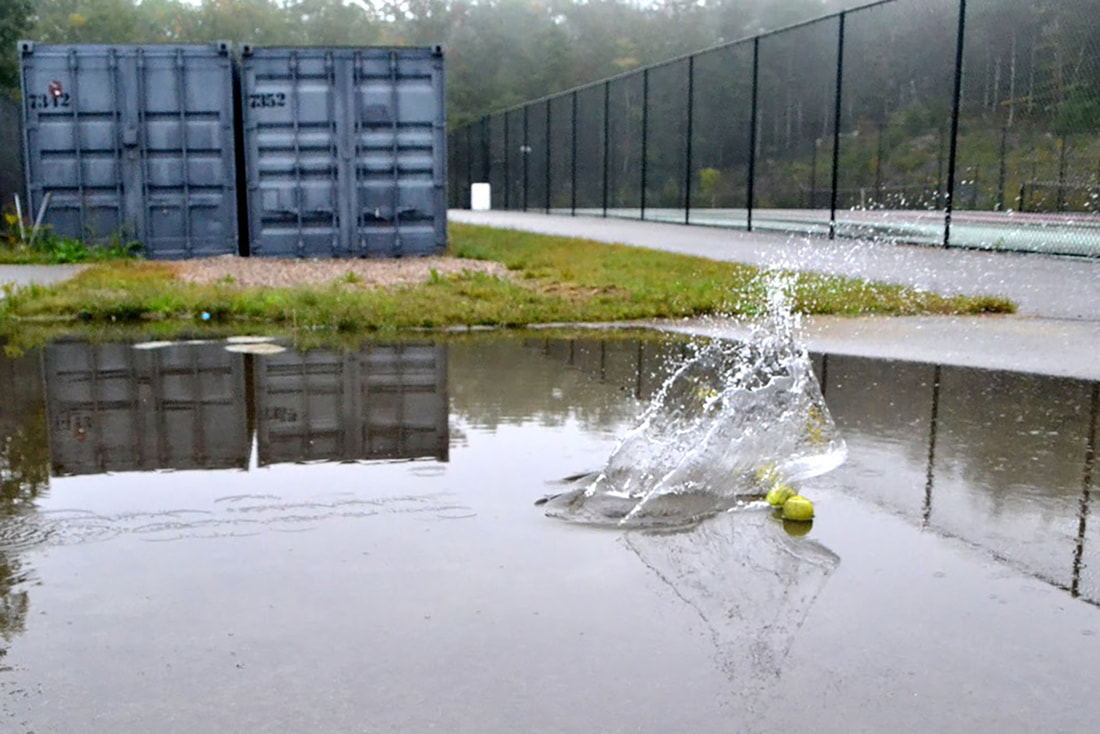
Shutter Speeds and Motion
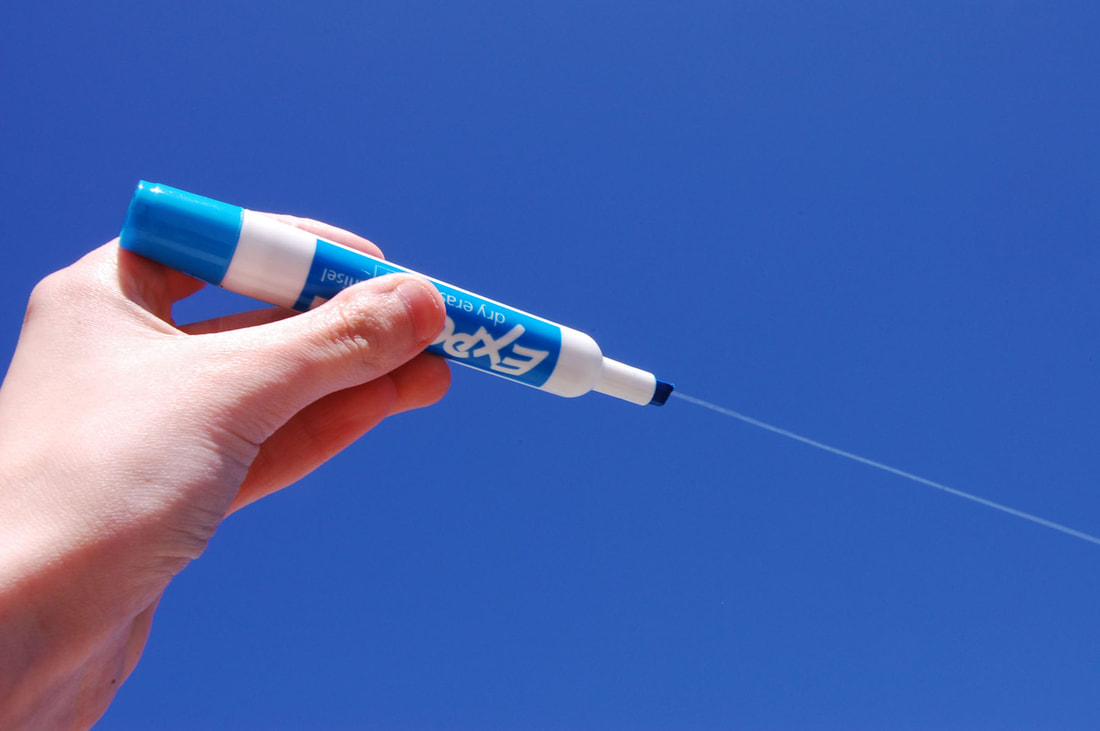
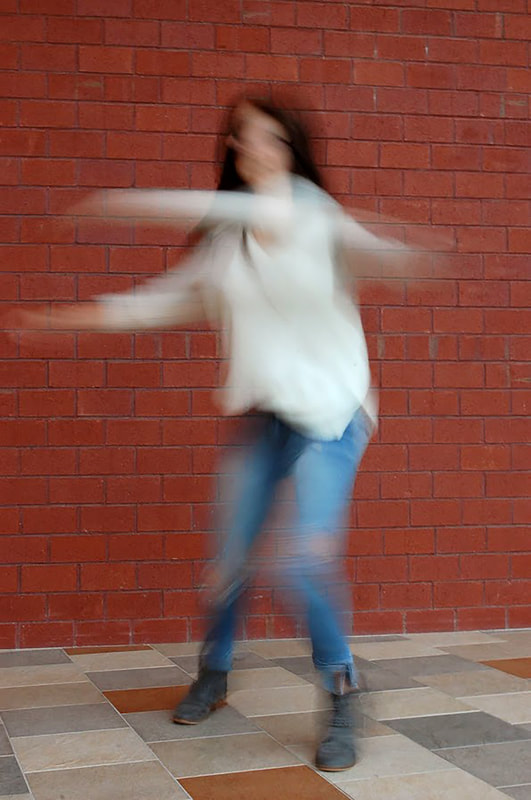
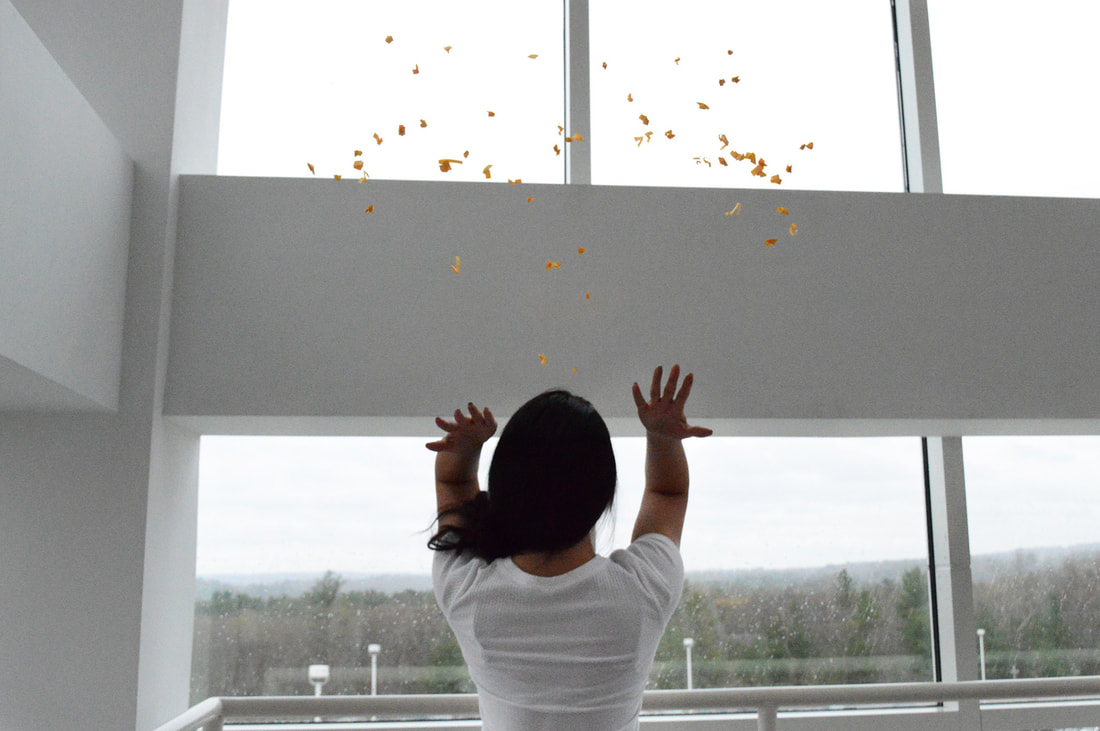
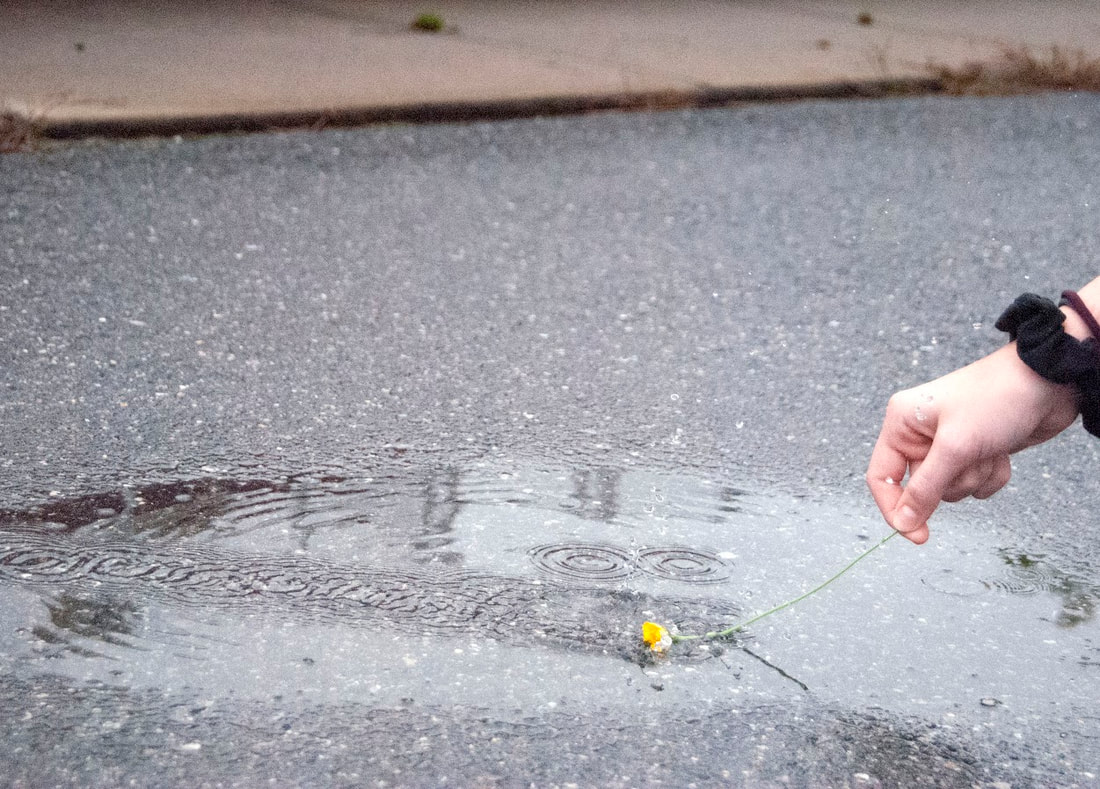
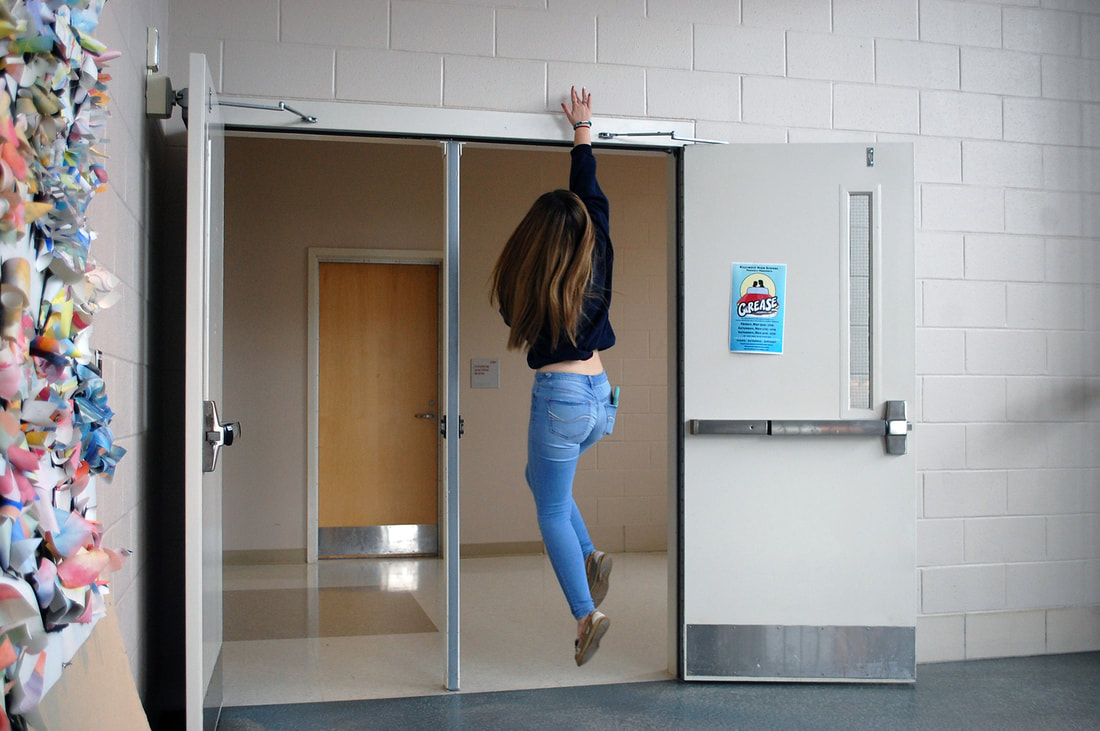
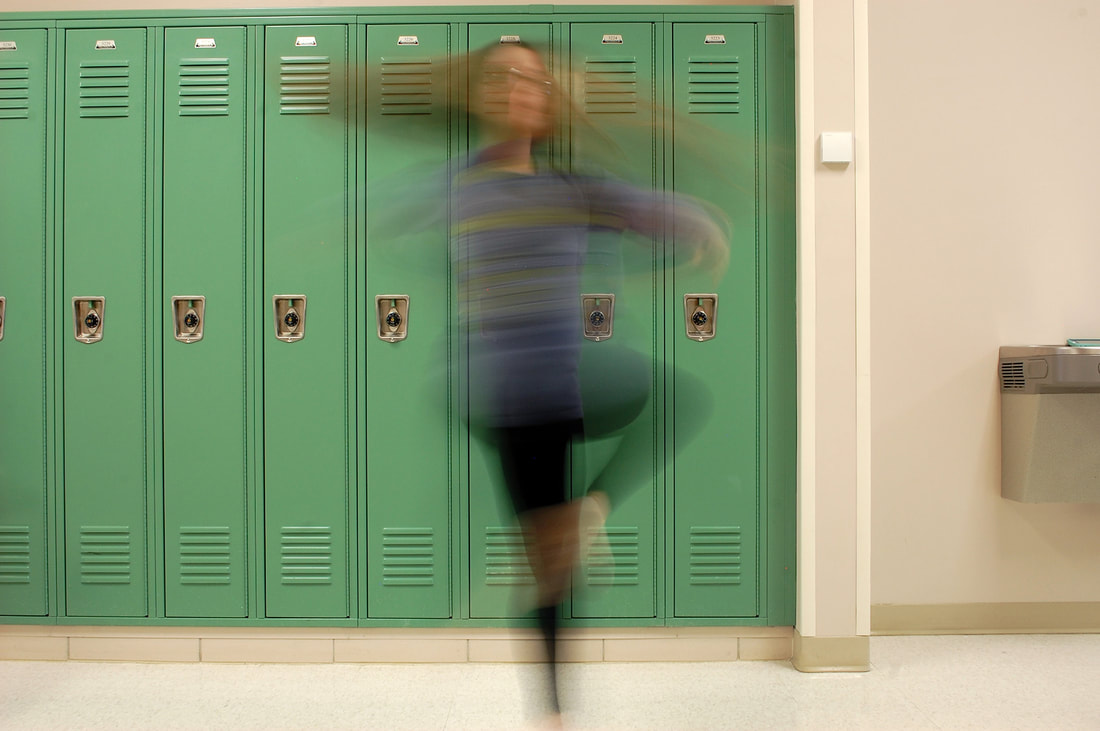
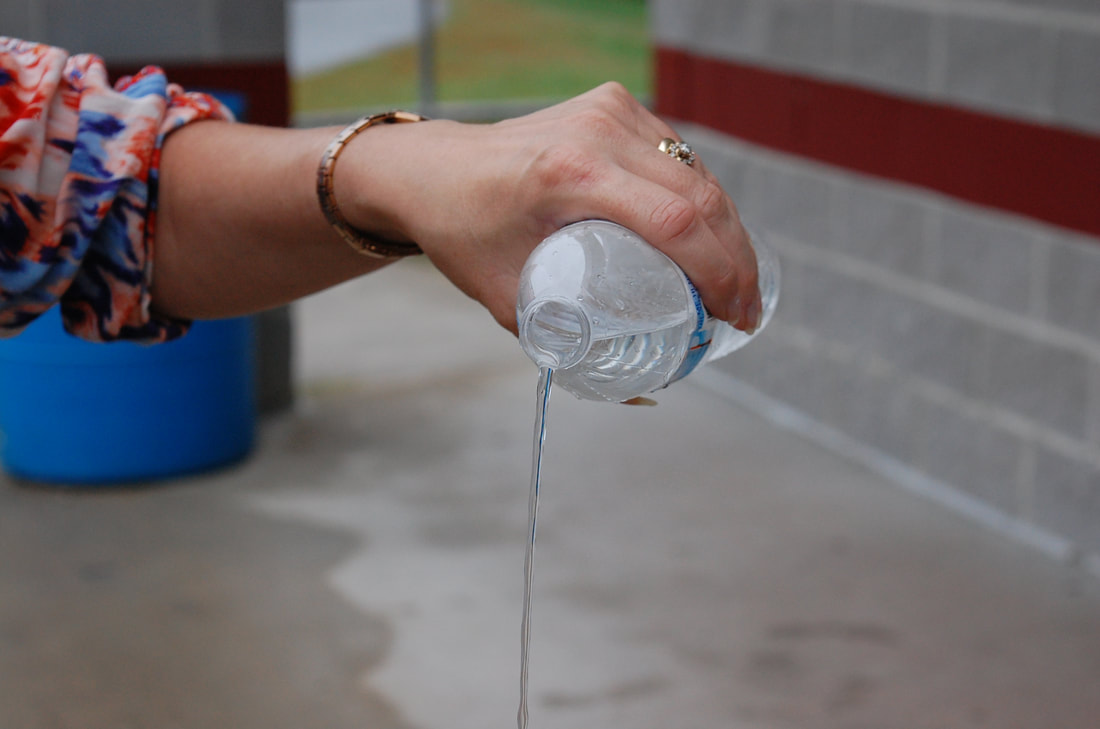
Moving on from Aperture, students work to understand the impact that shutter speed has on a photograph. We look at examples and do a walk through as a group, raising and lowering our settings to affect the appearance of motion in our photographs. Students take photographs around school to practice using slow shutter speeds to blur motion and fast shutter speeds to freeze motion. This lesson is key in helping students to problem solve since many blurry photographs are simply the result of shooting on a slow shutter speed.


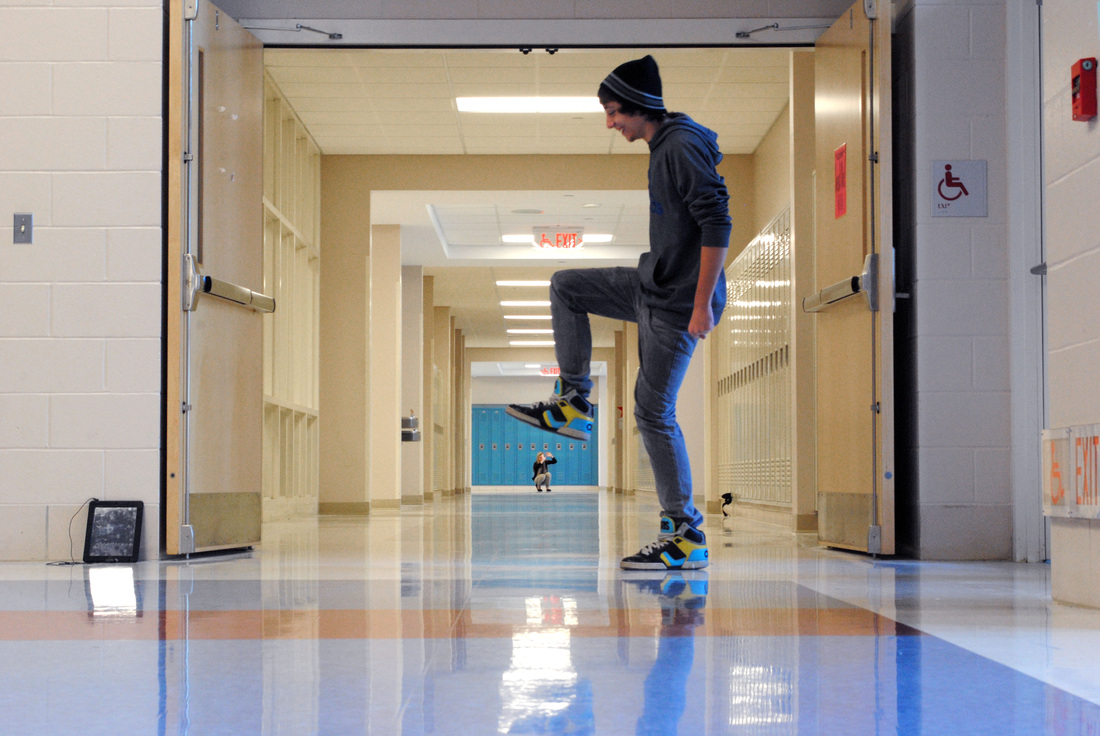
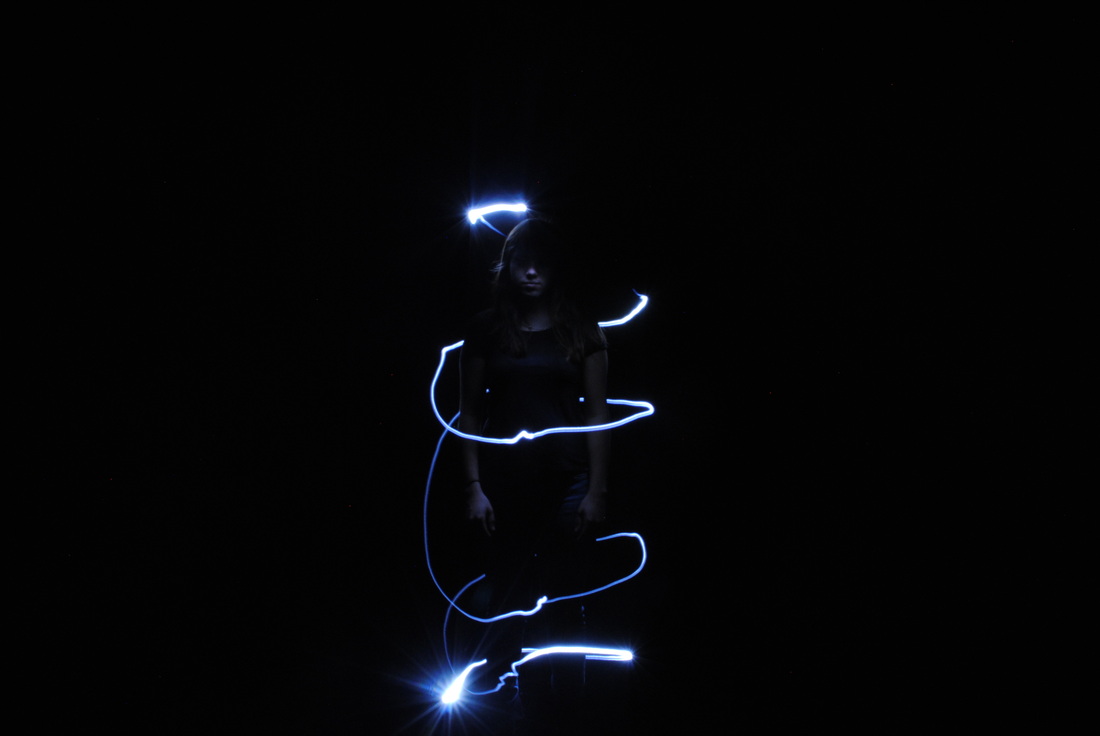
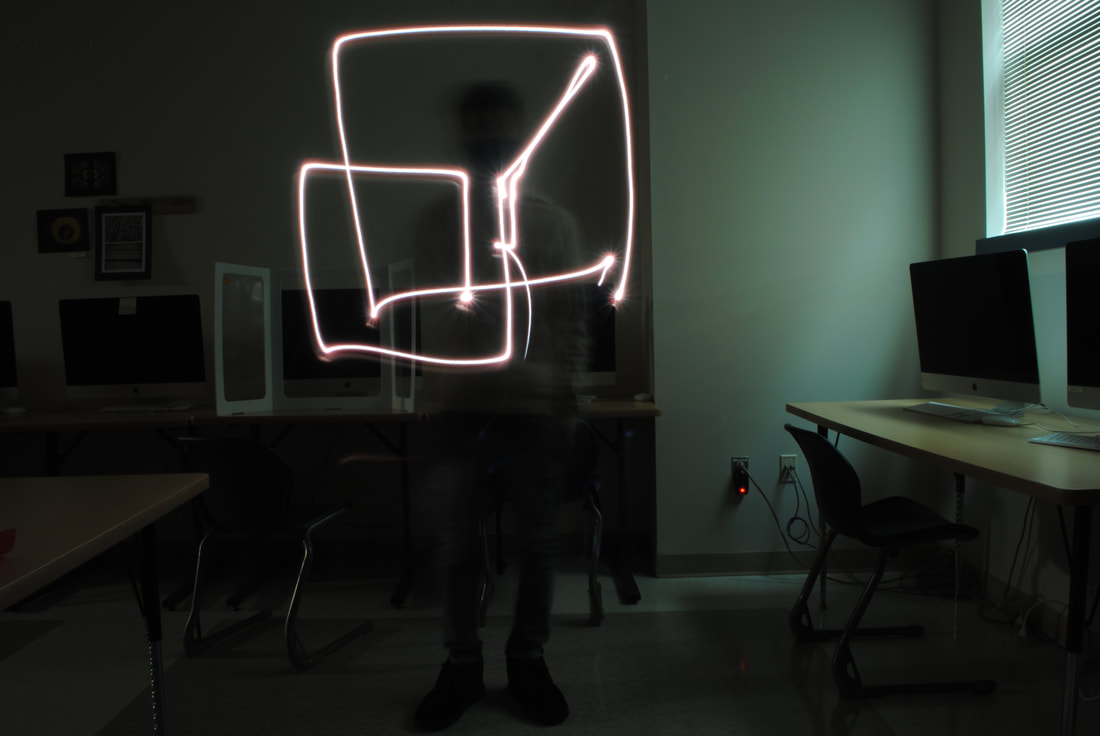
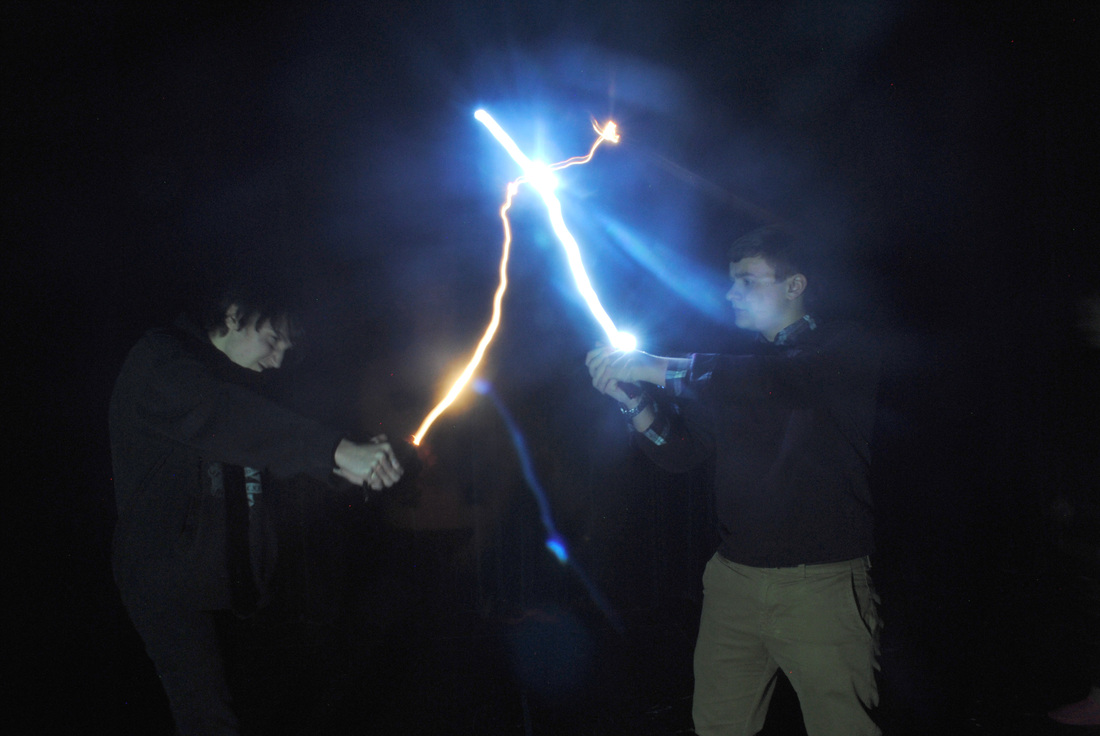
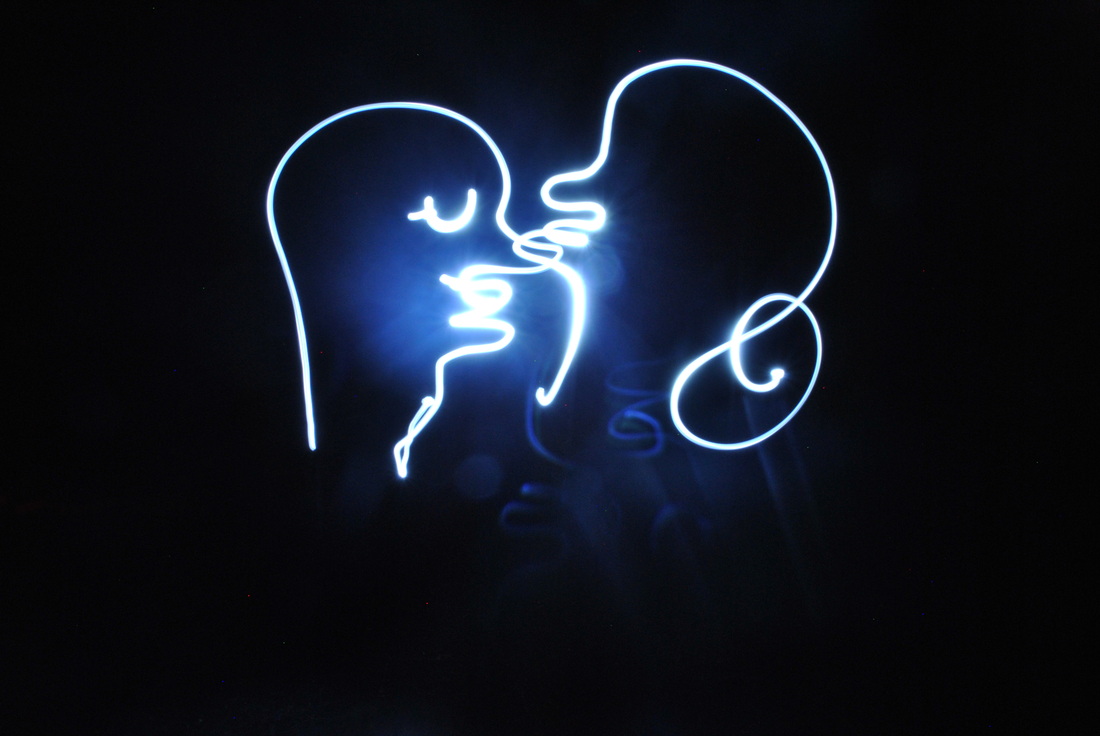
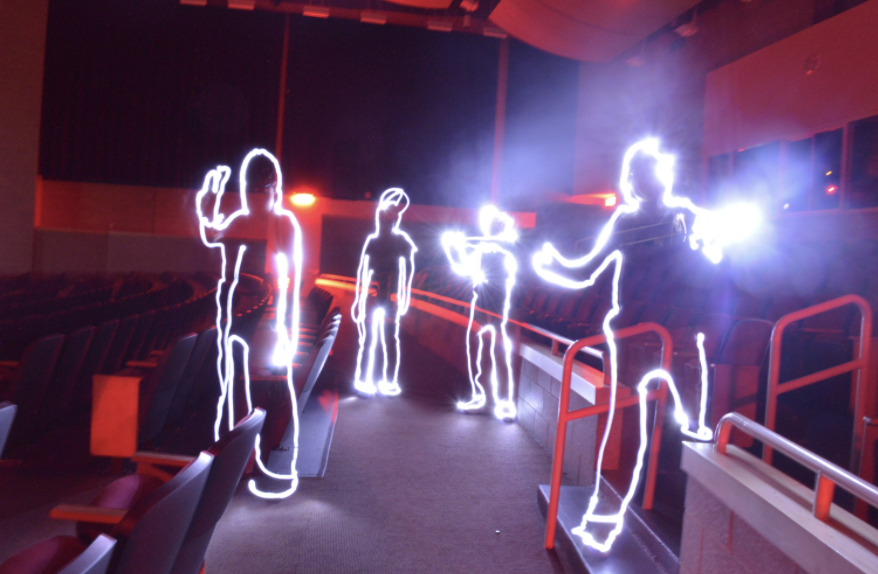
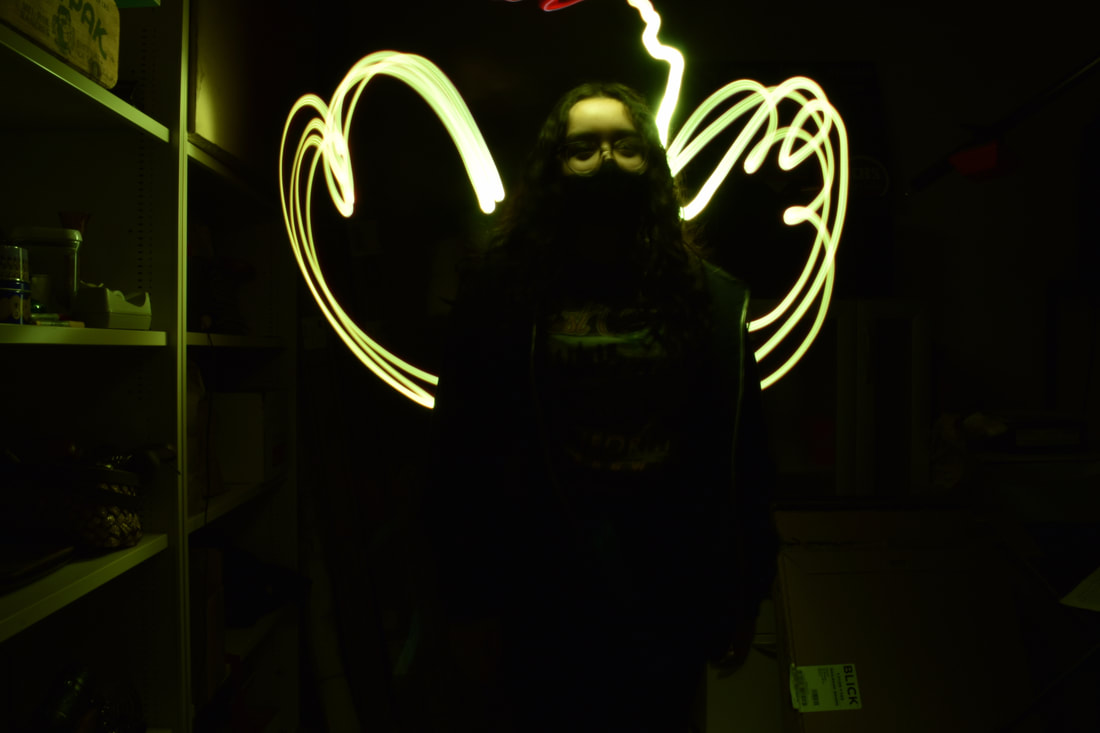
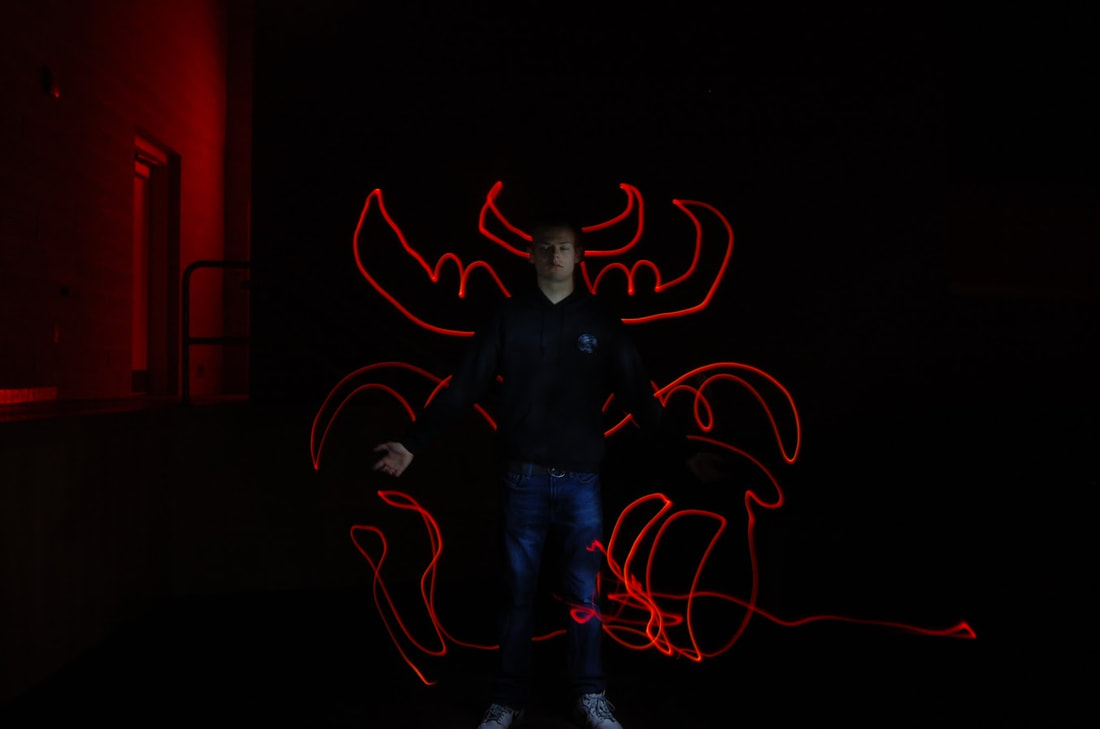
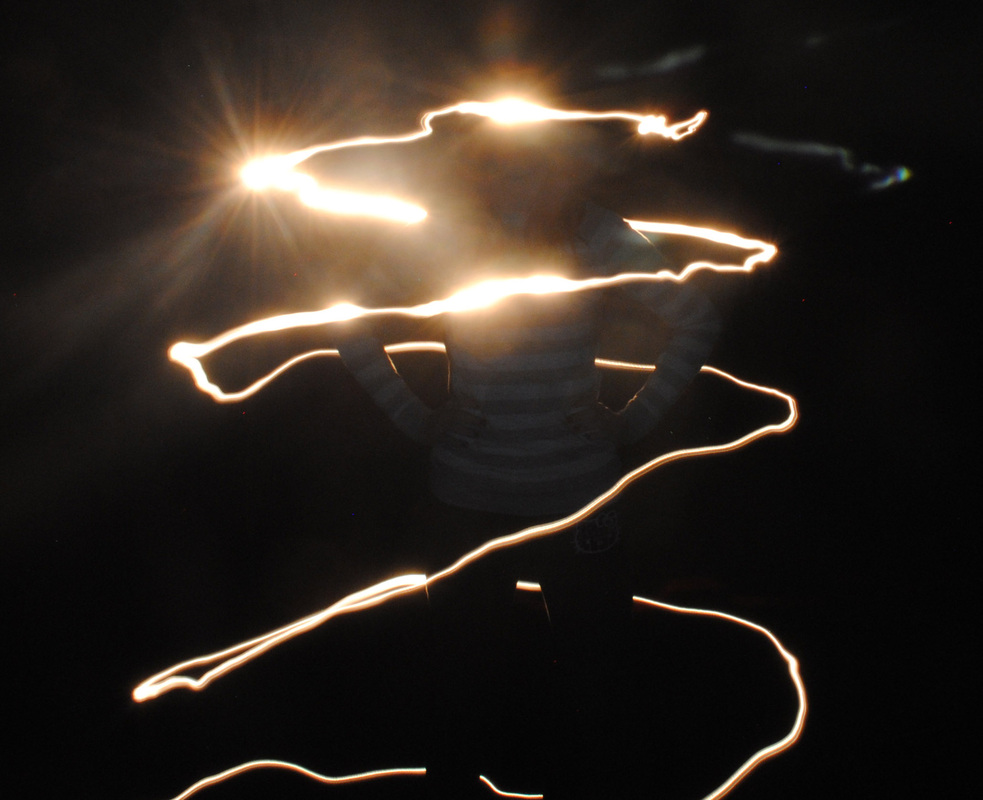
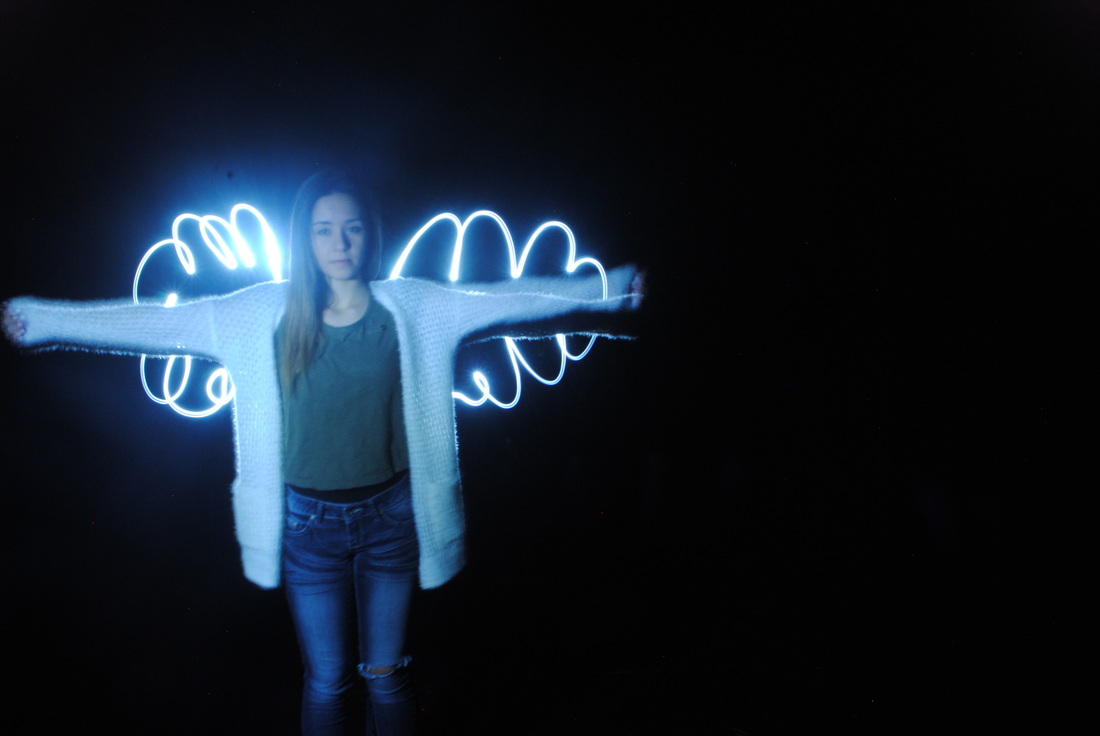
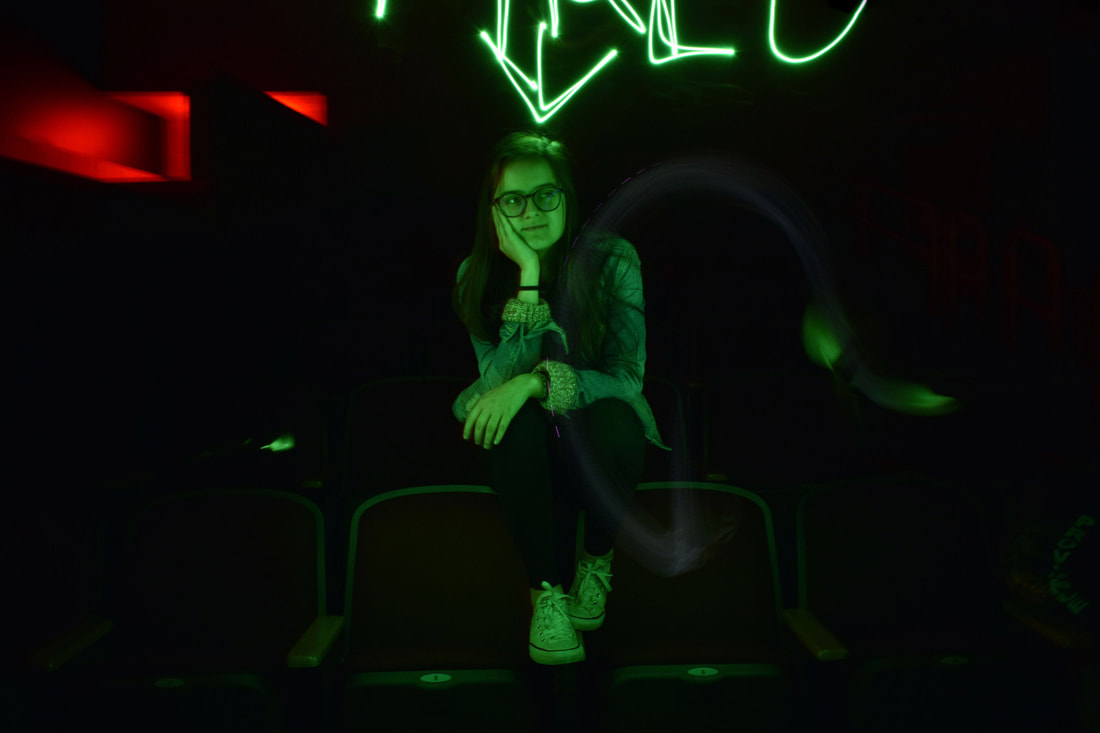
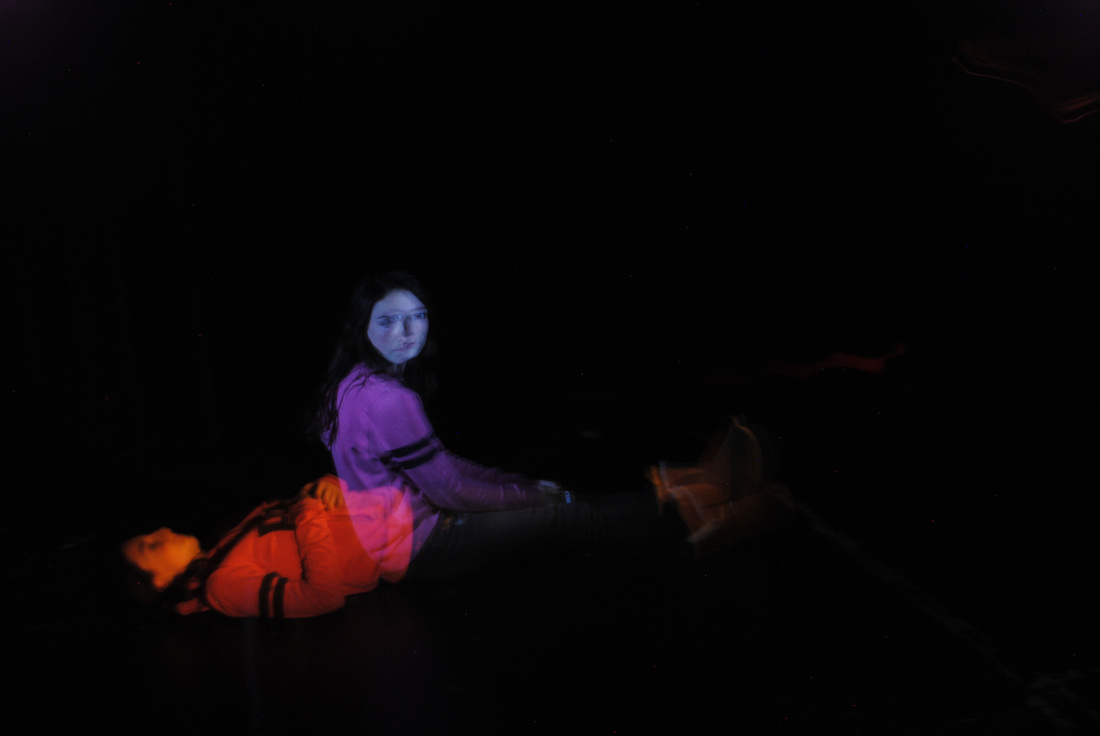
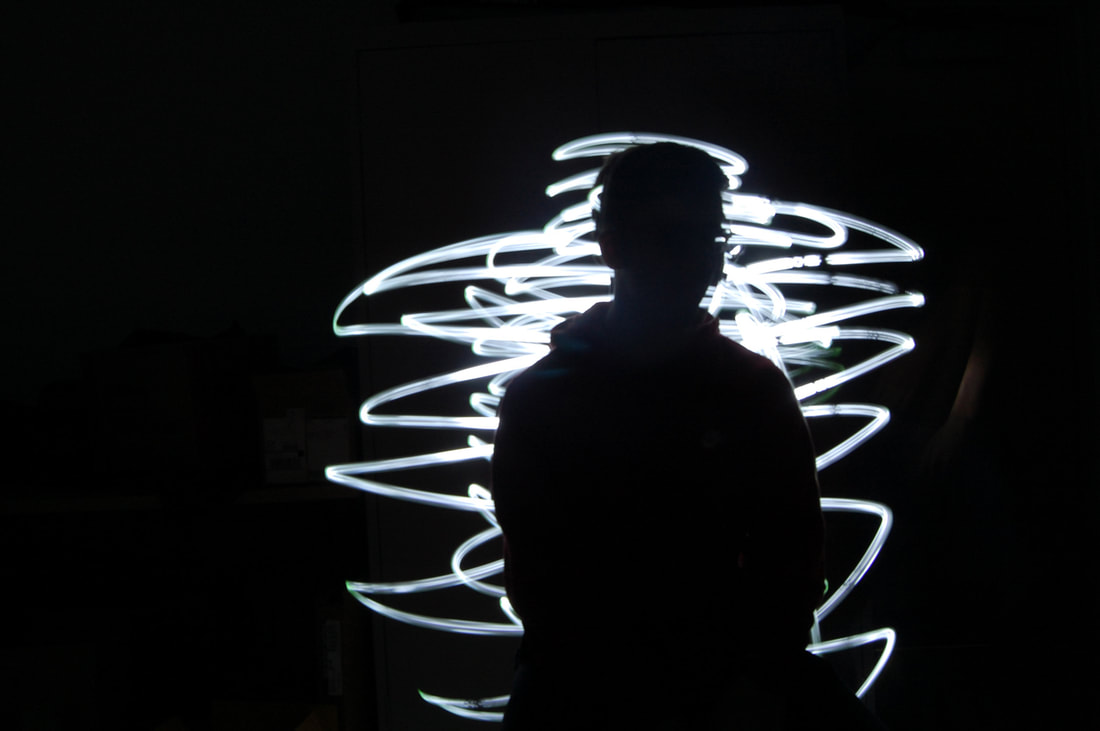
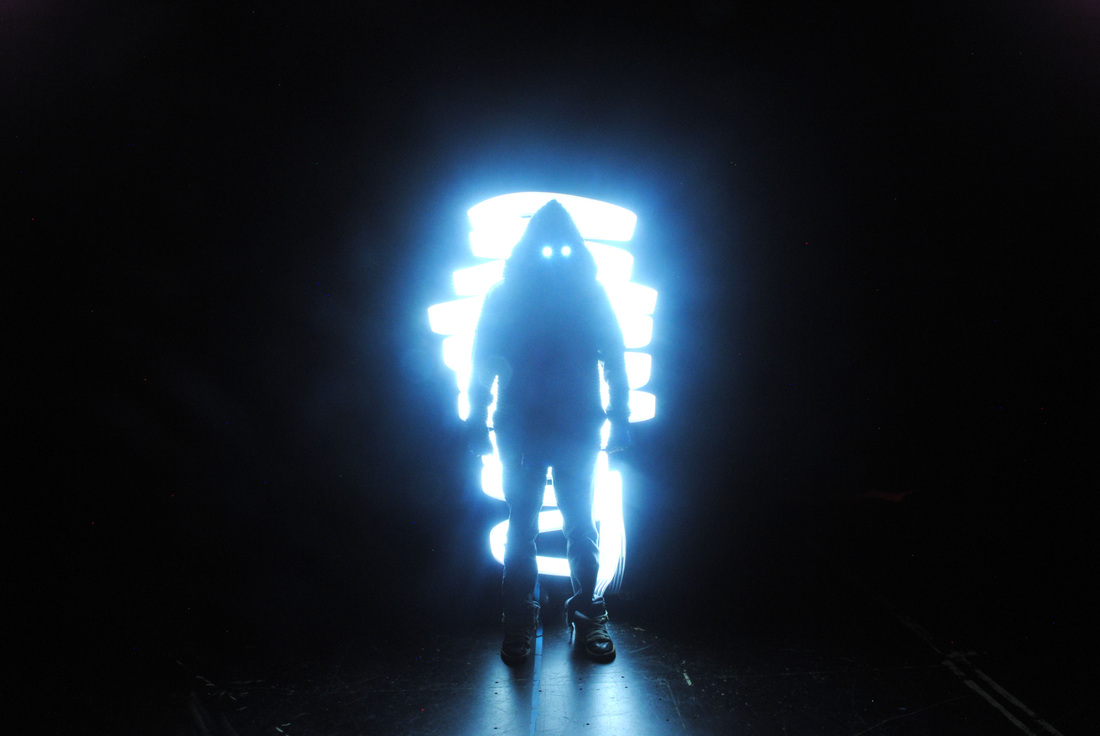
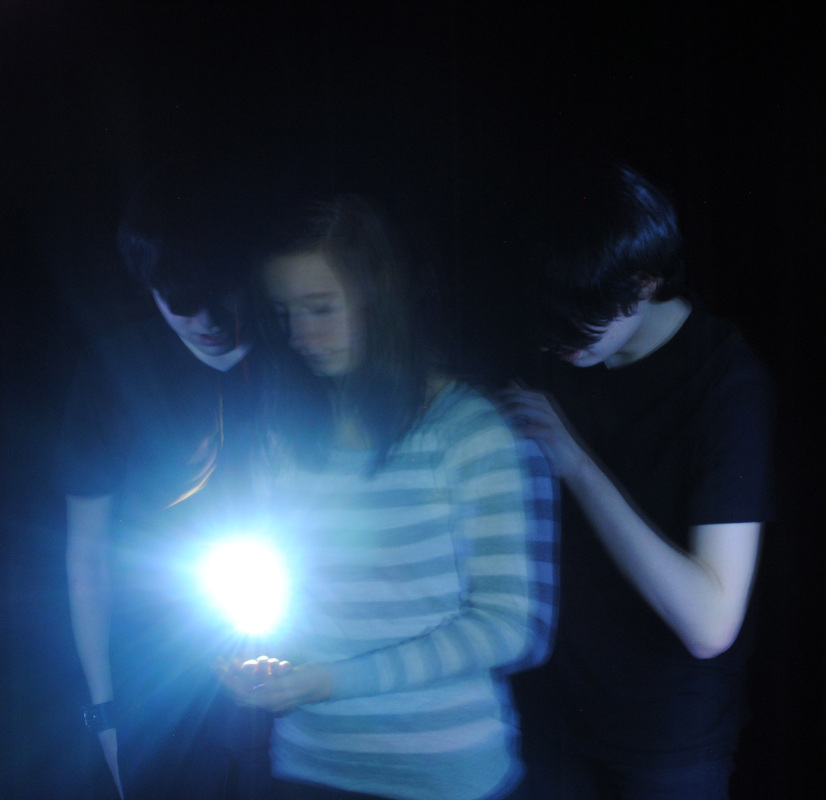
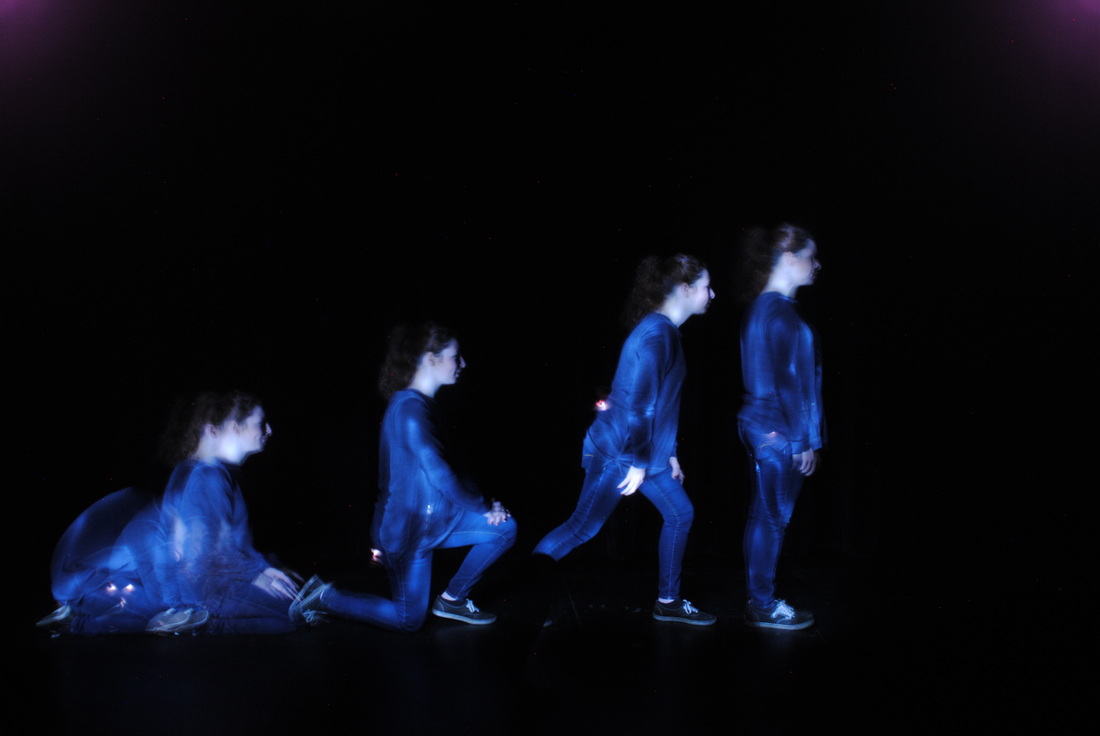
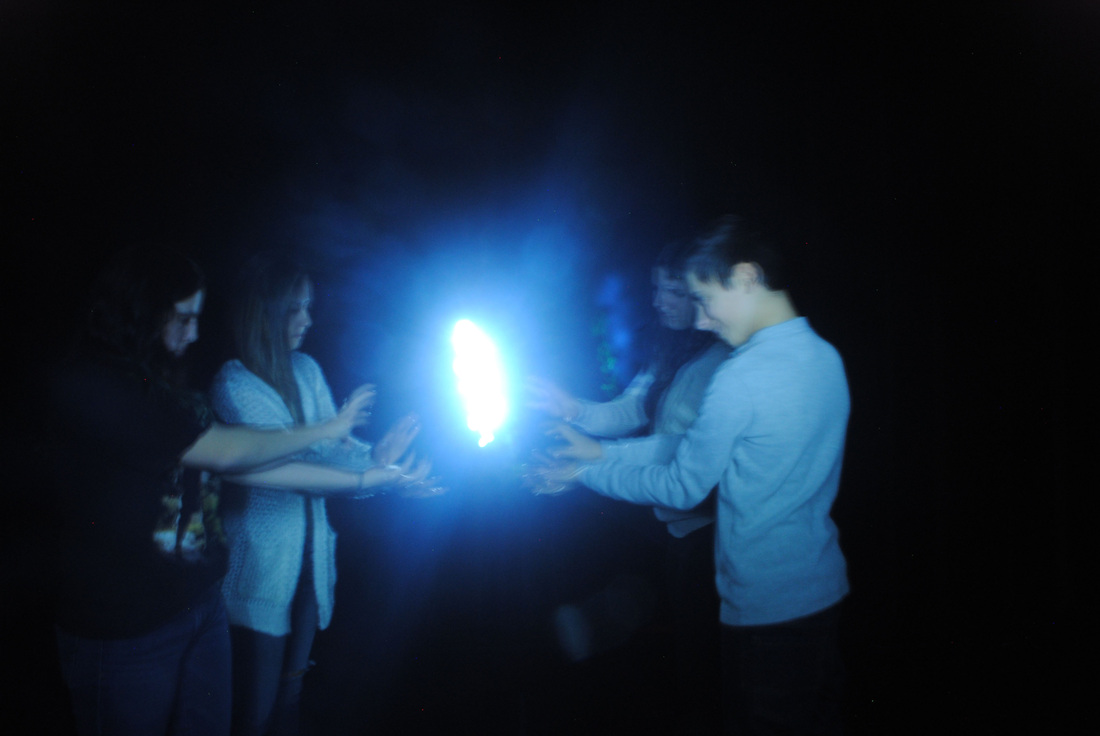
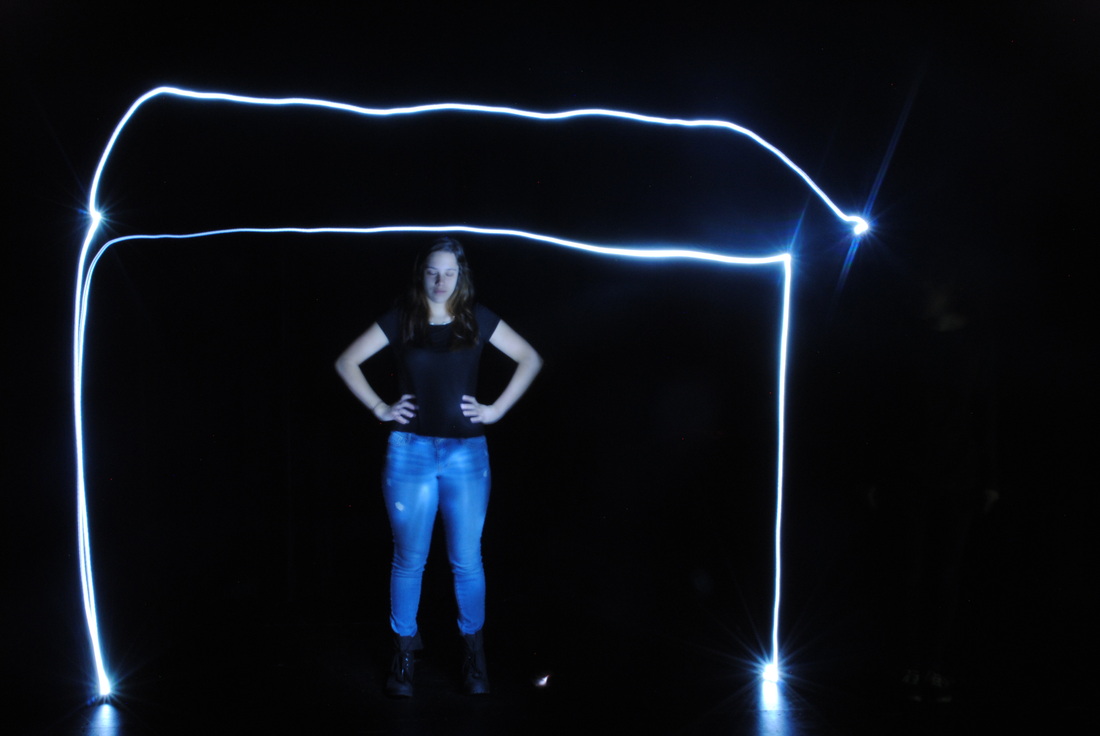
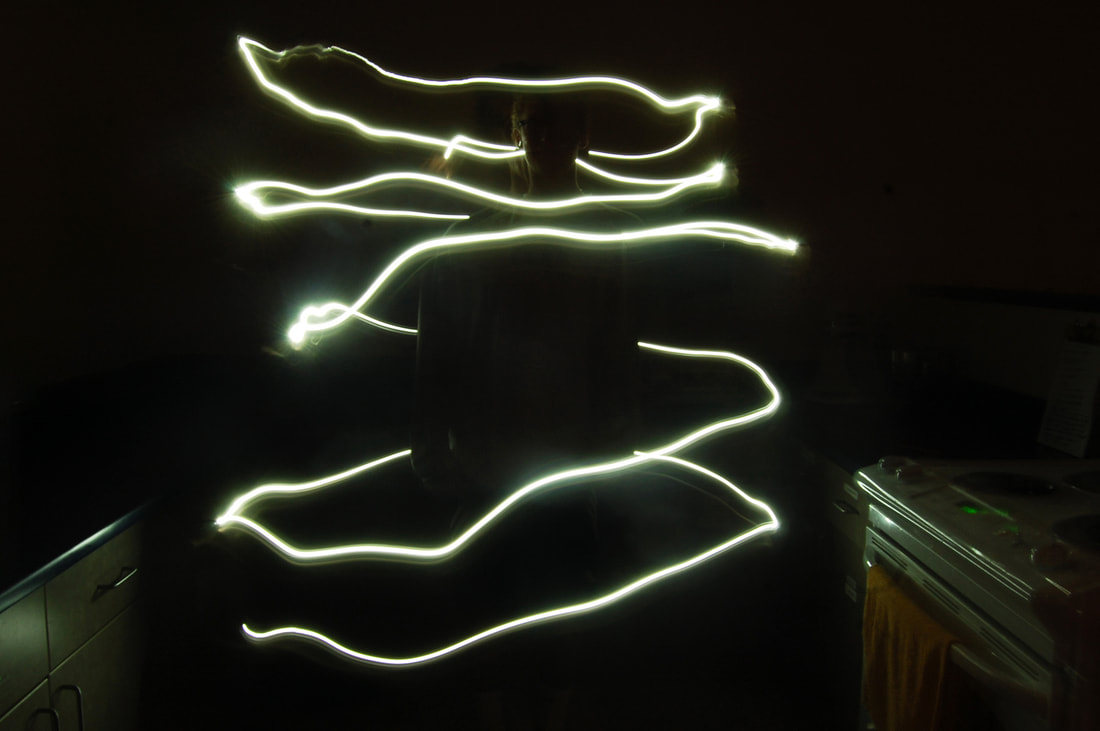
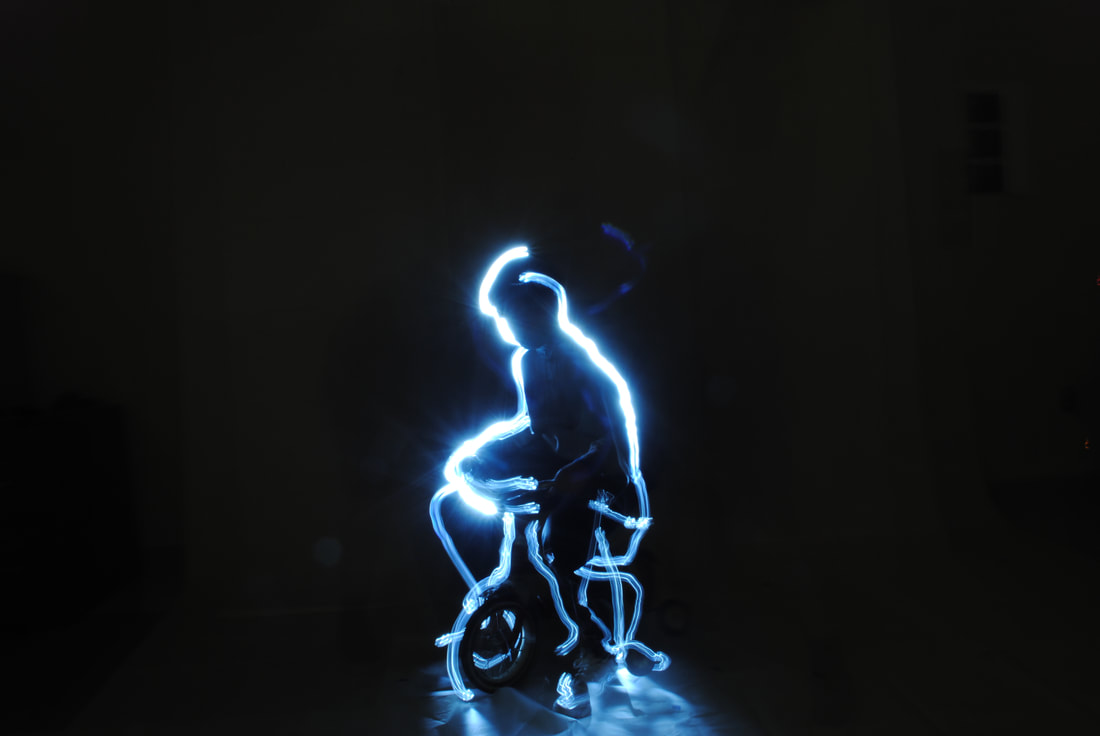
Light Painting - Long Exposures
(No Photoshop required)
The word photography breaks down to mean "drawing with light". When we take a photograph we are actually recording the light in and on a scene. Light painting involves the use of long shutter speeds, dark spaces, and flashlights to create images with endless possibilities. Working in the dark allows us to control where the light is, what it is doing, and how the camera sees it. Working with very long shutter speeds allows us to move people and paint them into a photo multiple times. Students are able to produce drawings and multiple exposure effects through innovation, timing, and collaboration. This is another popular project that I have run with Photo 1, 2, and 3 depending on our pacing because practice makes better!


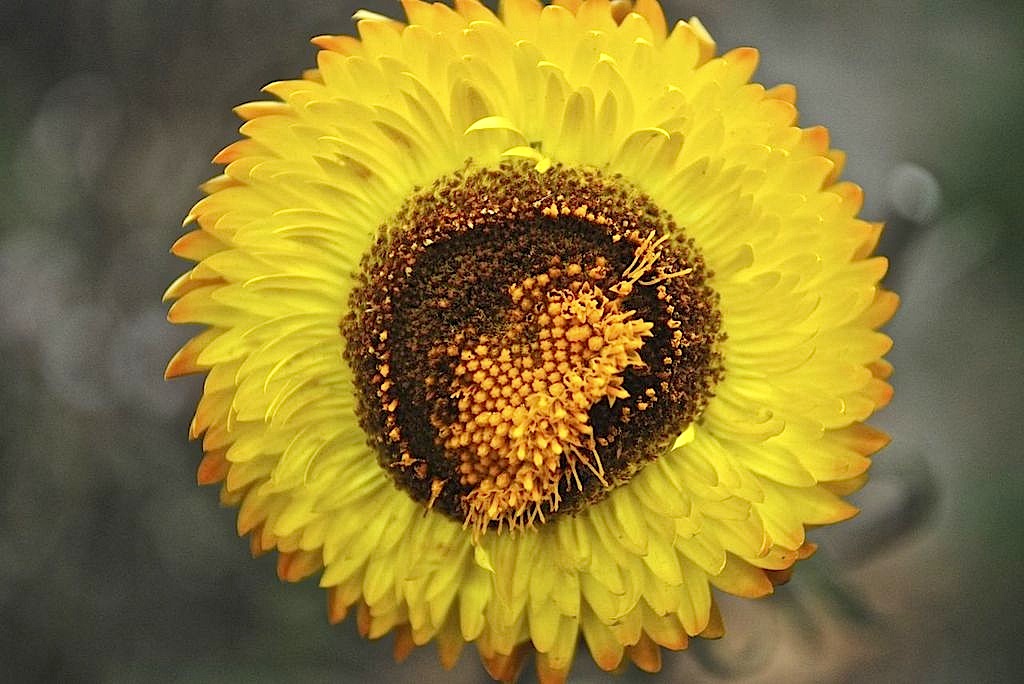
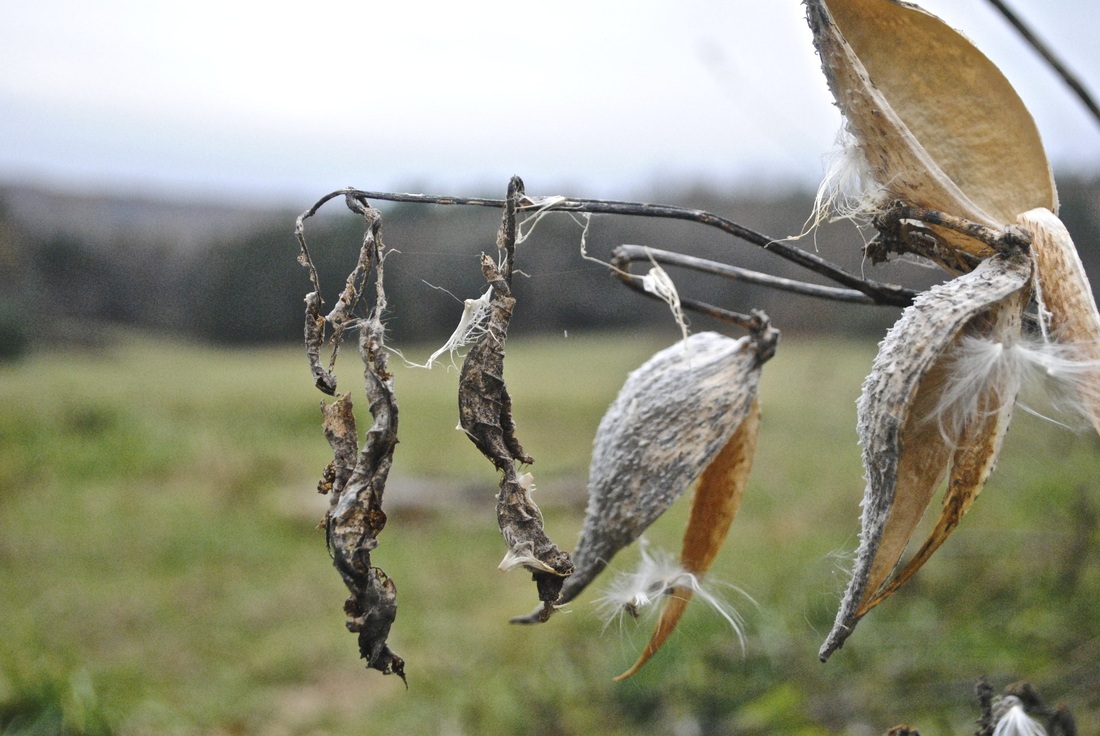
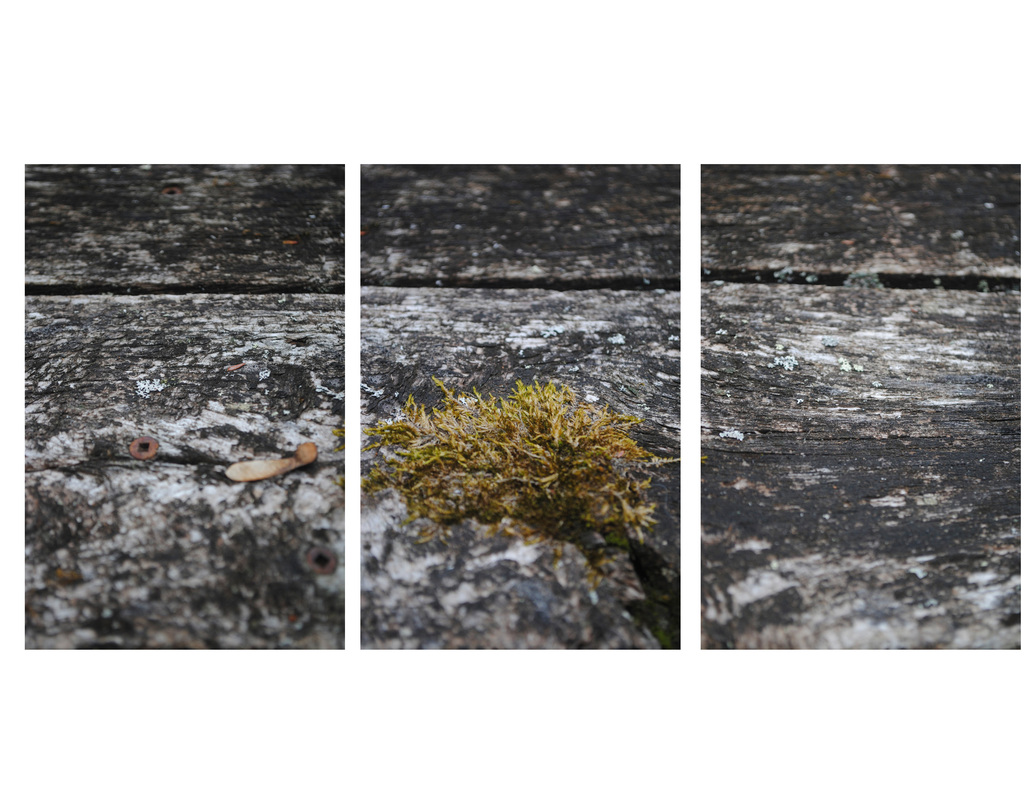
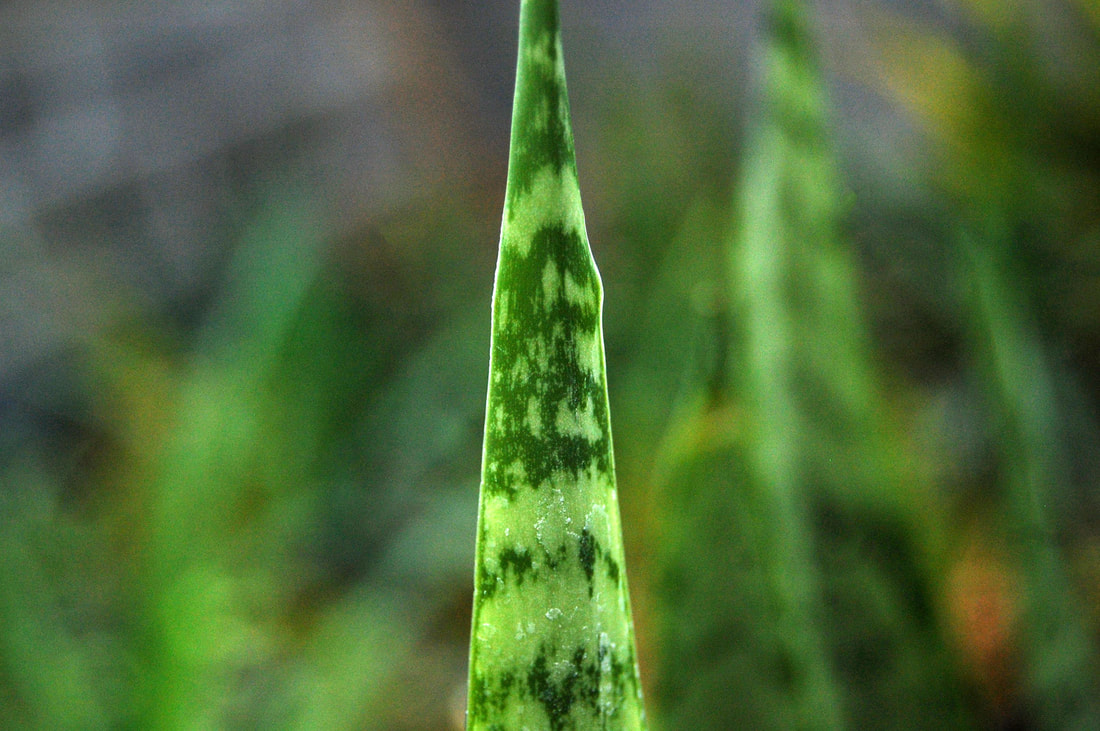
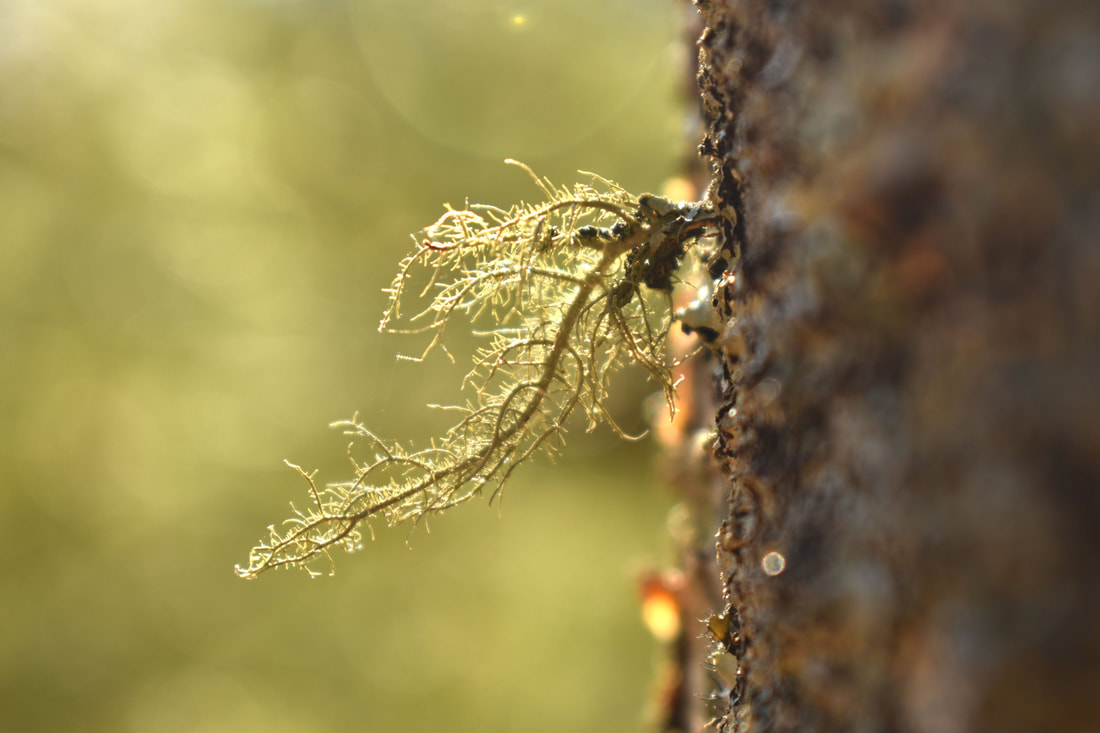
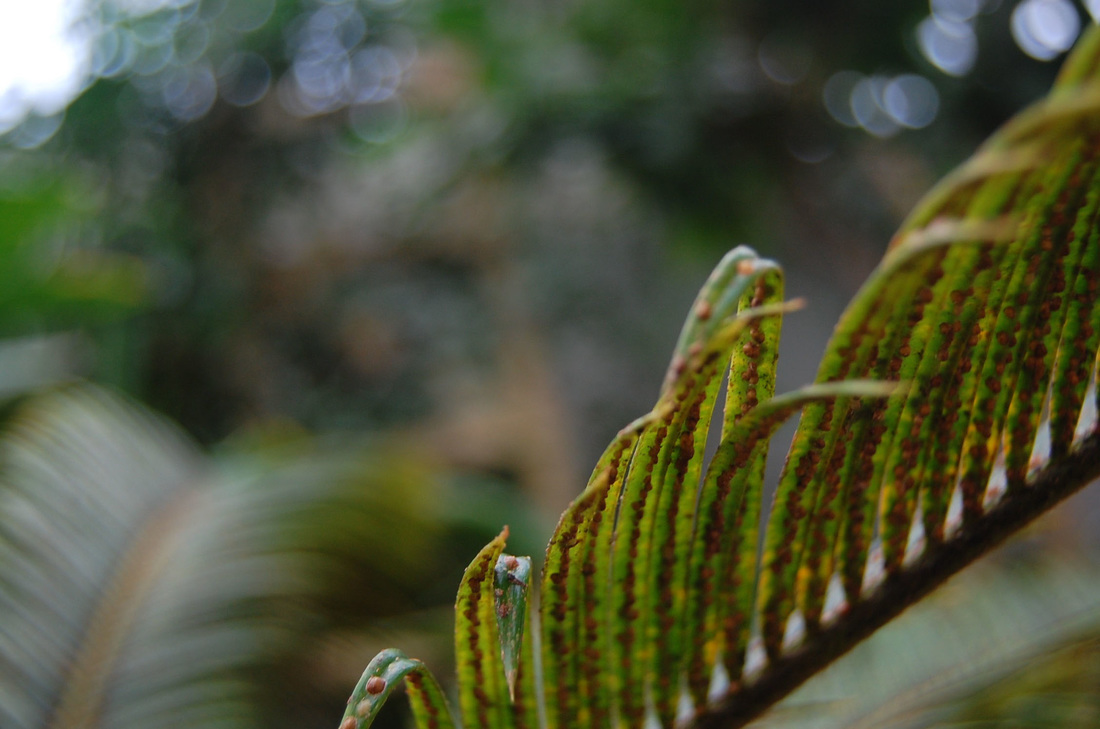
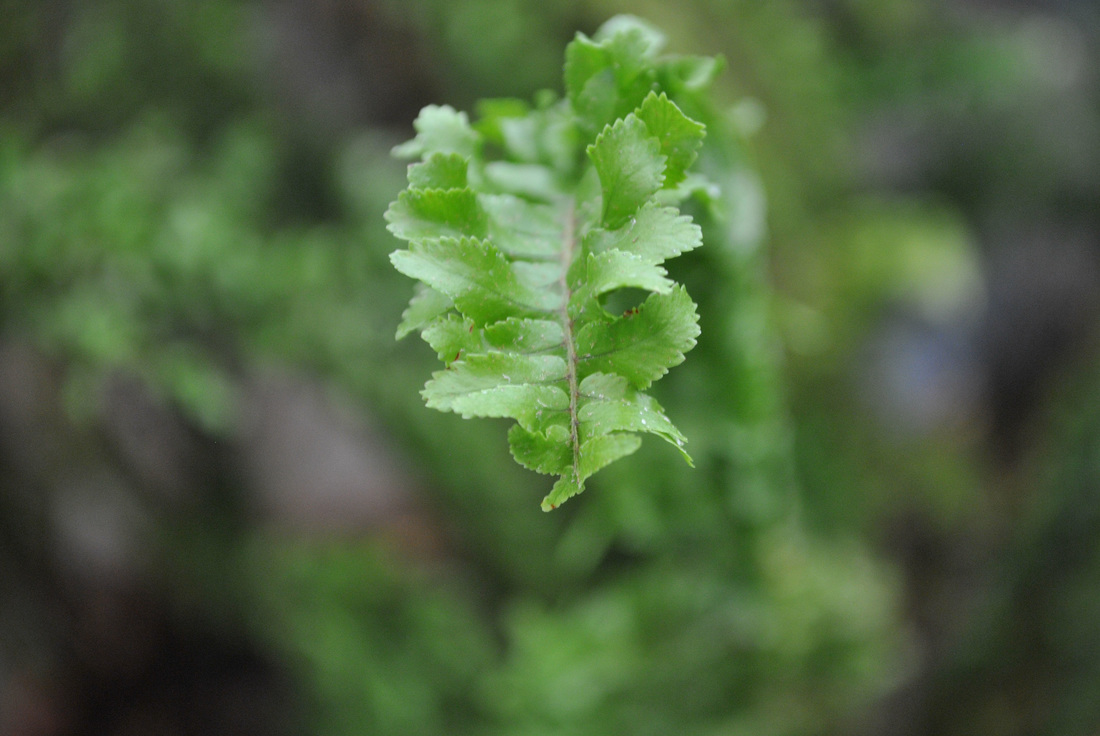
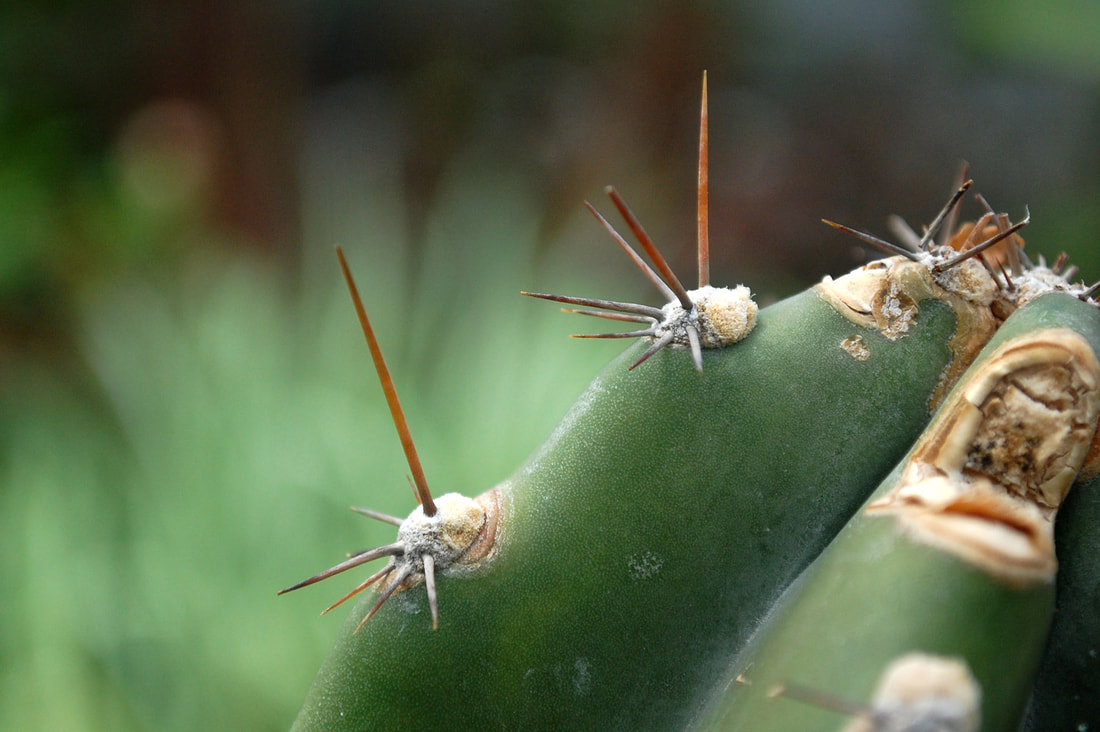
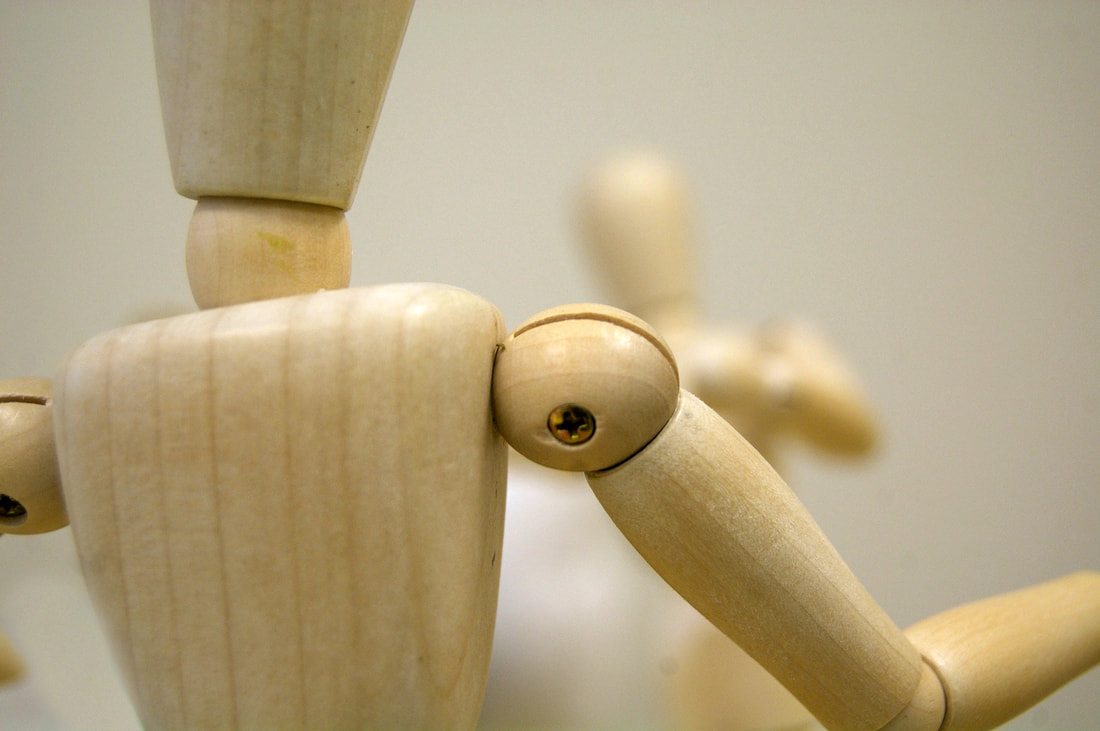
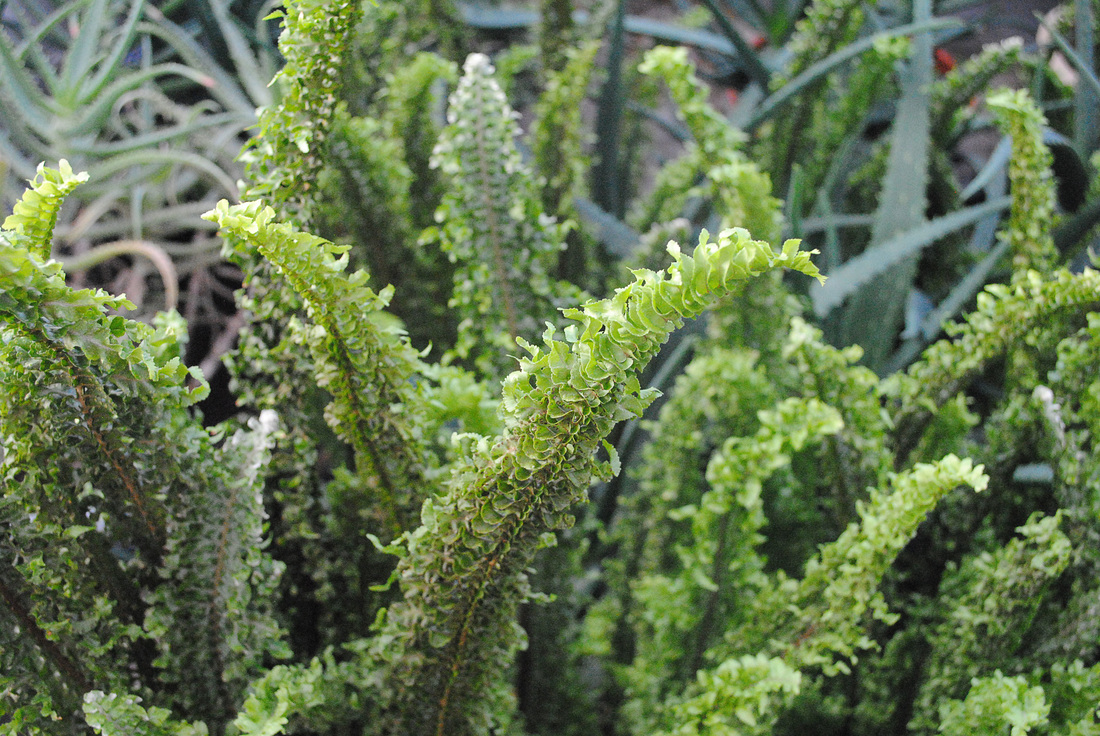
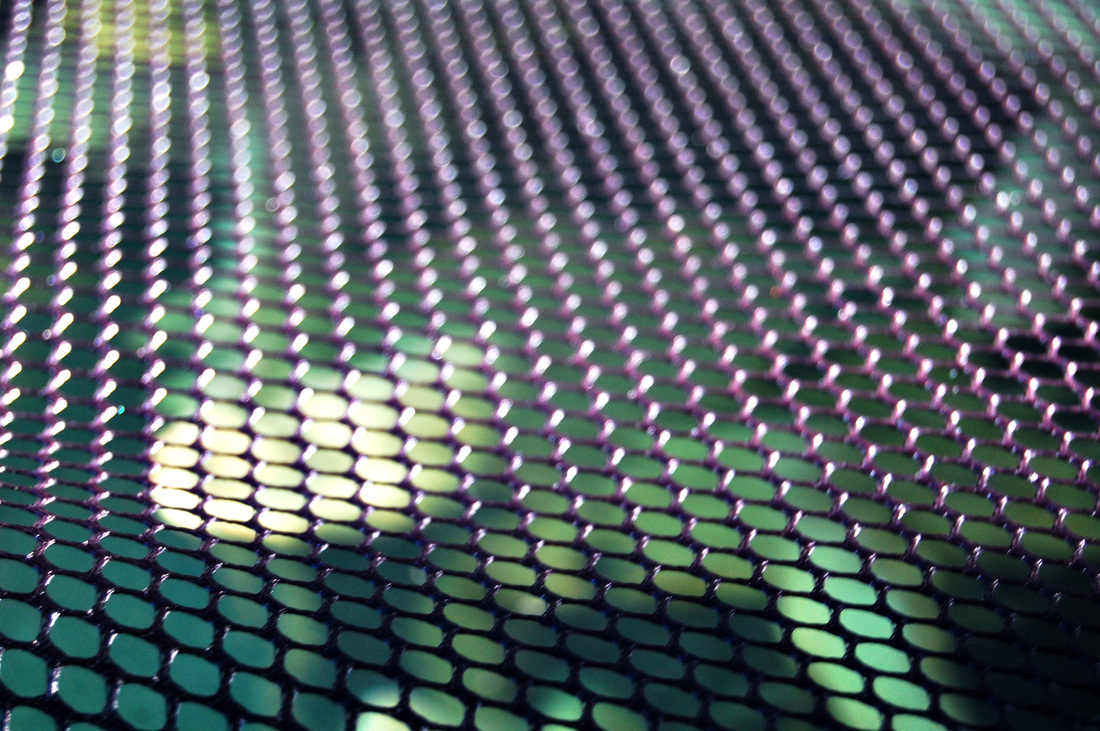
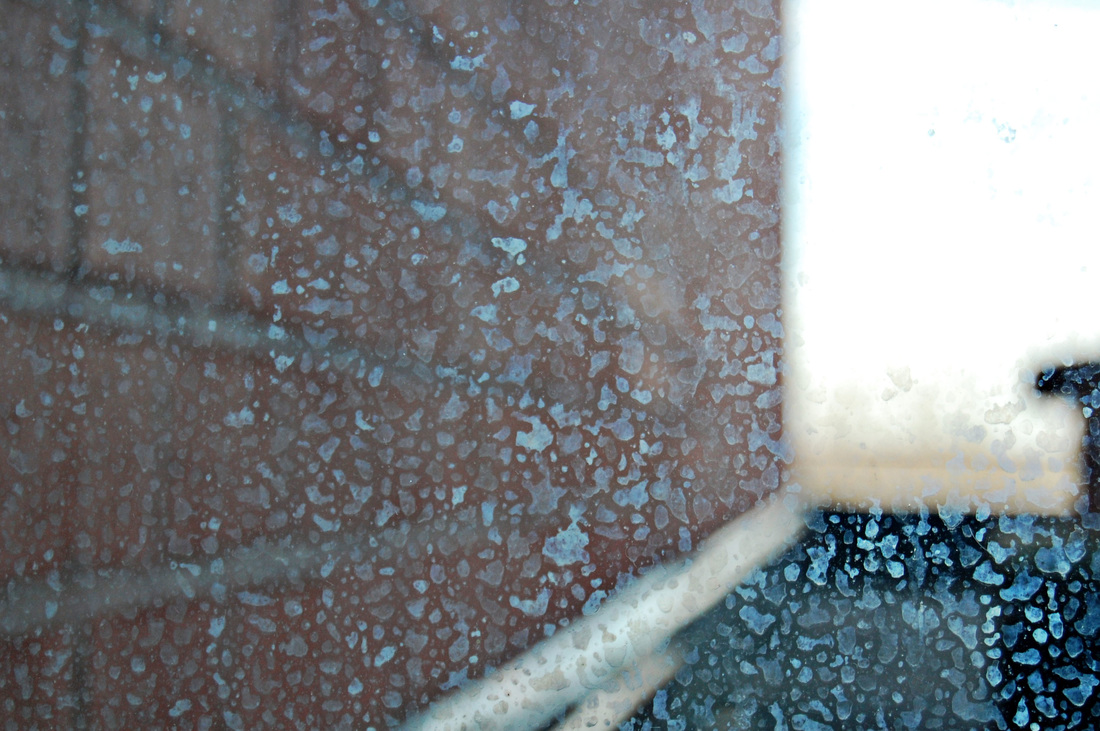
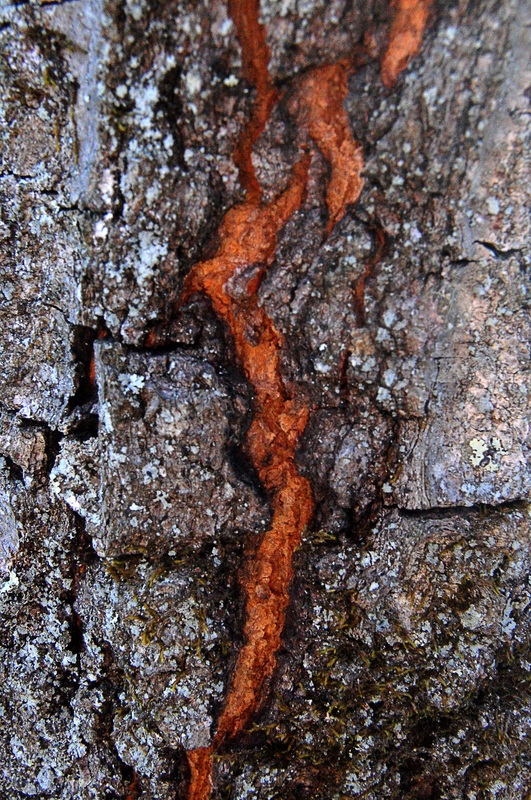
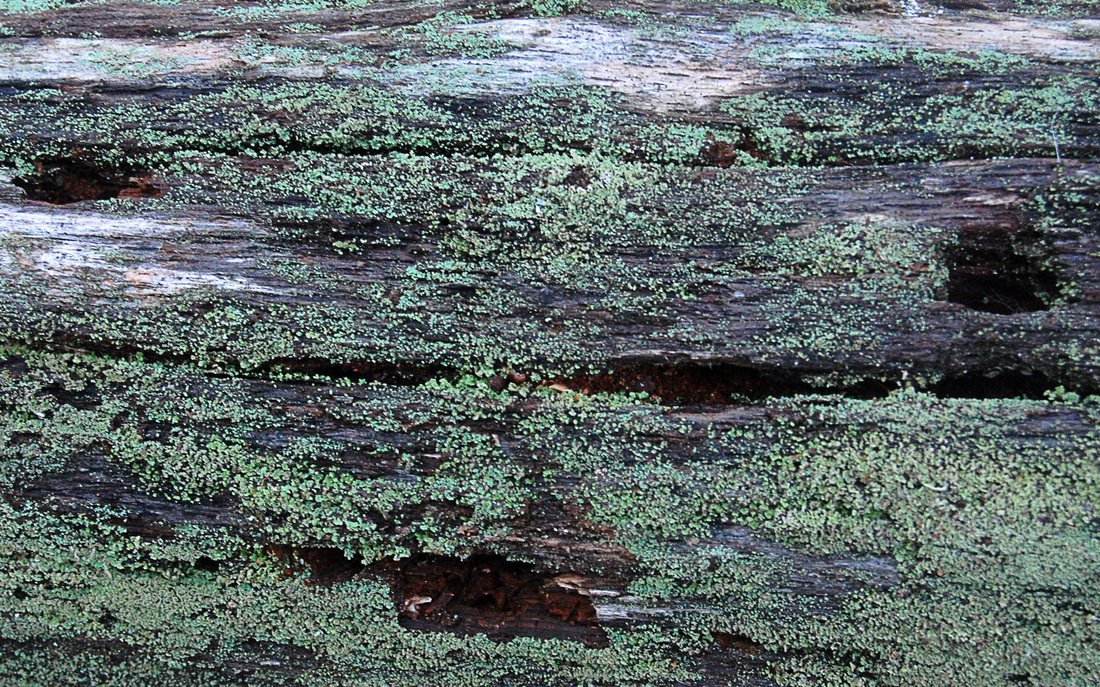
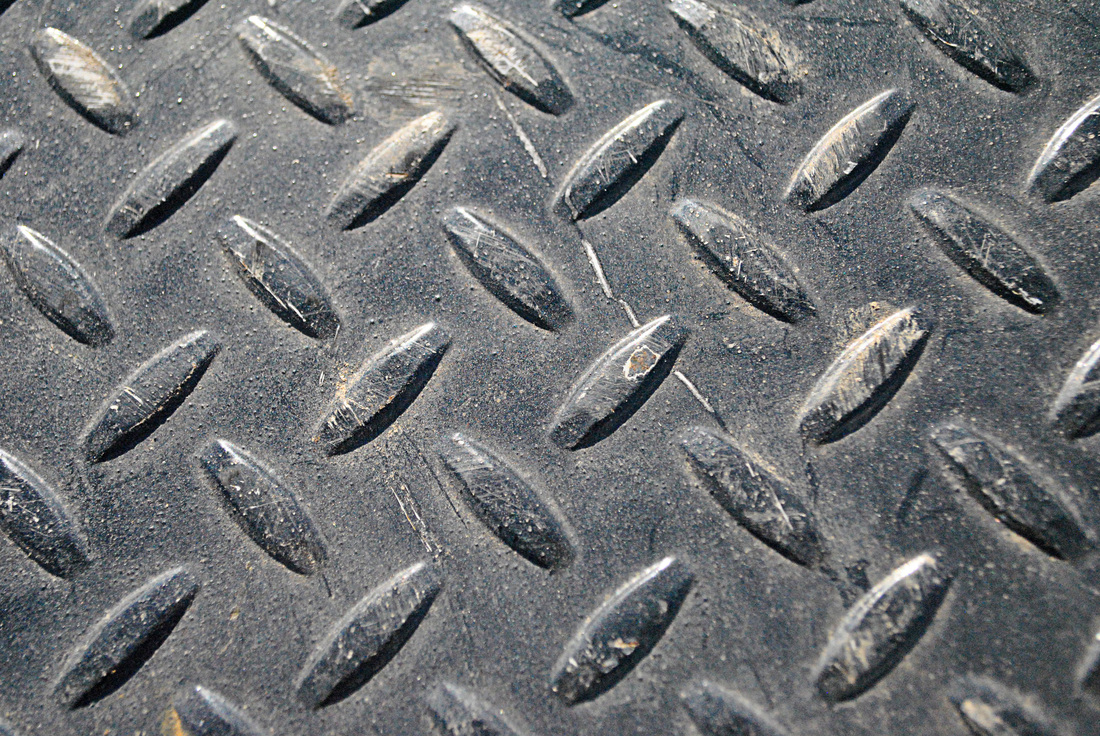
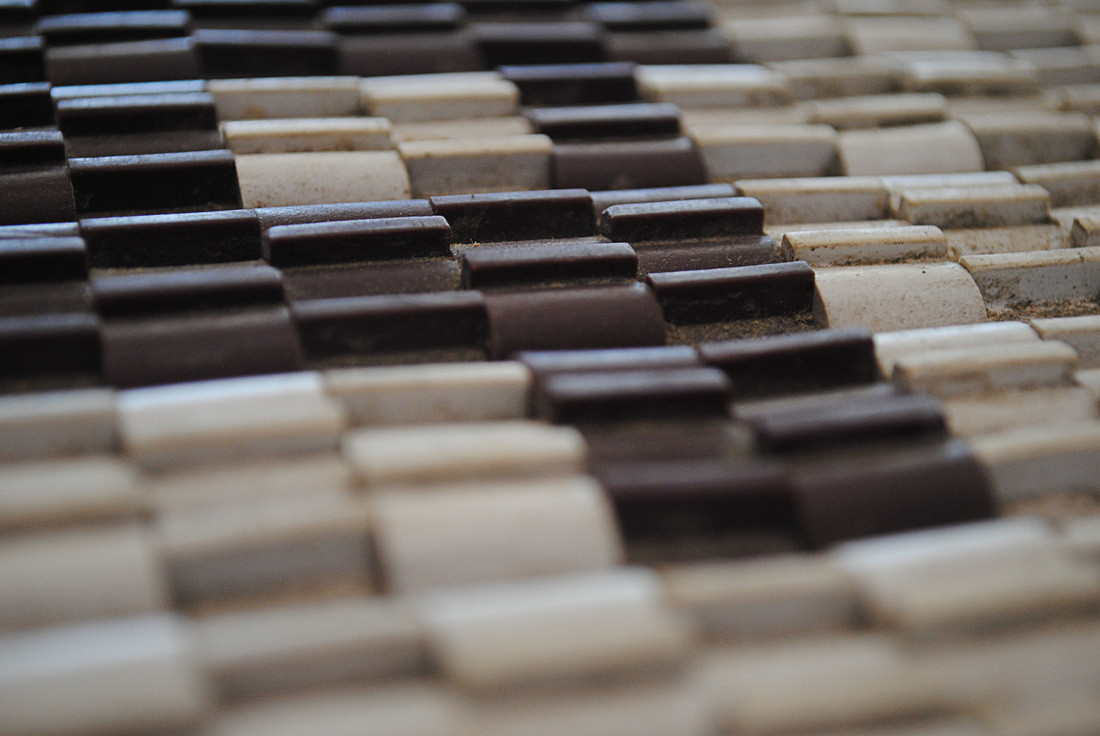
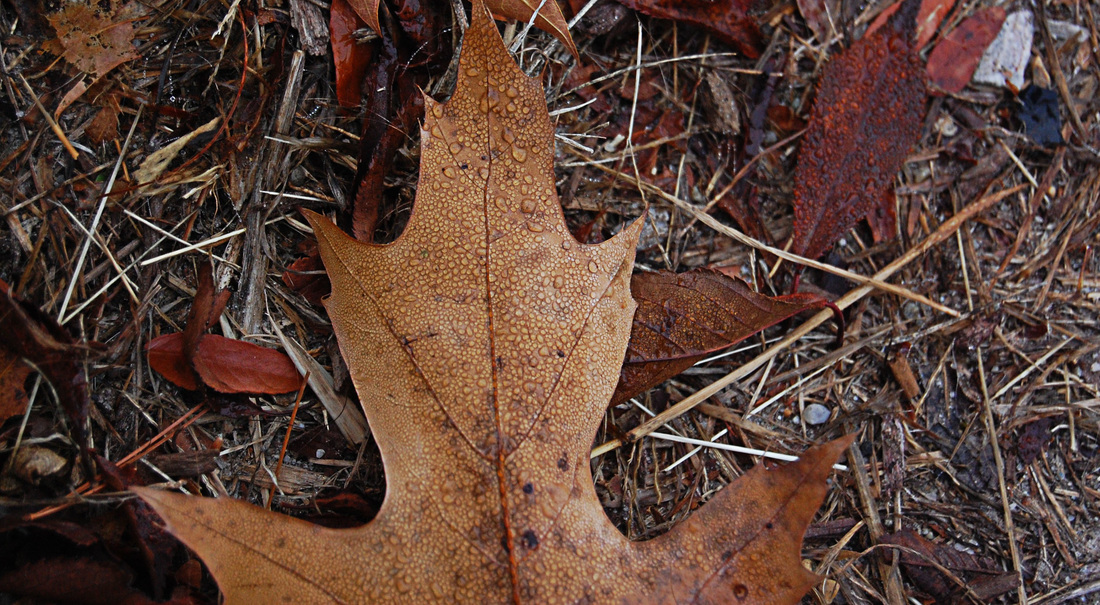
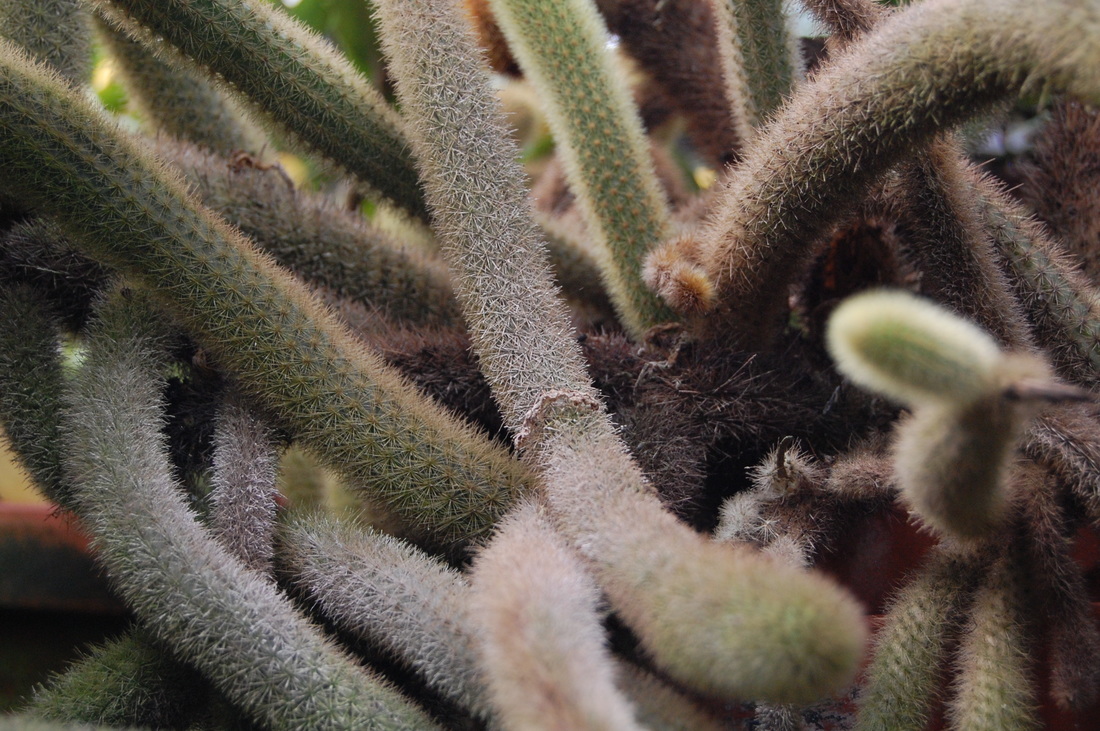
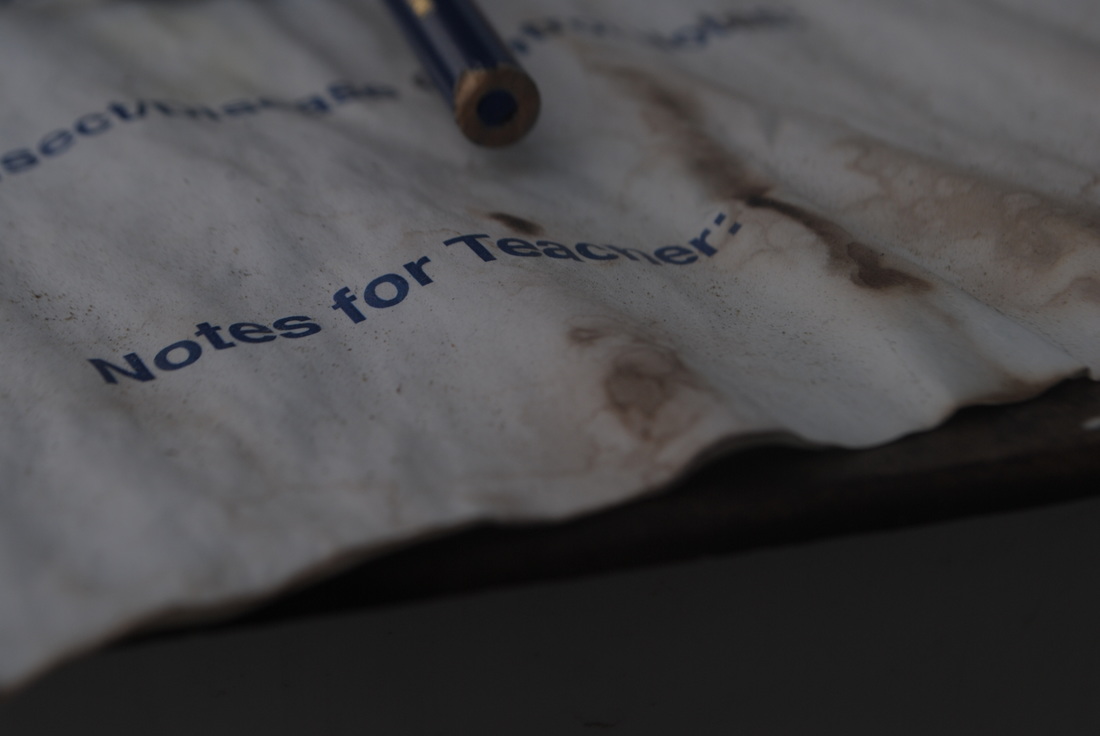
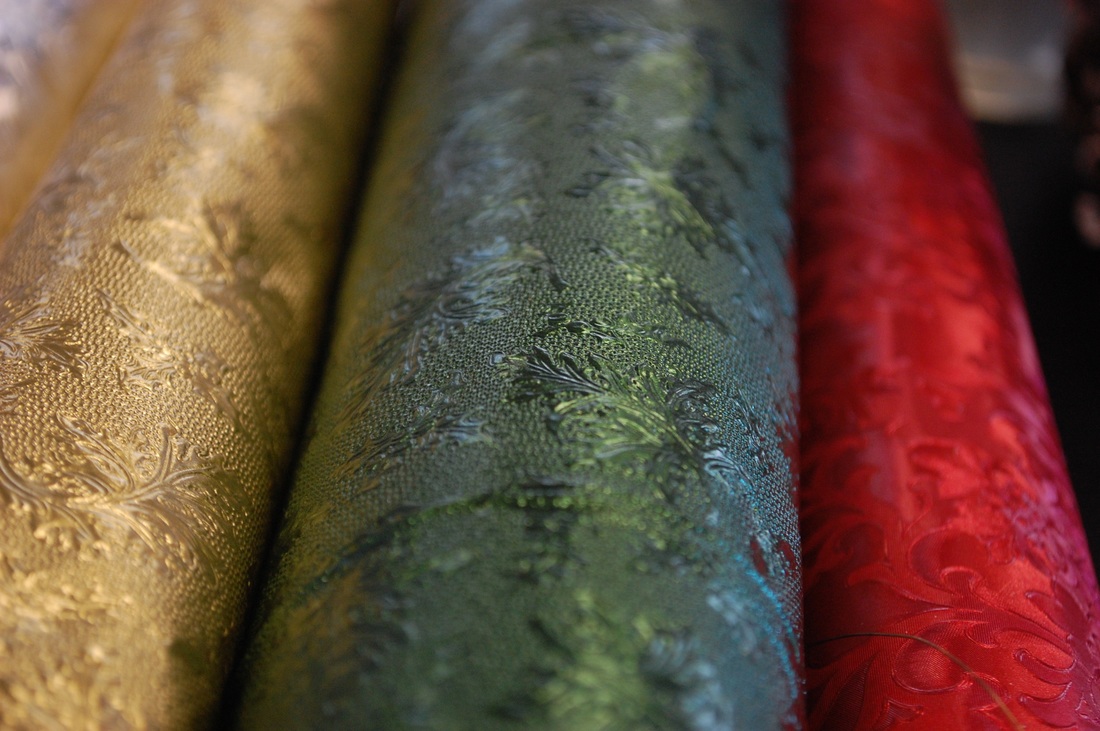
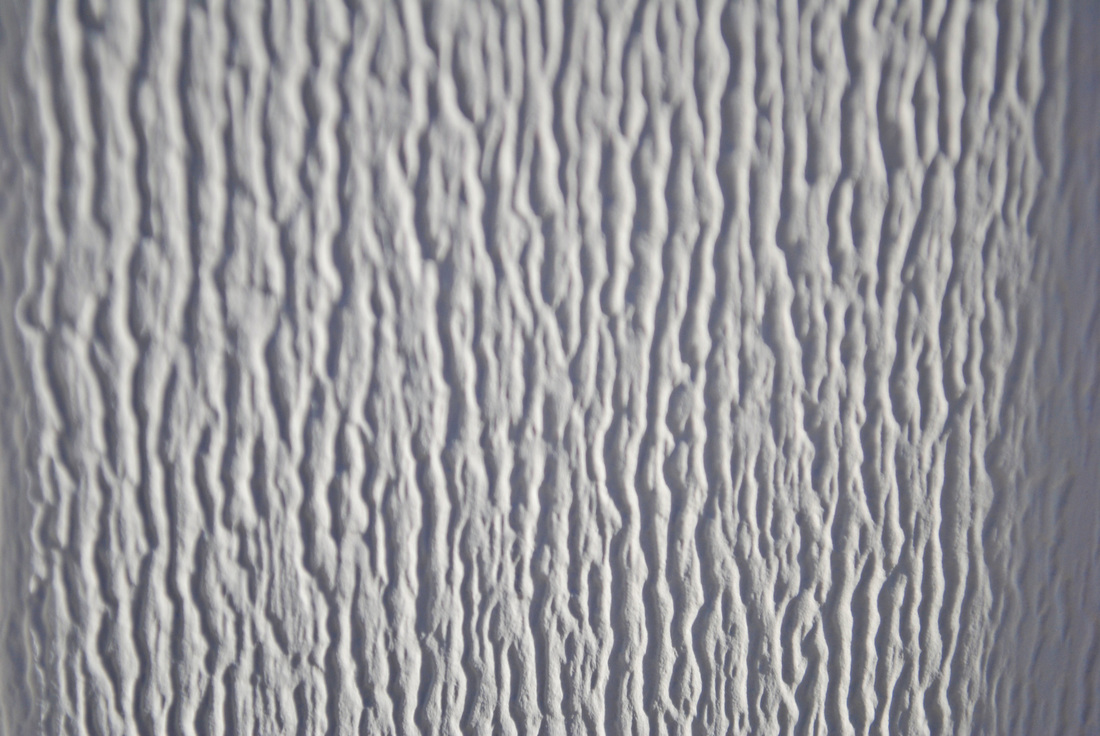
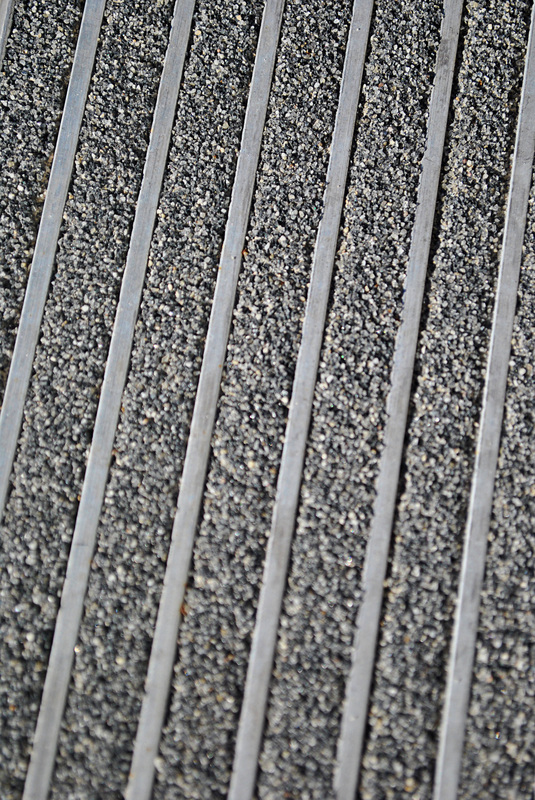
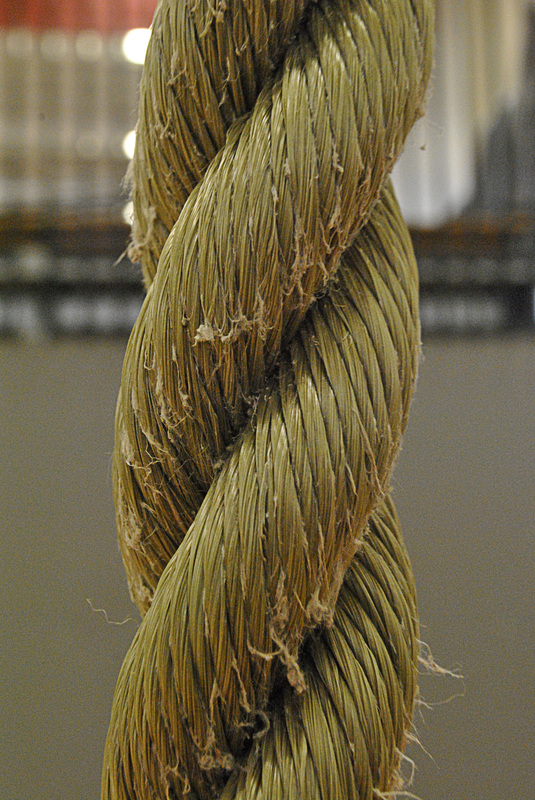
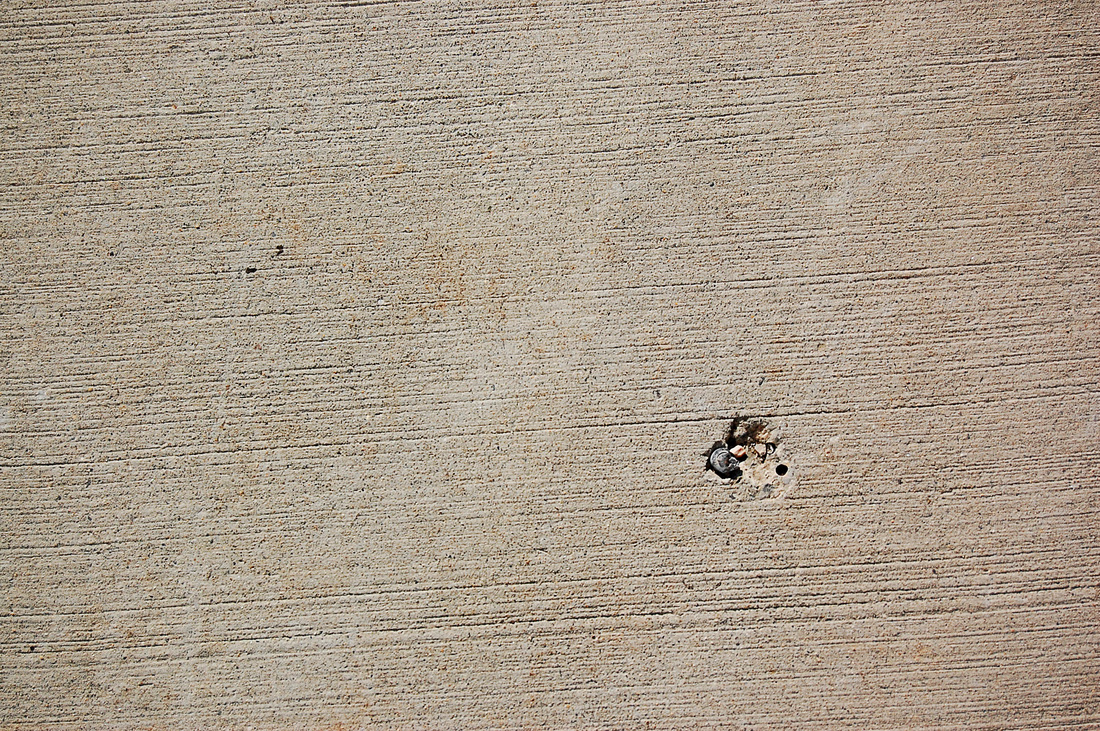
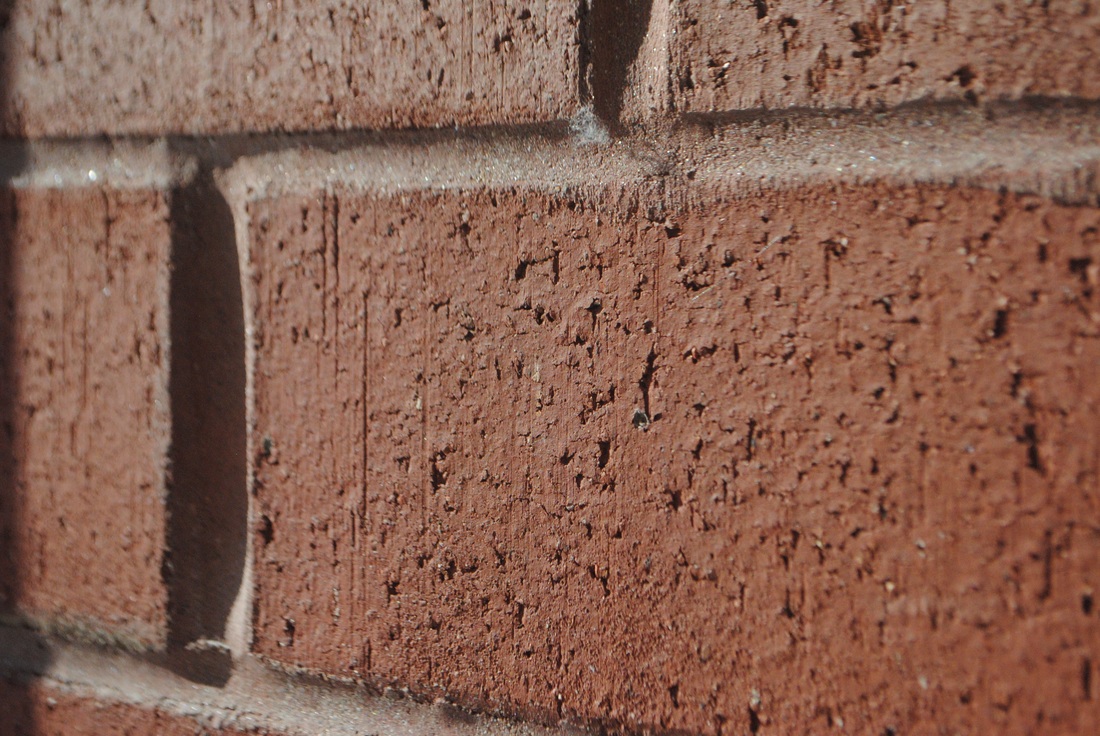
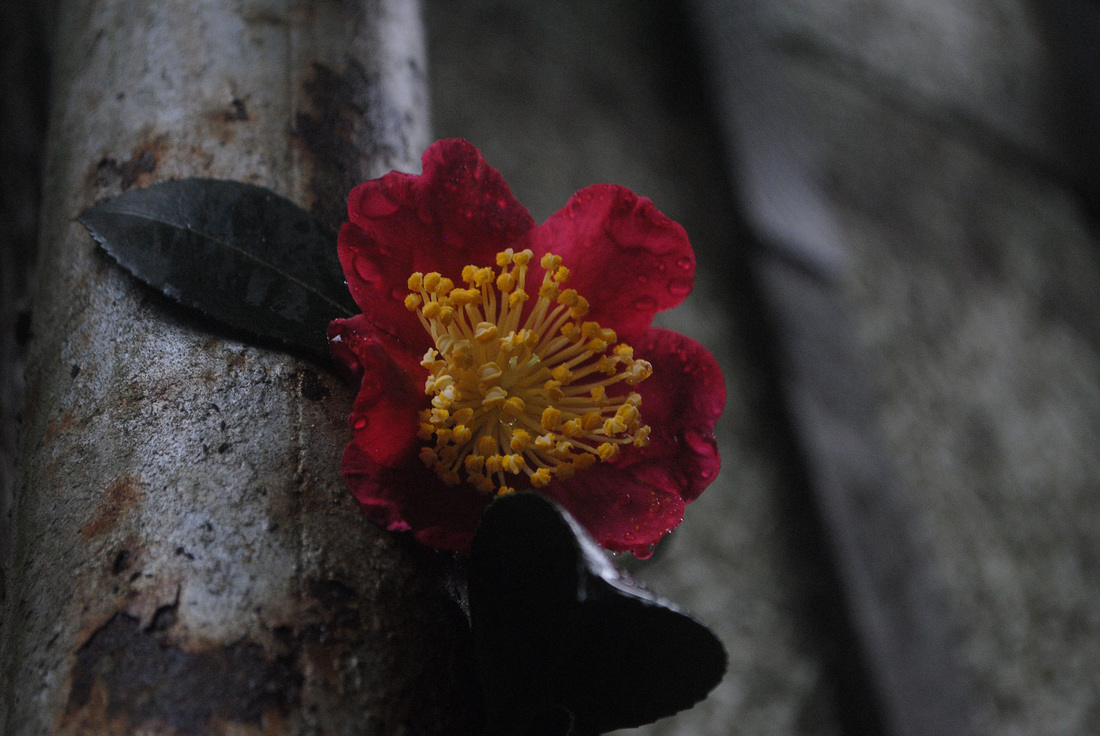
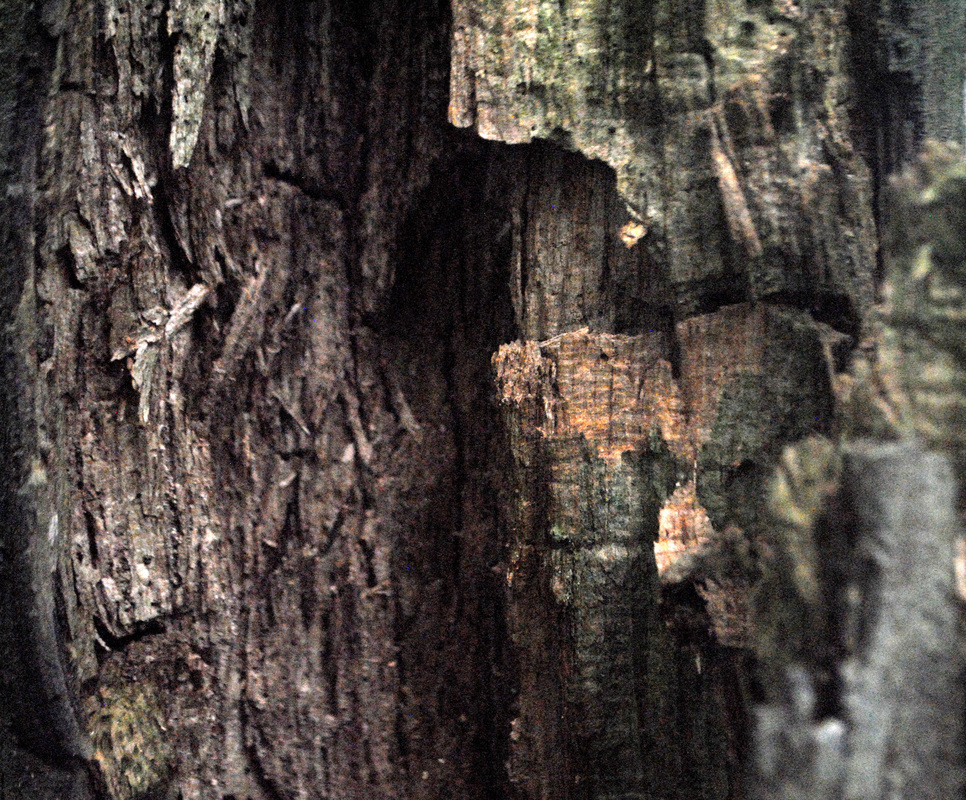
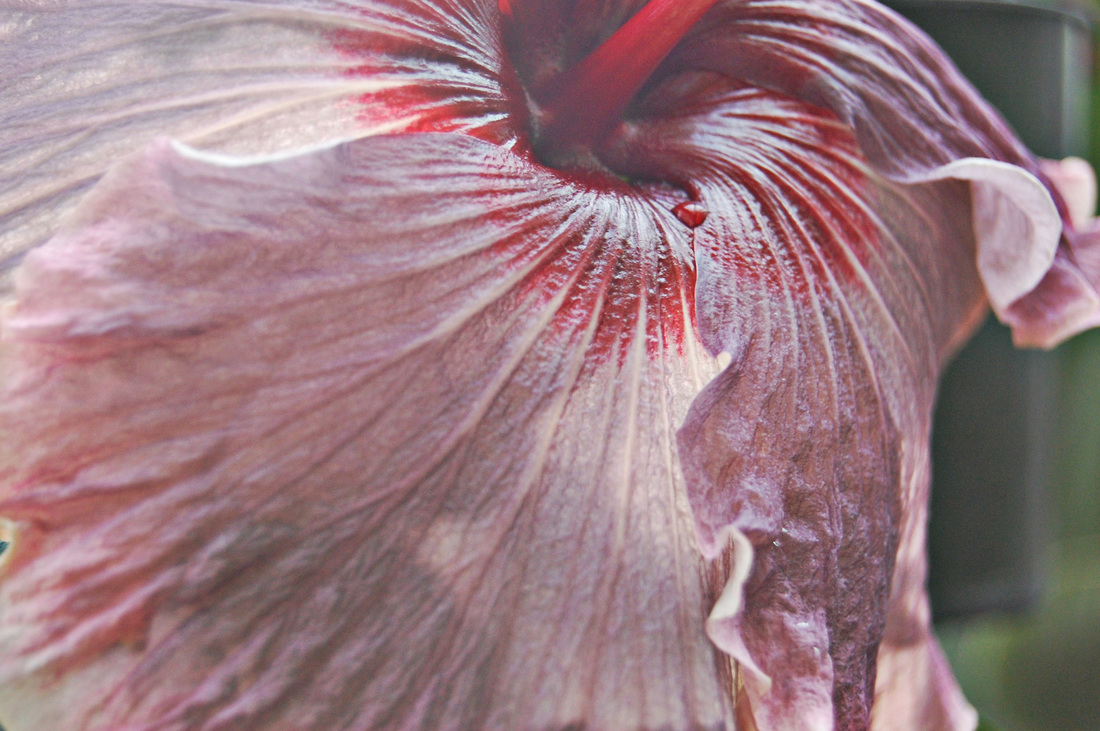
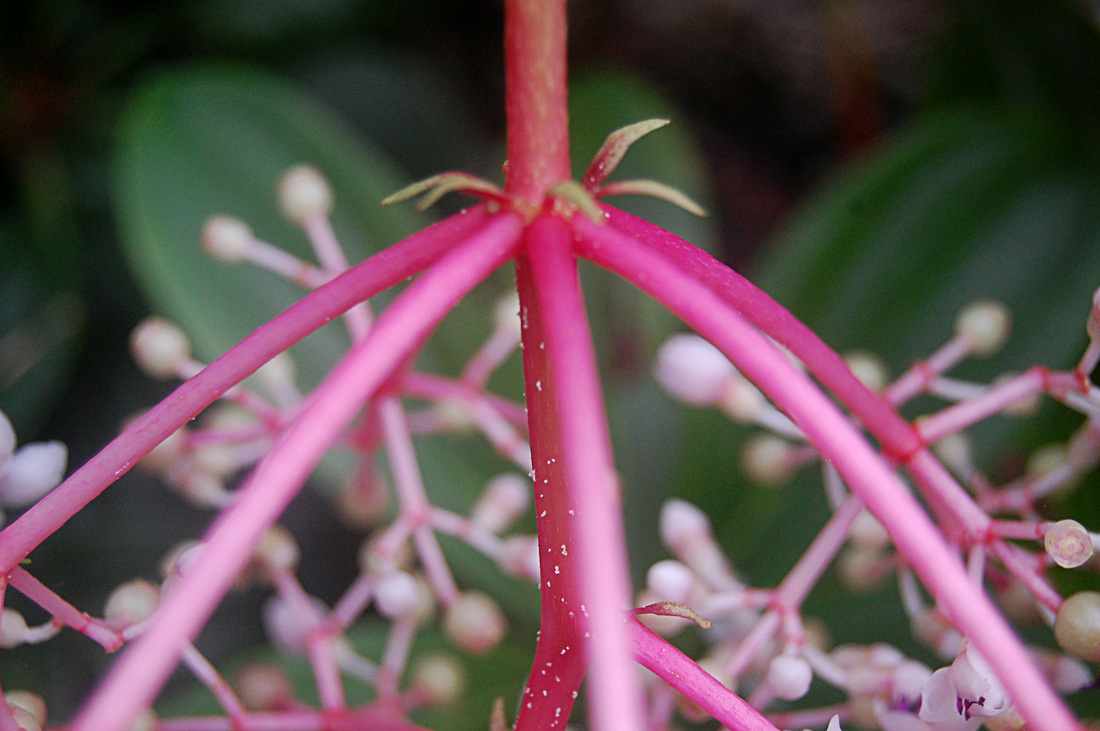
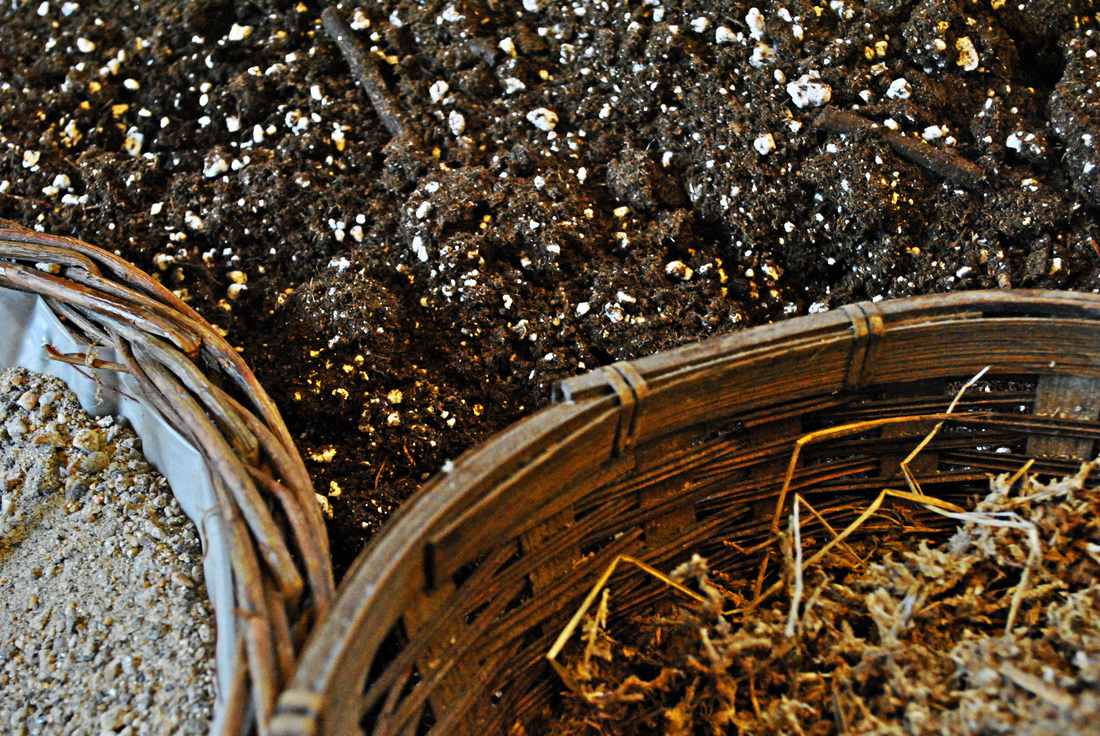
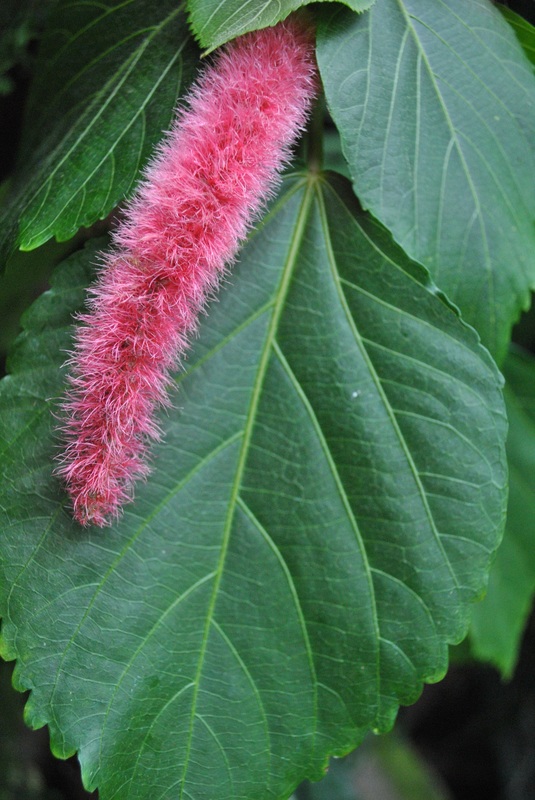
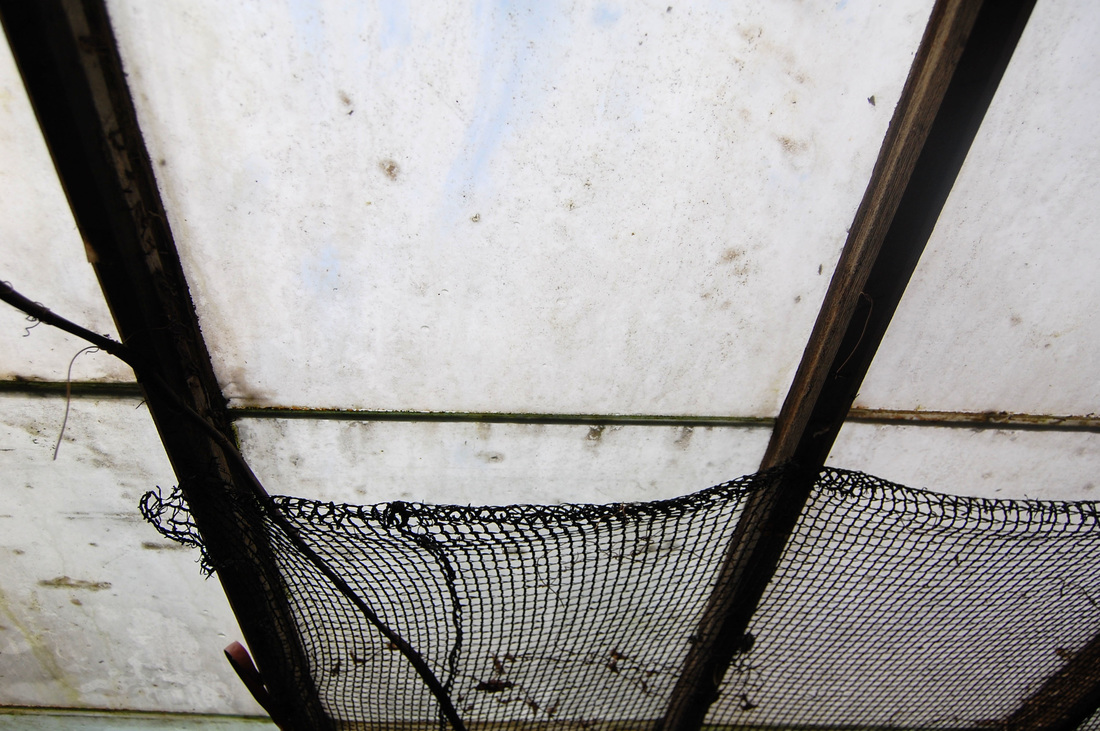
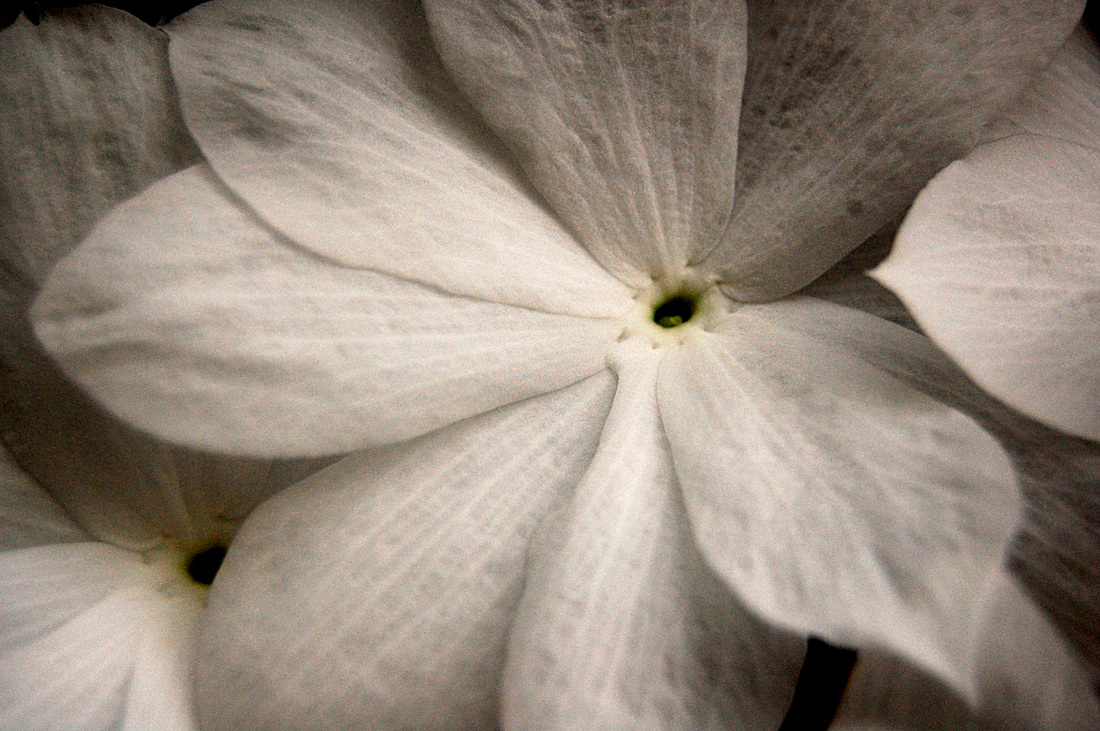
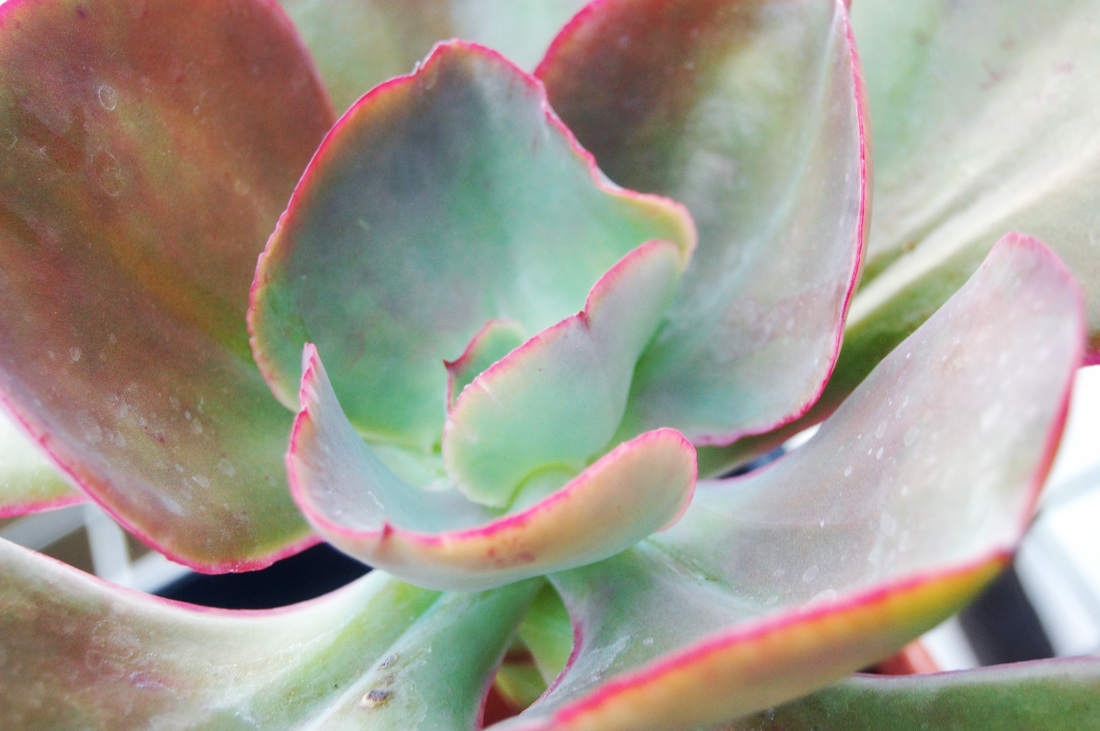
Texture Studies
Students learn about the different roles of texture in photography. To begin the lesson, students go onto flickr to browse examples. They are asked to choose three images that they find compelling and explain the role of texture in the photograph, how it is helping to create intrigue, and anything else the photographer is doing or has taken into consideration in trying to hold the viewer's attention. It is then up to the students to seek out textures to photograph. Students must also consider the role of light in emphasizing three dimensional forms, the inclusion of focal points, and the implementation of compositional strategies on a much closer, zoomed in scale.


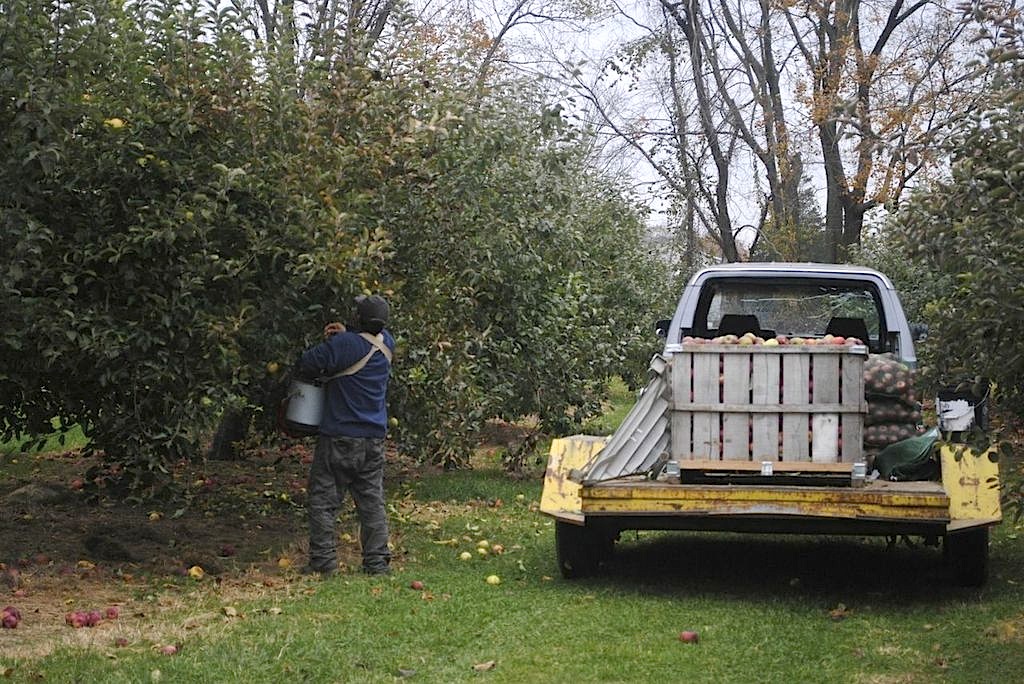
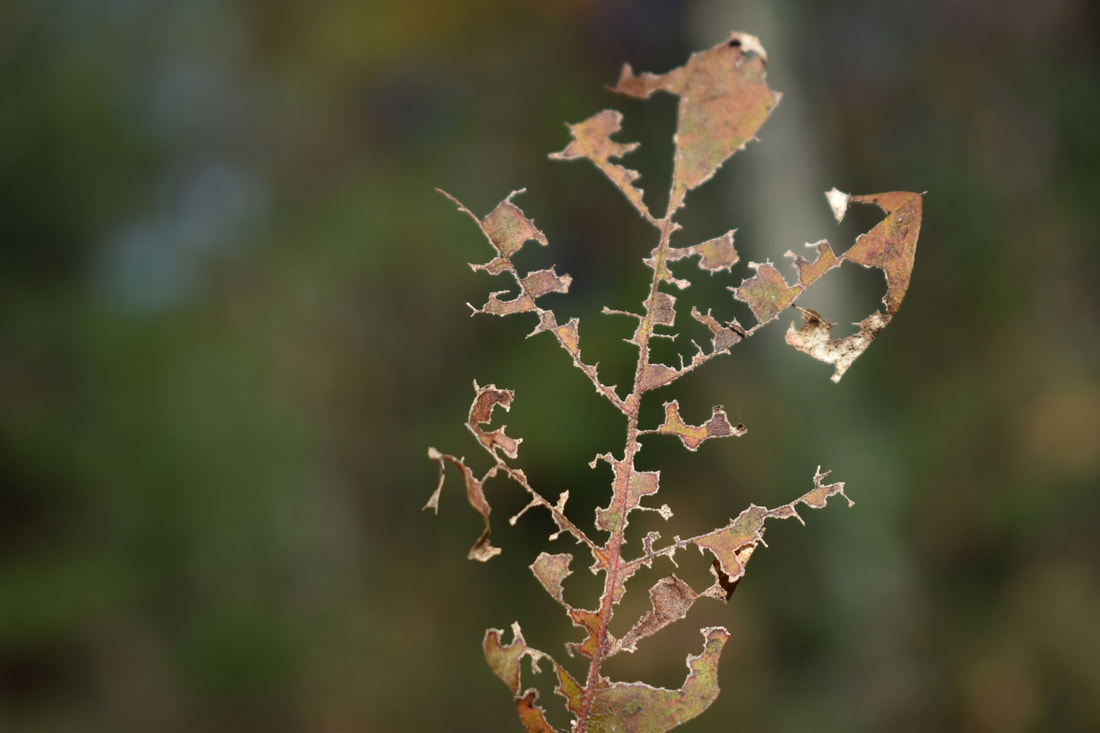
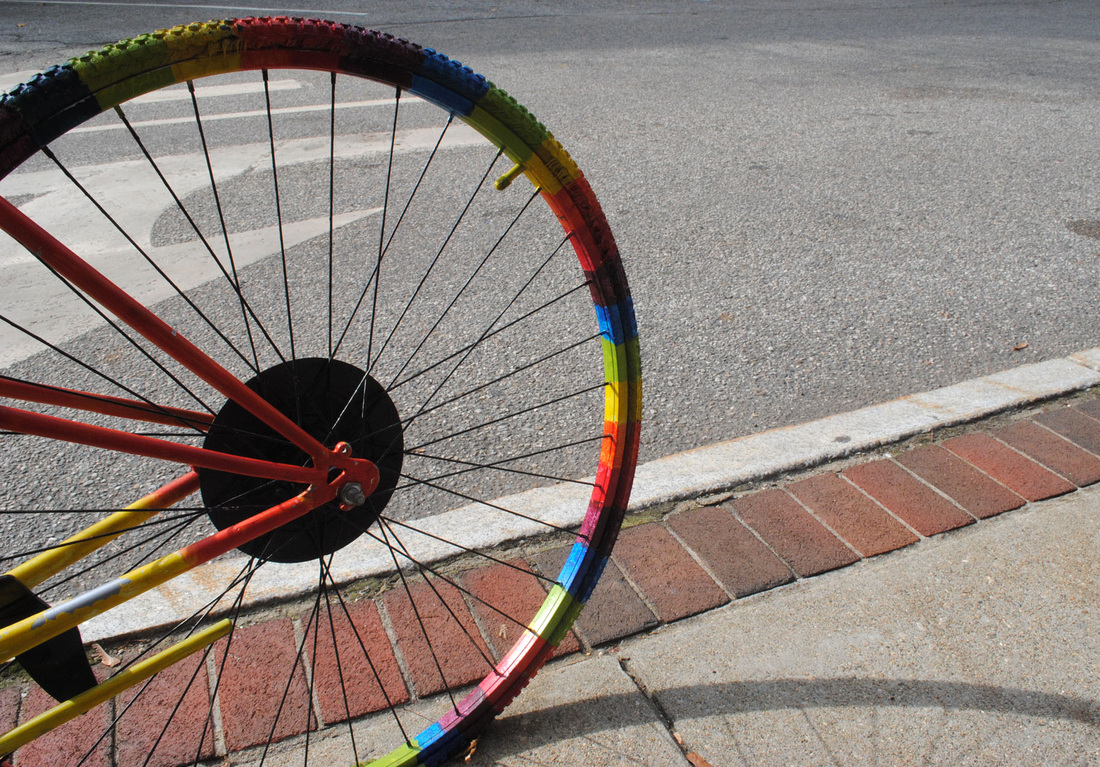
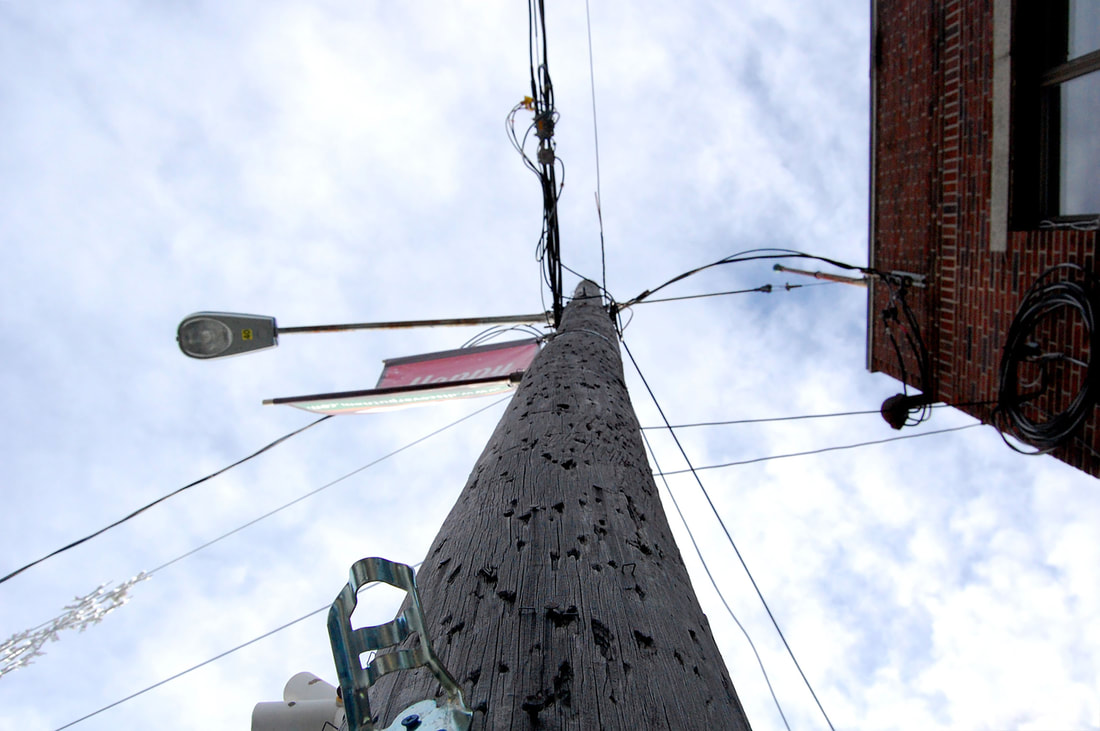
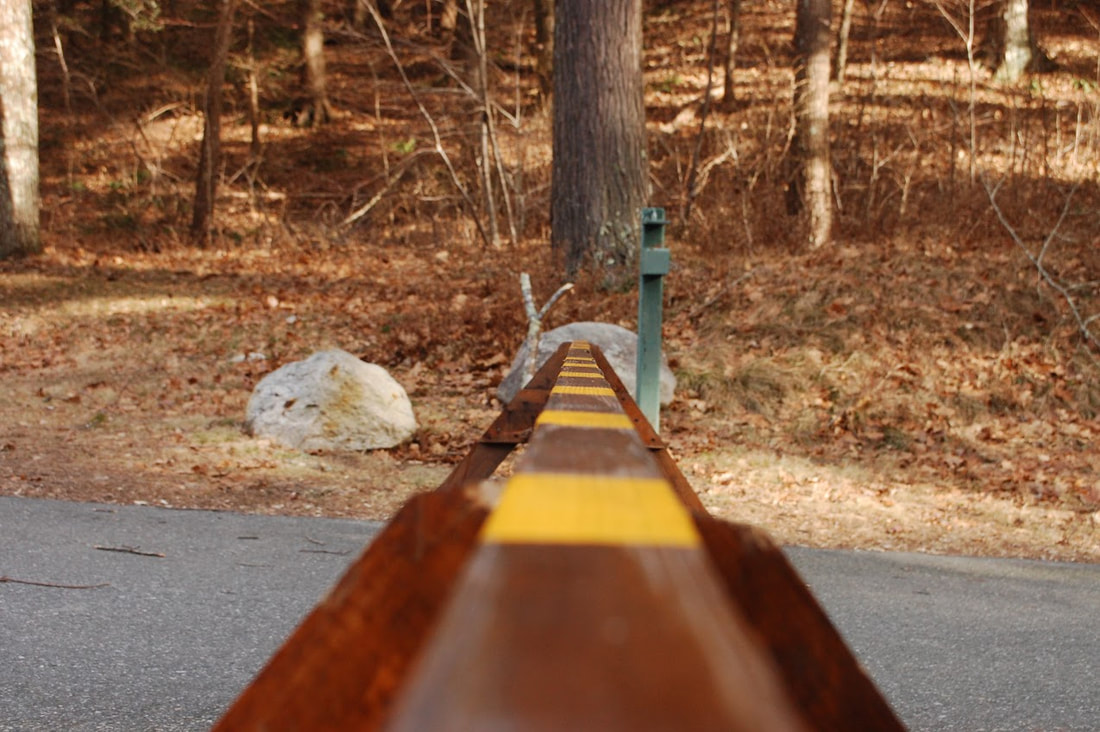
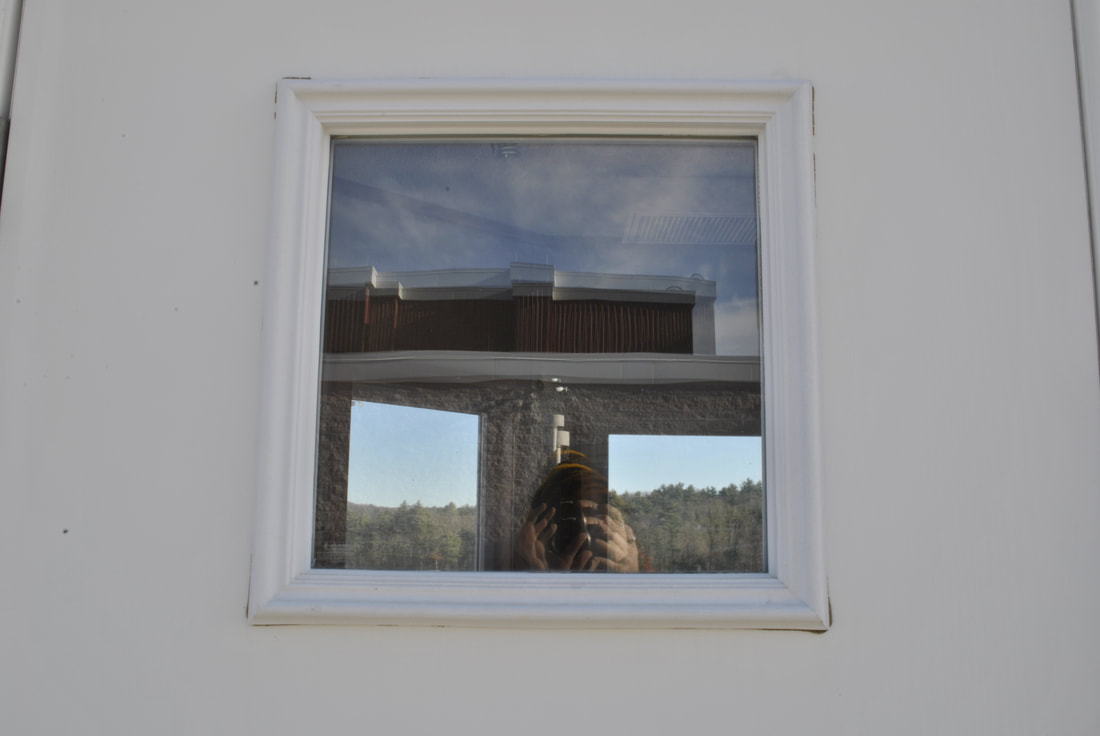
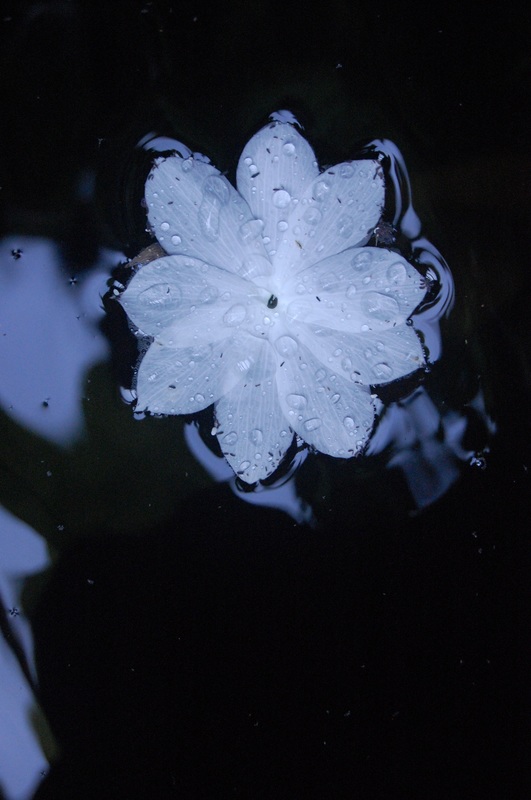
Compositional Strategies
Students further their understanding of creating a dynamic image through the implementation of 8 compositional strategies (Leading line, vantage point, cropping, simplicity, balance, repetition, frame with in a frame, and rule of thirds). They put these strategies to the test by using them to transform everyday objects and environments into more extraordinary, captivating photographs. Students finish off the lesson by reflecting on their work and progress.


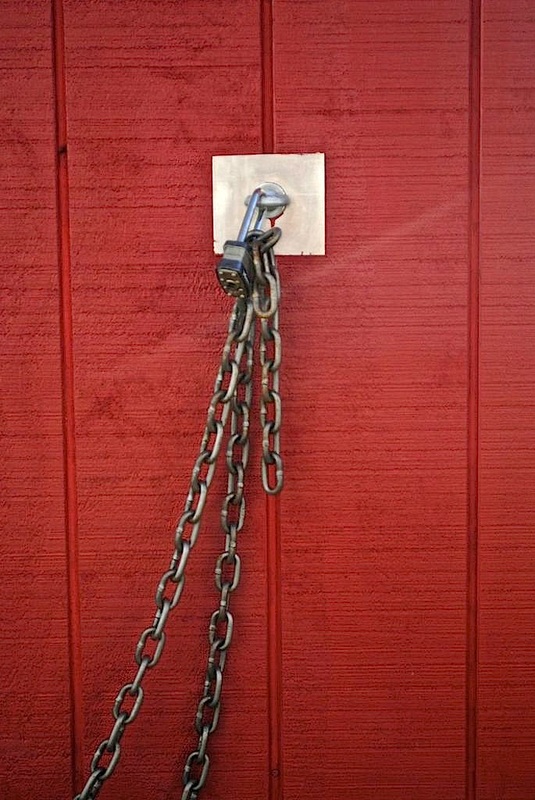
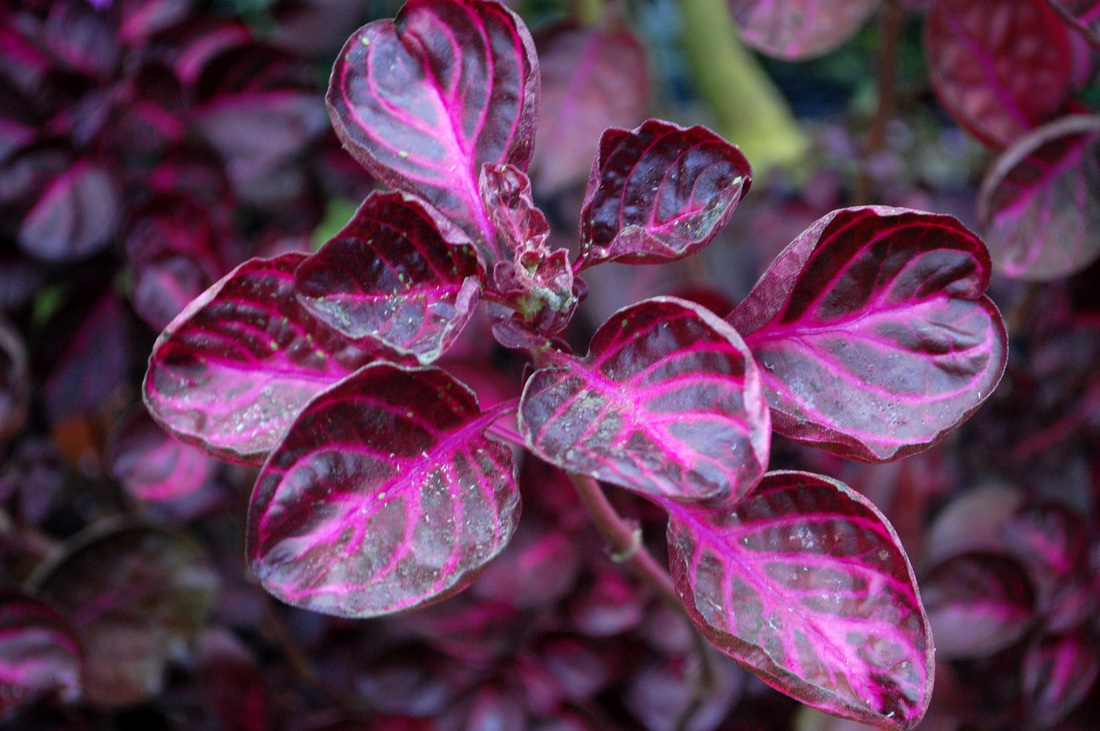
Color Harmonies
Working in color can present a unique challenge for beginning photographers. Students are still working to properly expose photographs in manual mode, apply compositional strategies to create emphasis, and are now having to consider the role of color in supporting their work. Limiting the number of colors in an image helps to establish unity and creates a more professional feeling photograph.


In the Style Of
This project is the culminating activity for our photo 1 classes. Students are able to apply all of their skills, including their ability to analyze and interpret photographs by working in the style of a prominent photographer. They are required to choose a photographer to base their work on, research and pinpoint the specific characteristics of their photographer's style (by looking at color, depth of field, subject matter, and composition) , and then apply these characteristics to their own work.